17
www.evolutionpowertools.com
EN
thin walled metal tube etc). At other times safely store the
device o the machine.
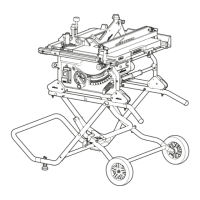
The pillar of the anti-bounce device ts into the socket in the
mitre gauge base, and is held in place by a thumb screw. (Fig 17)
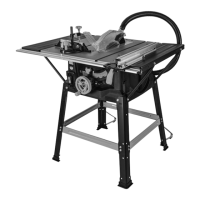
TOP BLADE GUARD
The top blade guard (H) (Fig. 18) (sometimes referred to as
a crown guard) must always be tted to the machines riving
knife. The ‘split’ line along the top of the guard indicates the
centre line of the saw blade below.
WARNING: The top blade guard must be tted to the
machines riving knife.
WARNING: The machine must be disconnected from the
mains supply when installing the blade guard.
• Remove the Table Access Plate.
• Raise the blade to its highest position - See page 18
‘RAISING/LOWERING THE BLADE’ section.
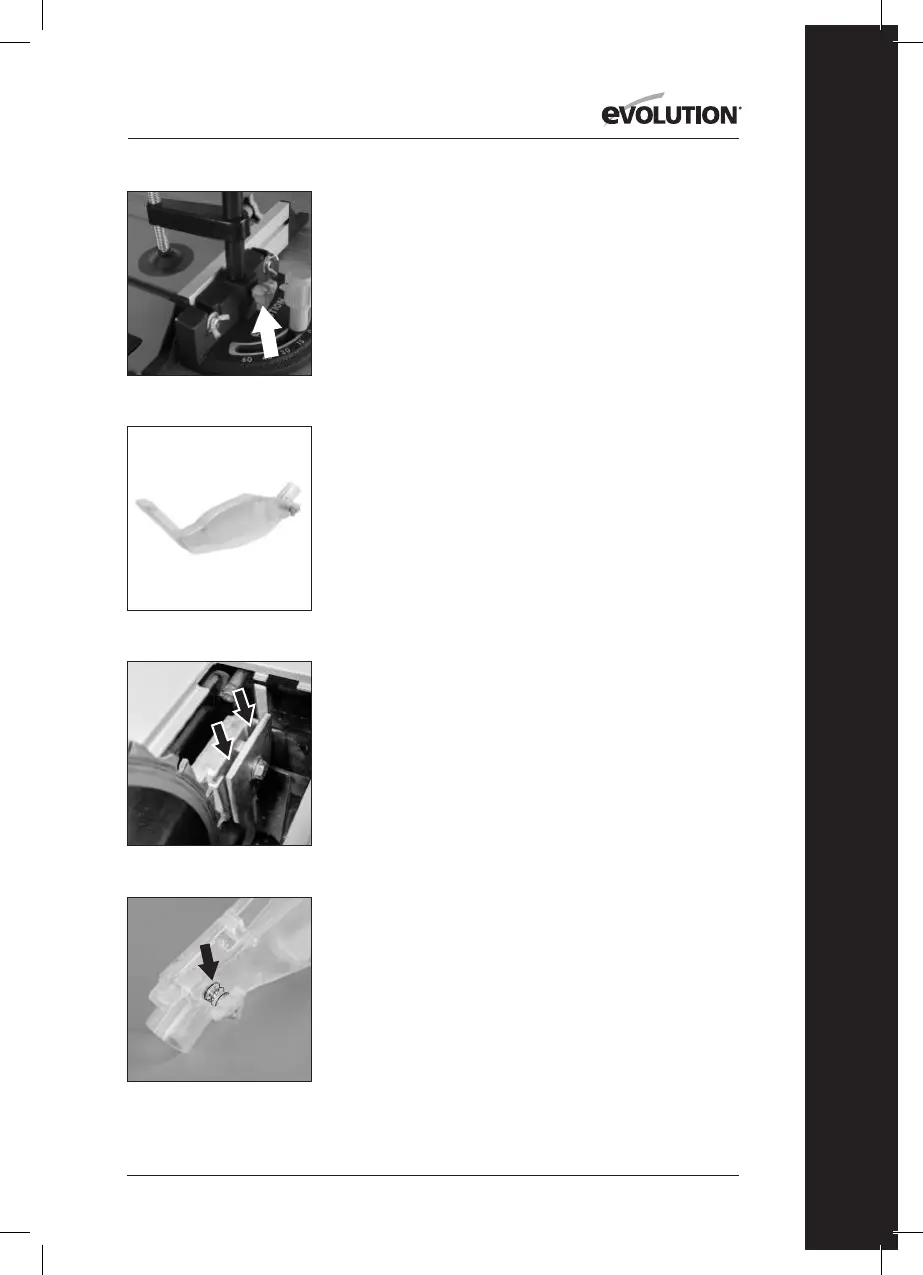
• Slide the Riving Knife between the xing plate and
mounting block (Fig. 19). Ensure that the mounting blocks
projecting lugs engage with the slot in the Riving Knife.
• Adjust the Riving Knife so that it is between 3 – 5mm from
the saw blade. The tip of the riving knife shall not be lower
than 5mm from the tooth peak.
• When correct alignment is achieved tighten the xing bolt.
• Check the saw blade rotates freely and teeth are within 3 -
5mm of the Riving Knife.
• Re-install the Table Access Plate.
• The guards locating pin should be positioned through the
hole machined in the top edge of the riving knife (Fig. 20).
Secure using the thumb screw, do not over tighten.
Note: Adjust the blade guard for the material you are cutting.
To adjust to the thickness of the material being cut, the blade
guard must pivot up and down easily and smoothly, so do not
over-tighten this wing nut.
• Check the operation of the blade guard. Ensure that it is
working eciently and covers the blade at the sides as well
as the crown.
• Lower the blade a little and recheck that the blade guard
operation.
Fig. 18
Fig. 17
Fig. 19
Fig. 20