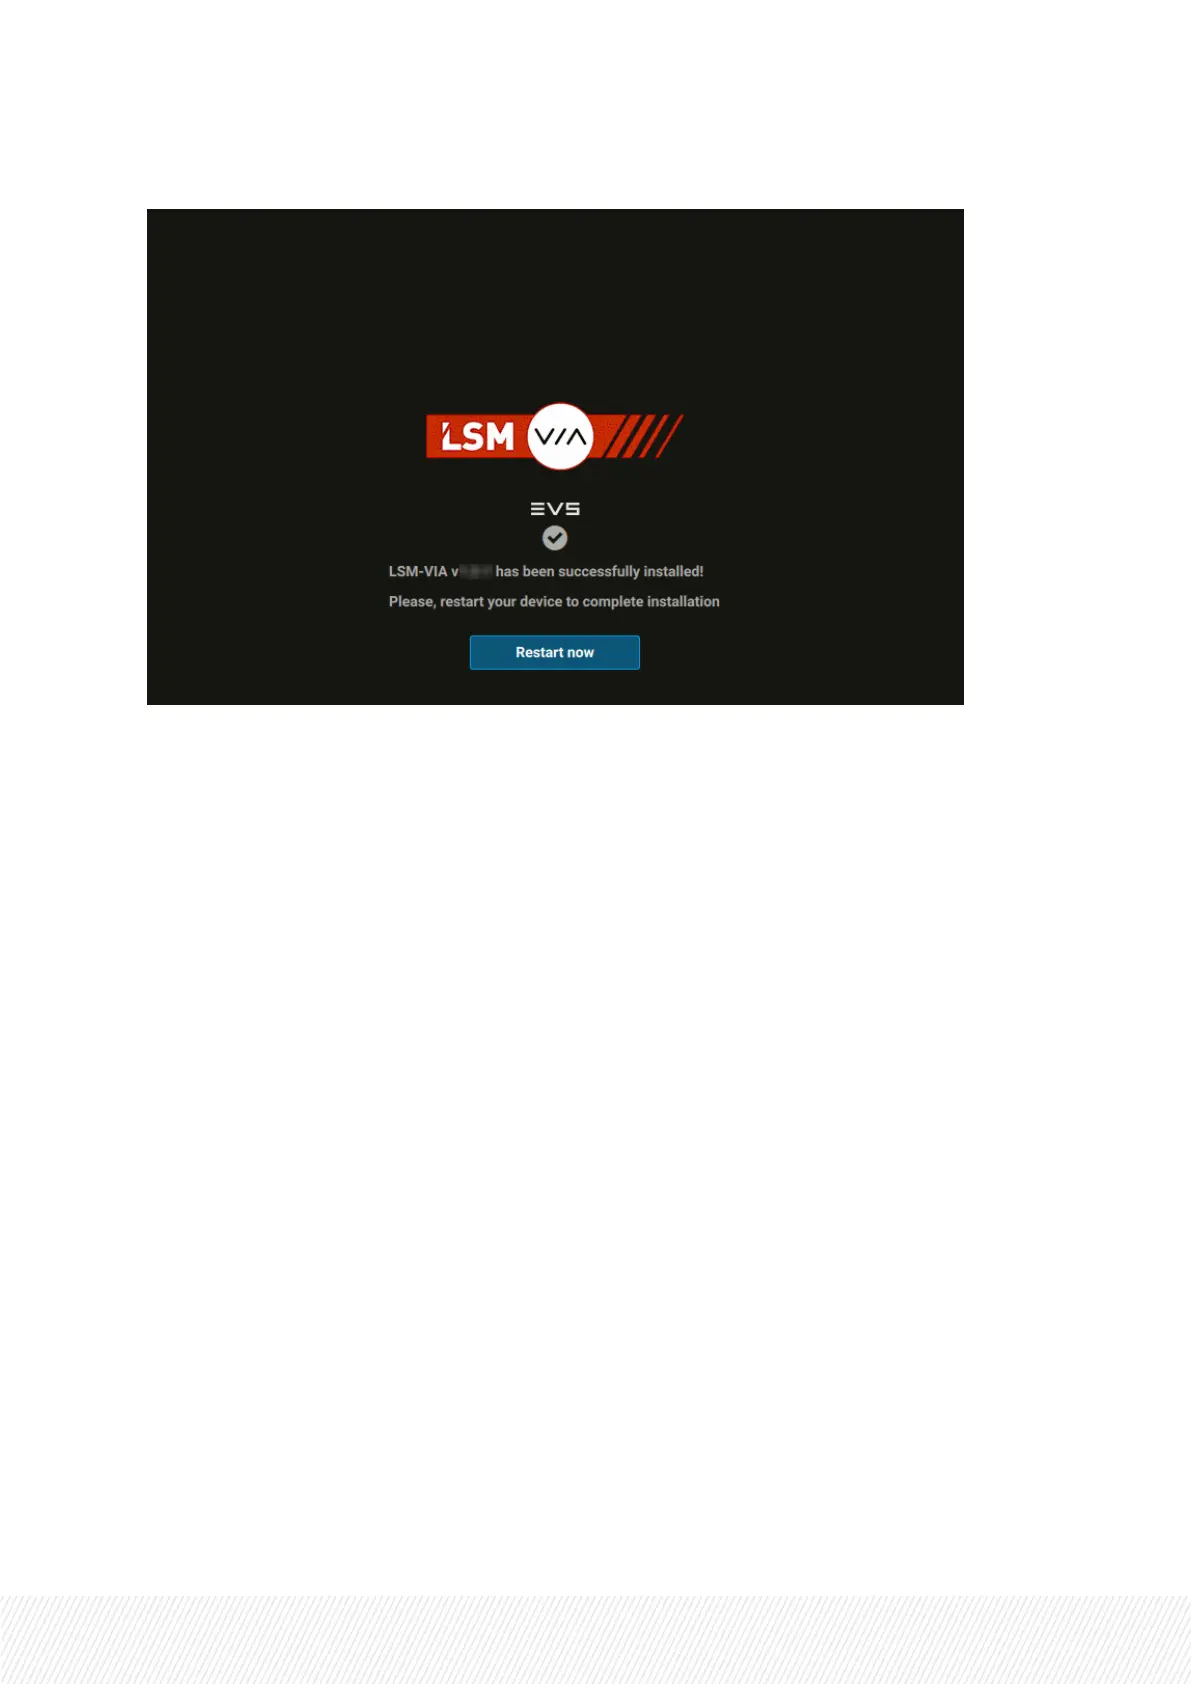
5. Wait until the installation is done and the following message is displayed:
6. Click Restart now.
When the LSM-VIA application is installed, three shortcut icons are added on the desktop:
• LSM-VIA Configuration shortcut to access the LSM-VIA configuration tool.
• LSM-VIA shortcut to open the LSM-VIA application.
• VIALicensing Manager shortcut to manage the required license key.
Step 2 - Upgrading LSM-VIA Remote Panel
Once you have upgraded the LSM-VIA application on the workstation, proceed as follows to upgrade the
LSM-VIA Remote Panel.
1. Double-click the LSM-VIA Configuration shortcut to open the LSM-VIA configuration tool.
2. In the Infrastructure tab, define the IPaddress of the EVS server to work with as described in the
section "XT-VIAIPAddress (PCLAN)" on page 20.
3. Double-click the LSM-VIA shortcut to start the LSM-VIA application on the workstation.
A valid license must have been installed. See section "Managing Licenses" on page 17.
4. Switch on the Remote Panel.
The Network Configuration screen is displayed on the touchscreen.
INSTALLATION AND CONFIGURATION MANUAL
LSM-VIA |3. Upgrading LSM-VIA| 11
 Loading...