PRODUCT GUIDE: EYEDRO ELECTRICITY MONITORING PRODUCTS
©2011-2023 Eyedro Green Solutions Inc. Page | 21
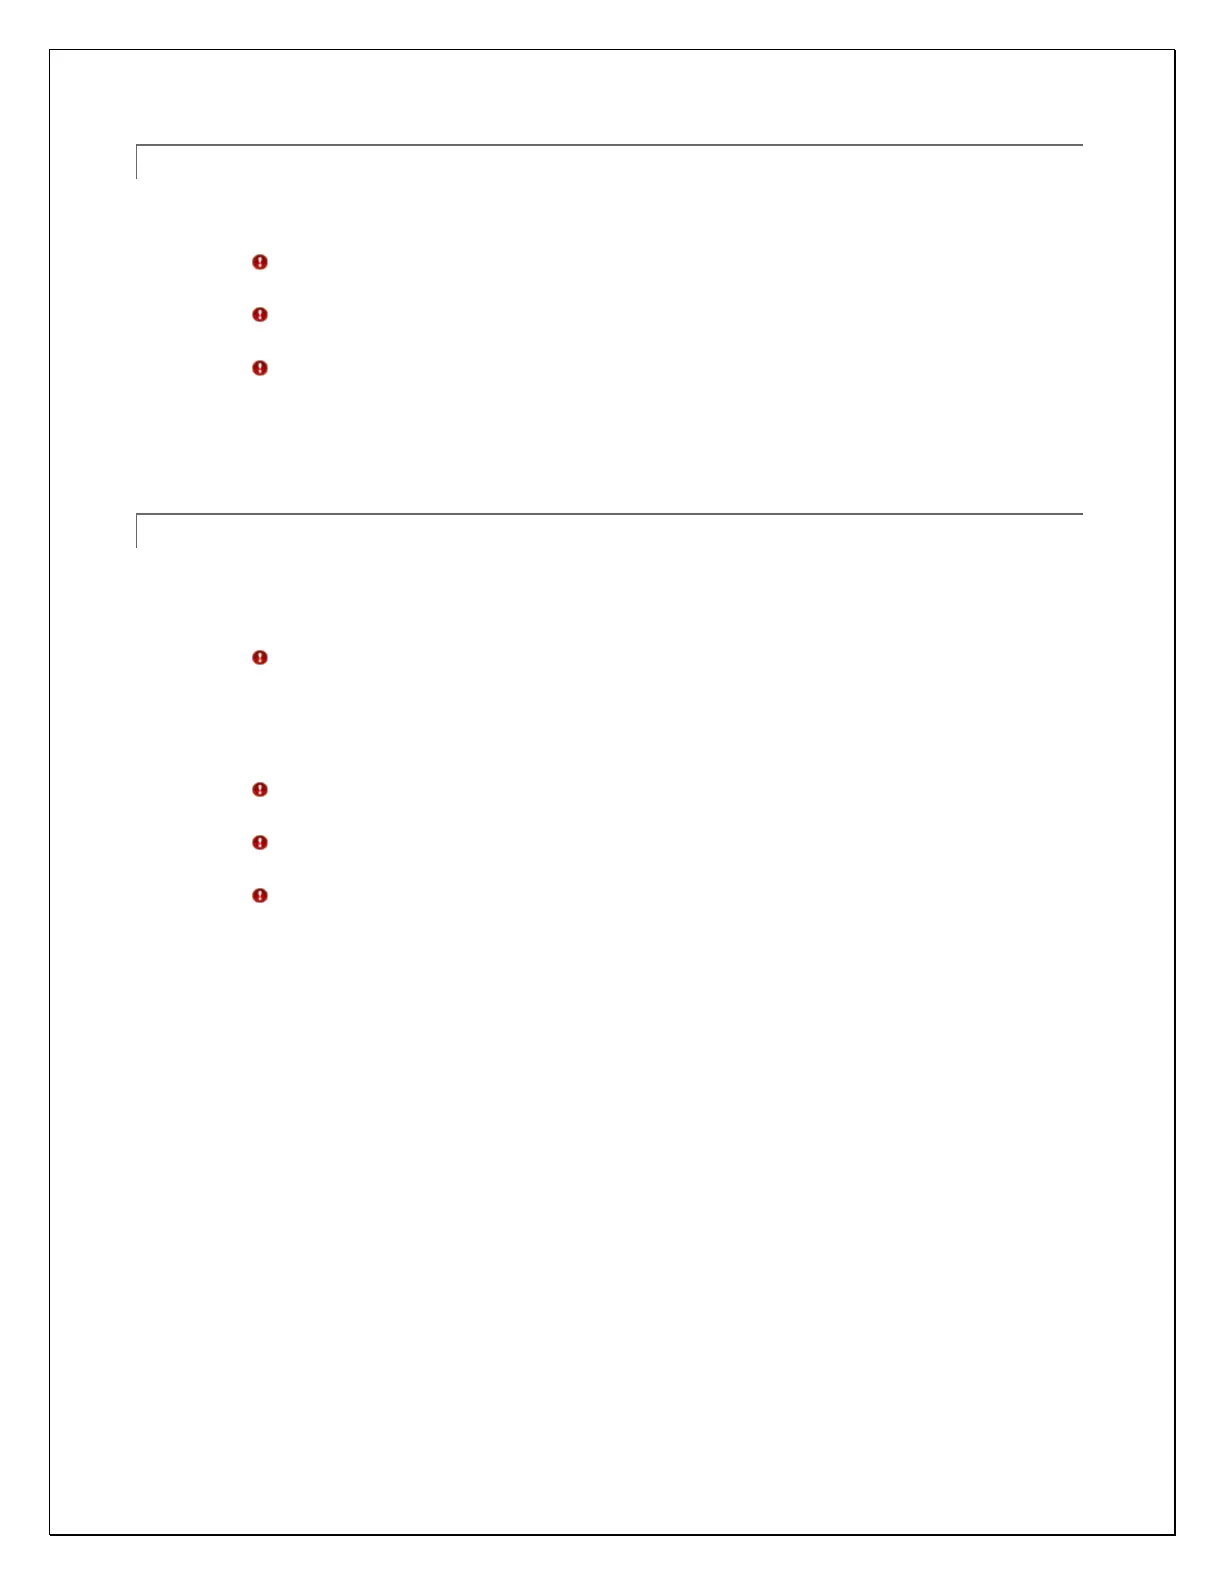
PROCEDURE (WI-FI INSTALLATIONS)
1. Connect sensor cables to the Eyedro module.
2. Connect the appropriate end of the low-voltage power adapter to the Eyedro module.
Electricity monitoring devices (with sensors) use a power supply with a 6 V AC output.
3. Plug the other end of the low-voltage power adapter into a nearby AC wall receptacle.
Devices should not be plugged into a UPS (Uninterruptible Power Supply) as they may
result in inaccurate/incorrect measurements.
Electricity monitoring devices (with sensors) must be powered by a receptacle that is
downstream of the panel where the current sensors are installed.
4. Secure all wiring neatly with tie wraps.
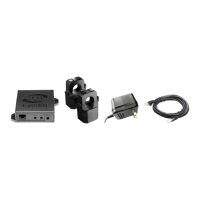
PROCEDURE (MESH INSTALLATIONS)
1. Connect one end of Ethernet cable to Eyedro Gateway module.
2. Connect the other end of the Ethernet cable to the router (or Internet access point).
3. Connect the appropriate end of the low-voltage power adapter to the Eyedro Gateway module.
Gateway devices use a power supply with a 5VDC output.
4. Plug the other end of the low-voltage power adapter into a nearby AC wall receptacle.
5. Connect sensor cables to the Eyedro Sensor Module(s).
6. Connect the appropriate end of the low-voltage power adapter to the Eyedro Sensor Module.
Electricity monitoring devices (with sensors) use a power supply with a 6 V AC output.
7. Plug the other end of the low-voltage power adapter into a nearby AC wall receptacle.
Devices should not be plugged into a UPS (Uninterruptible Power Supply) as they may
result in inaccurate/incorrect measurements.
Electricity monitoring devices (with sensors) must be powered by a receptacle that is
downstream of the panel where the current sensors are installed.
8. Secure all wiring neatly with tie wraps.