Replacing DC Power Supplies
Platform Guide: 6900 and 8900 8 - 5
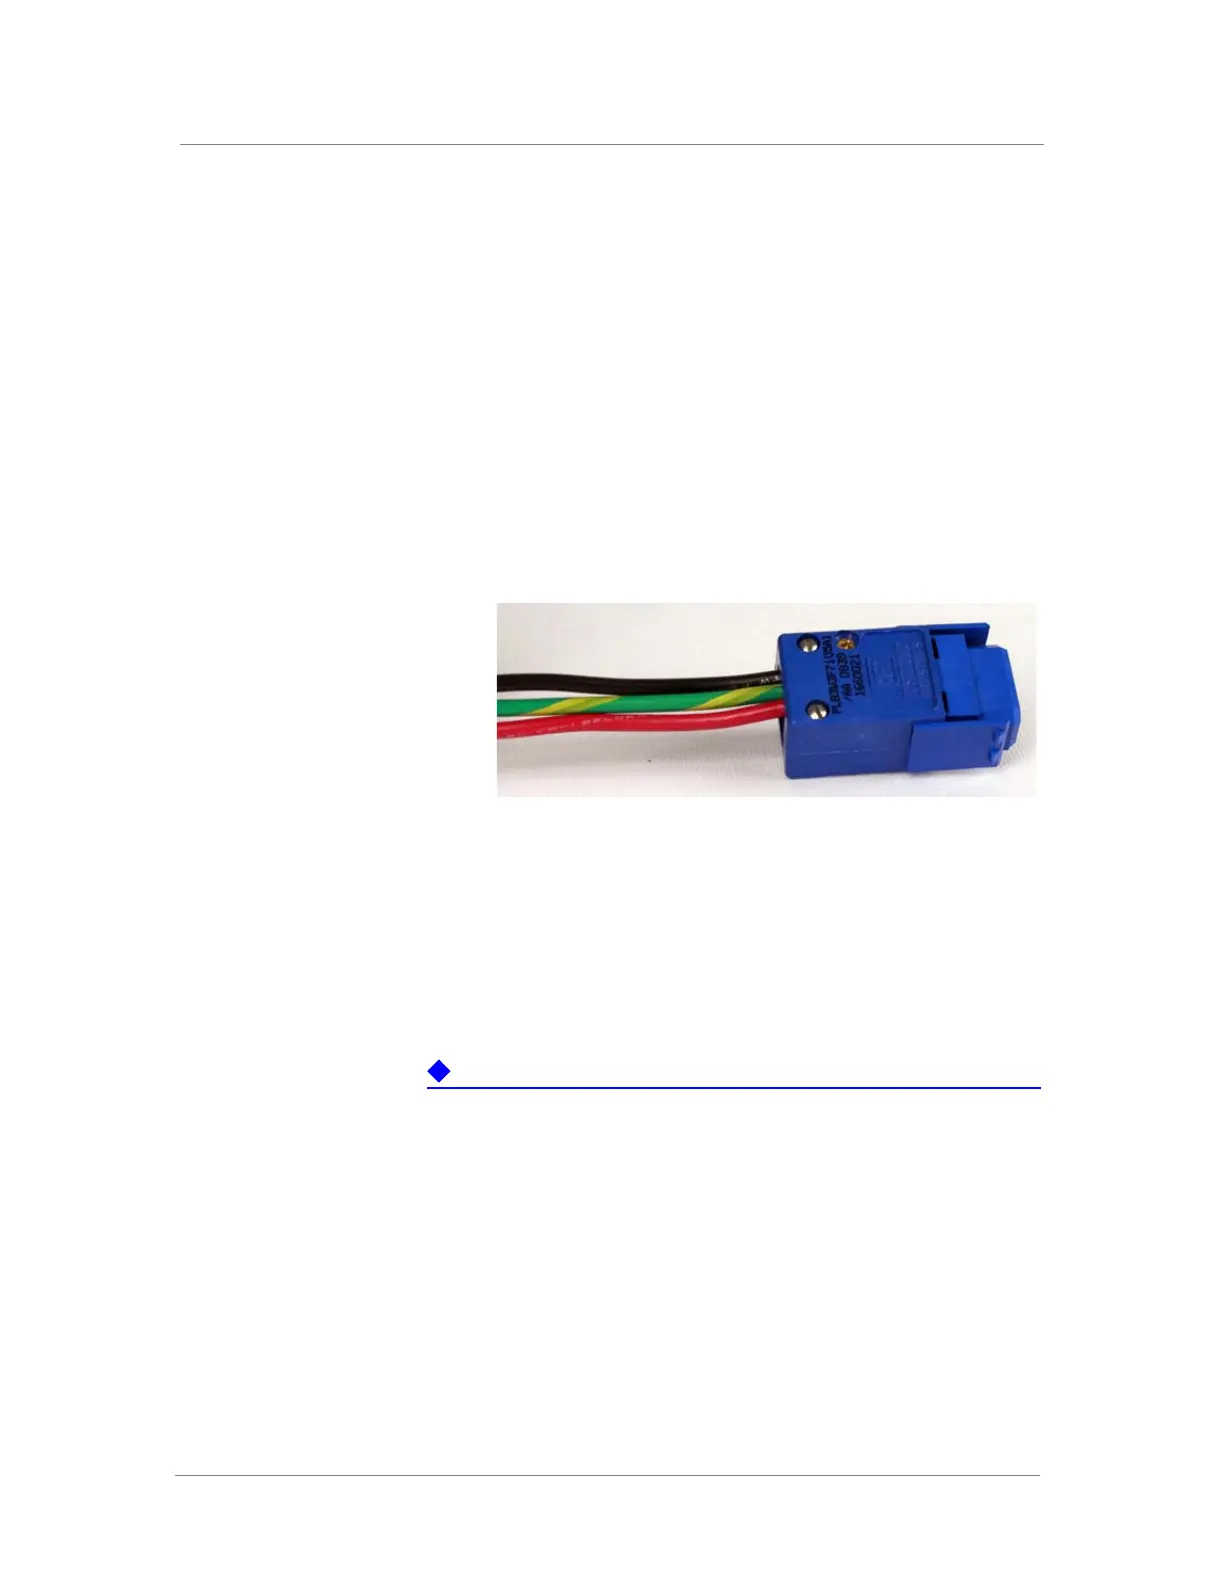
4. Insert each exposed wire into the appropriate connector on the
terminal block (as shown in the figure on page 8-4).
Note: If necessary, use a small flathead screwdriver to loosen the
screws above the openings in the wiring block to open the terminal
connectors.
5. Attach the terminal block to the bottom of the wiring block, and
then connect the top of the wiring block until the two halves click
into place.
6. Tighten the wire clamp screws on the bottom of the wiring block
using a small flathead screwdriver.
7. Insert the two gold screws that are provided with the DC power
supply kit into the top and bottom of the wiring block, and then use
a Phillips screwdriver to secure the two halves, as shown below.
Connecting the DC power supply
After the 6900/8900 platform is installed in a rack, you have assembled and
wired the wiring block, and you have installed the DC power supply into the
platform, you can connect the platform to the DC power source.
The DC power supply does not have an on/off switch. You can control the
power from the rack switch or the DC power source.
When you connect the DC power source, F5 Networks recommends that you
follow the safety requirements defined for the facilities where the
DC-powered platforms will be installed.
To connect DC power source to the platform
1. Make sure that the power from the DC power source is off.
2. Ensure that the wiring block is not connected to the power supply
before adding it to the unit.
3. Remove the existing AC or DC power supply, if one is installed. For
information on removing a power supply, see Replacing a power
supply, on page 8-6.
4. Loosen the power supply screw, using an appropriate screwdriver if
necessary.
 Loading...