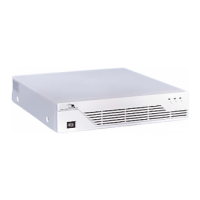
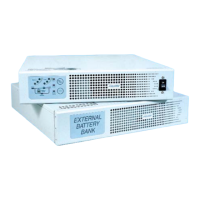
SSG2.2KRM-X, SSG3KRM-X Standard and SSGR, SSGR-1 Extended Battery Module
Replacements
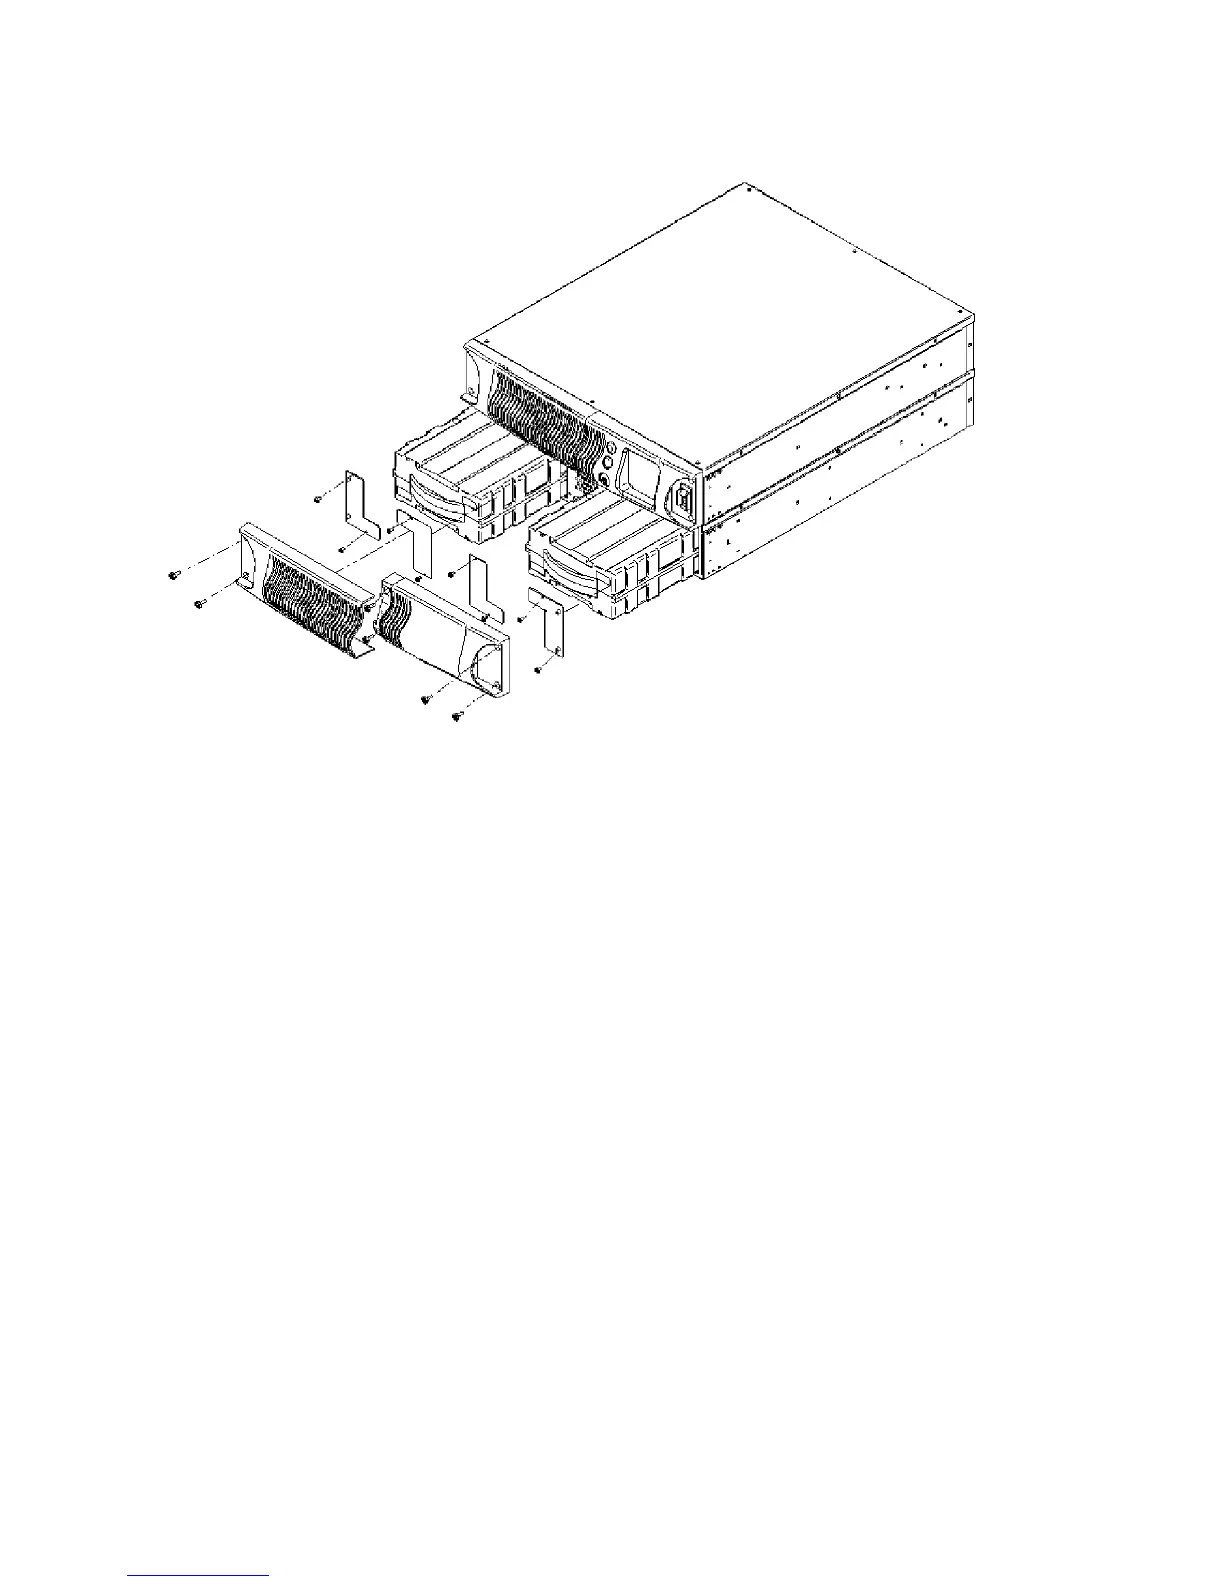
1. To replace the battery packs inside an extended battery module, unplug the connected
battery cable from UPS and battery module.
2. Loosen and remove the screws from the battery module front panels. Remove both front
panels from the module as shown above.
3. Lay the panels and screws aside for reassembly.
4. Loosen and remove the screws of battery stop plates. Lay them aside for reassembly.
5. Grasp the battery pack(s), and pull them out of the front of each side of the module. Mark the
top of each pack.
6. Unpack the new battery packs. Taking care not to destroy the packing. Compare new and old
battery packs to verify that they are same type. If so, proceed with next the step, otherwise
stop and contact Falcon Service.
7. Line up and slide in the new replacement battery packs with right polarity by verifying against
the marked battery pack.
8. Reinstall the battery stop plates with the screws previously removed.
9. Reinstall the front panels to the unit with the screws previously removed.
10. Re-connect the cable to the battery connector of UPS to that of the module.
Performing a Manual Battery Test
Pressing the "Function/Test" button for three seconds while the UPS is operating in Normal Mode will
initiate a manual battery test. If the UPS goes to Battery Mode and returns to Normal On-line Mode
after 10 seconds, the batteries are good.
If a single, long audible tone is sounded and the unit does not switch to Battery Mode, this indicates
that either the batteries are defective, installed incorrectly, the battery pack is not installed, the
battery bank interconnect cable is not installed, or the battery fuse is missing or defective. If the
problem cannot be resolved, contact Falcon Service.
30
 Loading...