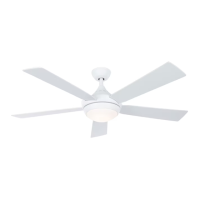
7
Motor
Assembly
Motor
Assembly
2. Remove the two set screws and locking nuts of
the downrod support from the motor assembly then
retain the screws and nuts for How to Assemble
Your Ceiling Fan, Step 4. (Figure 2)
Figure 2
Downrod Support
3. Remove the six preassembled screws of the motor
coupler washer from the motor assembly, then retain
the screws for reinstallation in Step 7. (Figure 3)
4. Lift away the motor coupler washer and upper
housing cover from the motor assembly and set aside.
(Figure 4)
Motor Coupler
Washer
Upper Housing
Cover
Motor
Assembly
Figure 3
Figure 4
How to Assemble Your Ceiling Fan Blades (Continued)
Motor
Assembly
5. Slide the blade through the slot in the motor
assembly and attach to the motor hub using the
3/16˝-24 washer head screws and fiber washers.
Tighten washer head screws with fiber washers to
secure the blade to the hub of motor assembly.
(Figure 5)
3/16˝-24 Washer Head Screw
with Fiber Washer
(3 per blade)
Blade
HARDWARE USED:
x 15
x 15
3/16”-24
Washer Head Screws
Fiber Washers
Figure 5
WARNING
To reduce the risk of personal injury, do not bend the
blades when installing, balancing or cleaning the fan.
Do not insert foreign objects in between the rotating
blades.
 Loading...