14
How to Install Your Canopy Housing
NOTE: This step is applicable after the neccessary
wiring is completed.
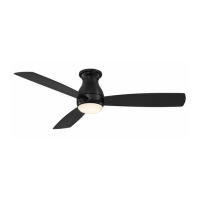
1. Assemble canopy by rotating key slot in ceiling
canopy over shoulder screw in hanger bracket, taking
care not to pinch the wires. Tighten shoulder screws.
Fully assemble and tighten second shoulder screw
that was previously removed. (Figure 1)
2. Securely attach and tighten the canopy screw cover
over the shoulder screws in the hanger bracket
utilizing the key slot twist-lock feature. (Figure 2)
WARNING
To avoid possible fire or shock, make sure that the
electrical wires are completely inside the canopy
housing and not pinched between the housing and the
ceiling.
Shoulder Screw
Canopy Screw
Cover
Ceiling Canopy
Figure 2
Figure 1
How to Assemble Your Light Kit
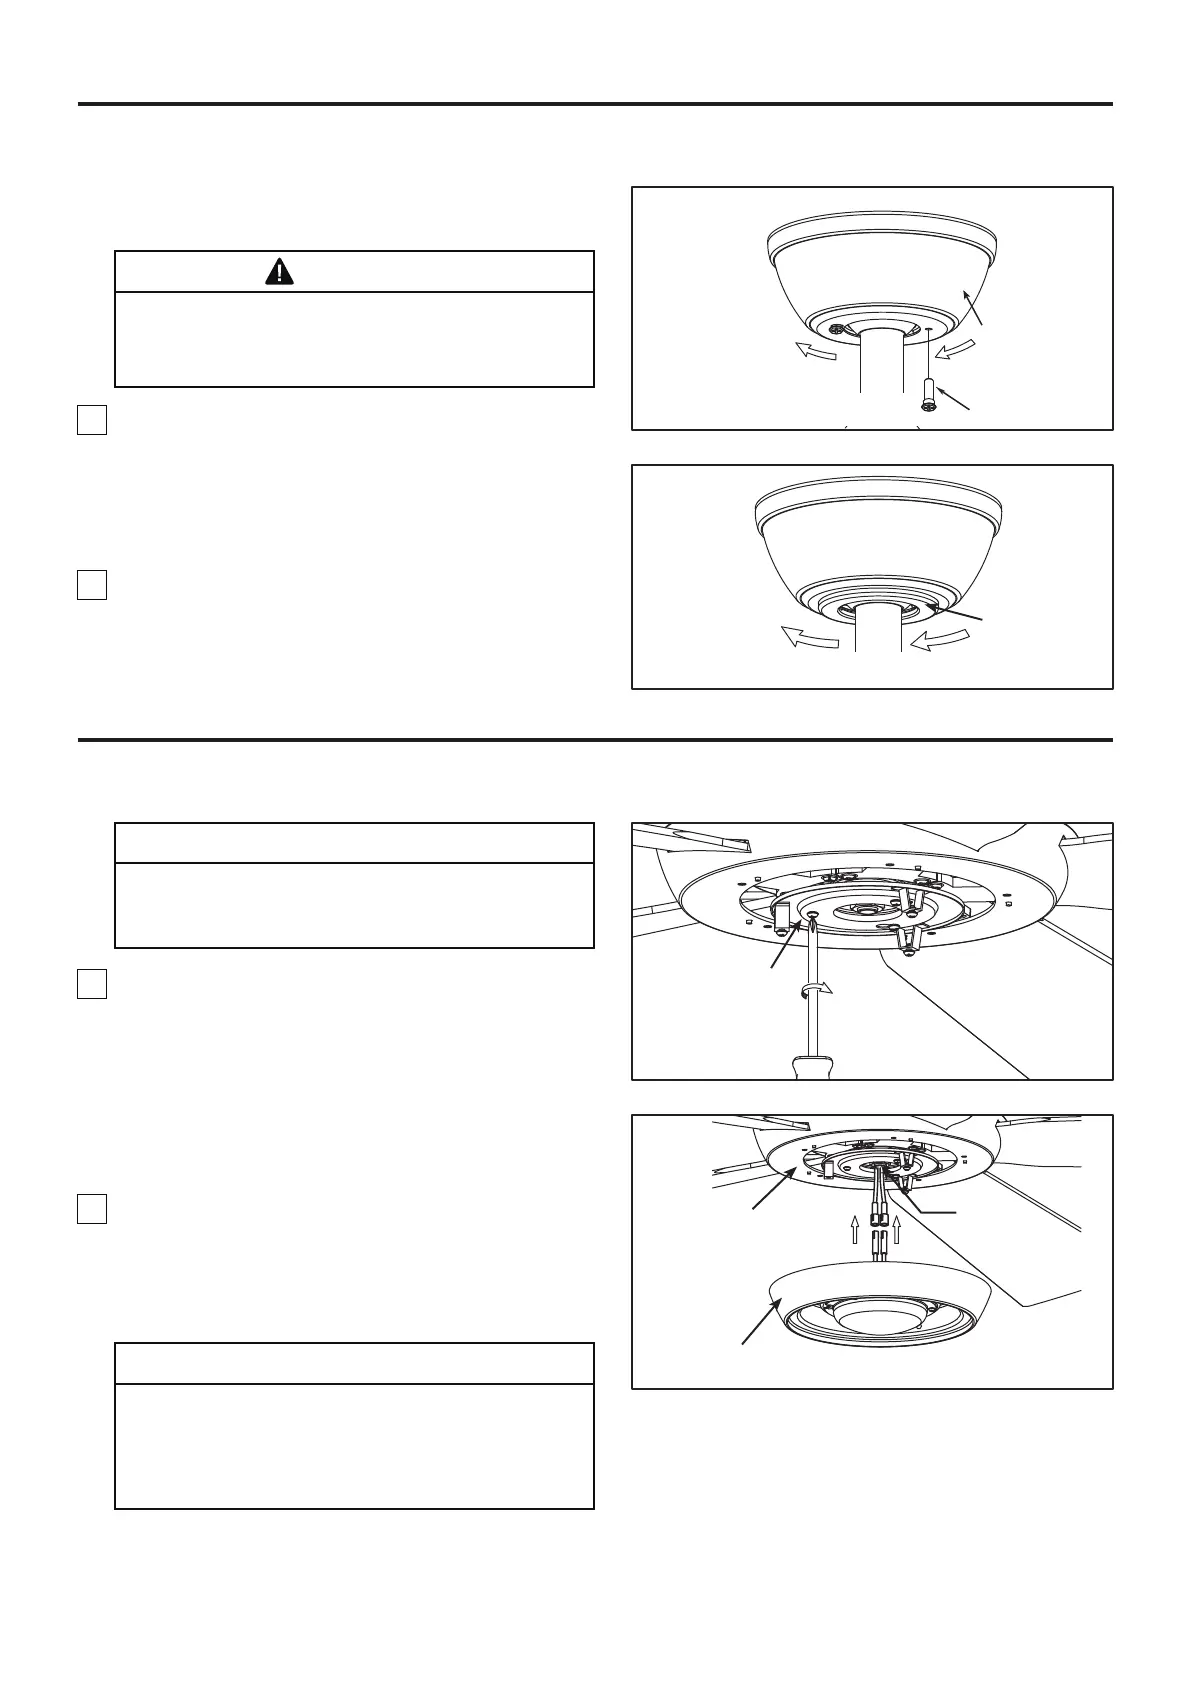
1. Remove one of the three screws in the support
bracket at the bottom of the motor assembly and
retain the screw for later. Slightly loosen the
remaining two screws. Assemble the light plate
assembly to the motor assembly support bracket
using the two key slots in the light plate assembly.
Replace the previously removed screw and securely
tighten all three screws. (Figure 1)
2. Remove one of the three screws in the light plate
assembly and retain the screw for later. Slightly
loosen the remaining two screws. Connect the 2
single pin connectors from the LED assembly to the 2
single pin connectors from motor assembly. (Figure 2)
CAUTION
To reduce the risk of electric shock, disconnect the
electrical supply circuit to the fan before installing
your light kit.
CAUTION
The light source is designed for this specific
application and can overheat if serviced by untrained
personnel. If any servicing is required, the product
should be returned to an authorized service facility
for examination or repair.
Light Plate Assembly
Figure 1
Figure 2
Light Plate
Assembly
Motor
Assembly
LED Assembly