How to Assemble Your Ceiling Fan
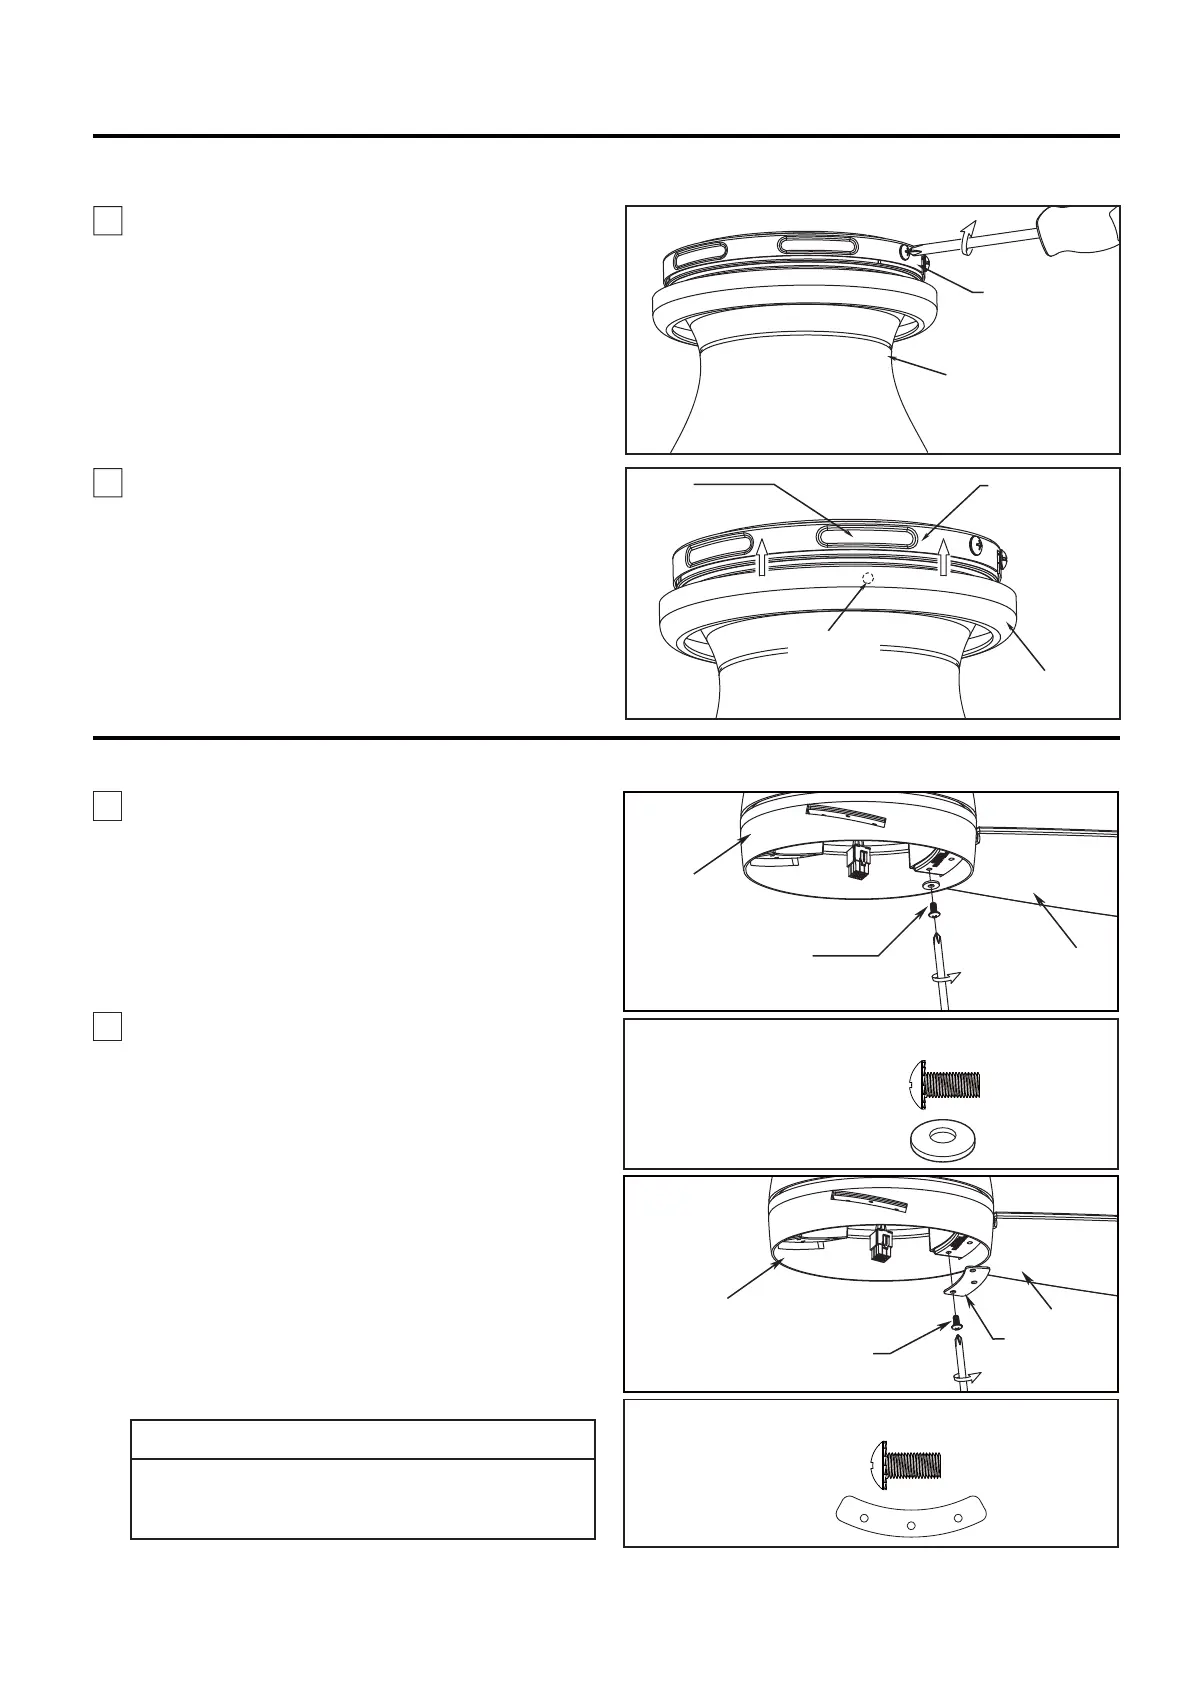
1. Assemble the motor assembly to ceiling bracket
using the previously removed screws and securely
tighten all screws. (Figure 1)
2. Push the canopy trim ring up to conceal the screws,
such that the mounting tabs seat into the dimpled
grooves in the ceiling bracket midway between the
screws.
(Figure 2)
Ceiling Bracket
Assembly
Figure 2
Dimpled
Groove
Canopy Trim
Ring
Mounting
Tabs(4)
Ceiling Bracket
Assembly
Motor
Assembly
Figure 1
8
How to Assemble Your Ceiling Fan Blades
Do not connect fan blades until the fan is completely
installed. Installing the fan with blades assembled
may result in damage to the fan blades.
CAUTION
NOTE: Periodically check blade hardware and
resecure if necessary.
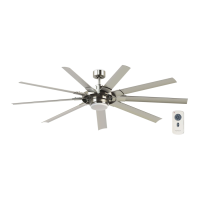
FPS8355B HARDWARE USED:
#8-32
Serrated Head Screws
(3 each per blade)
Blade
Motor
x 9
#8-32
Serrated Head
Screw
x 3
BLADE PLATE
Blade Plate
Slide blades through slots in motor housing and attach
to the motor hub using the #8-32 serrated head screws
and blade plate. Make sure the screws securing the
blades to the motor hub are tight and are properly
seated. (
Figure 1B)
1B. For FPS8355B
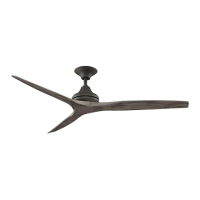
1A. For FPS8332B
Slide blades through slots in motor housing and attach
to the motor hub using the #8-32 serrated head screws
and flat washers. Make sure the screws securing
the blades to the motor hub are tight and are properly
seated. (
Figure 1A)
#8-32
Serrated Head Screws
and Flat Washer
(3 each per blade)
Blade
Motor
Figure 1A
x 9
FLAT WASHER
FPS8332B HARDWARE USED:
x 9
#8-32
Serrated Head
Screw
Figure 1B
 Loading...