53
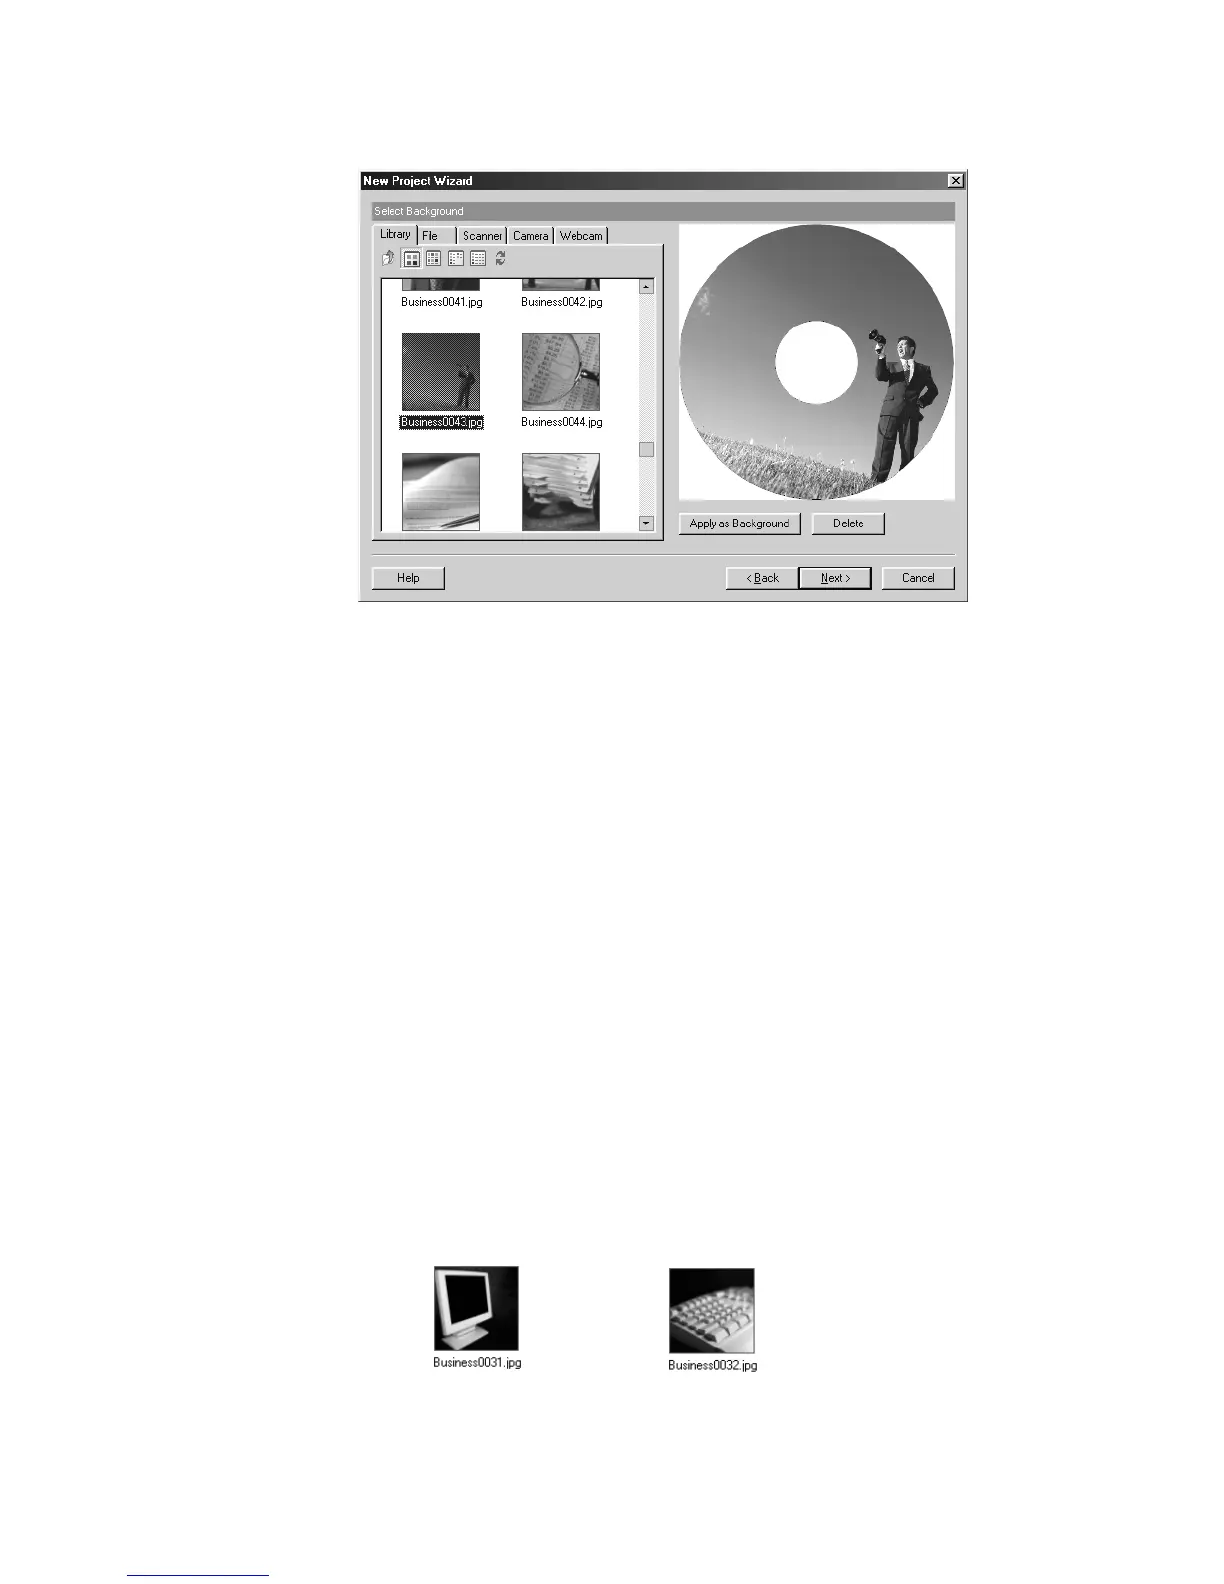
Figure 5.7 – Applying a background image to the label
After you have inserted the image as a background for your label, click the Next button to
continue. The next step is to add images to your label.
Add Picture
The next step is to add an image to our label. The Add Picture screen is very similar to
the Select Background screen. You have the same five options for selecting images and
the same categories of image libraries available here as well. One of the main differences
between the two screens is that you can add multiple images on this screen. So, for
example, you could add both your company logo and trademark symbol to your label.
Also, you can edit any images that are inserted on this screen.
To insert an image from the Image Library:
Select the Library tab.
Browse the image categories to find an image.
Double-click the thumbnail image to add it to your label.
Or, select the thumbnail image and click the ‘Insert Image’ button.
Repeat these steps to add additional images.
For our CD/DVD label example, we will be inserting two graphics from the Business
category. Double-click the Business folder and scroll down until you find the following
images:
 Loading...