77
Scroll down to find the following image:
Click Insert.
The cursor will change to the Insert Picture Tool.
Position your cursor on the left side of the label.
Left click and hold the mouse button down. Then move the mouse diagonally and you
will notice a box being drawn with the image inside.
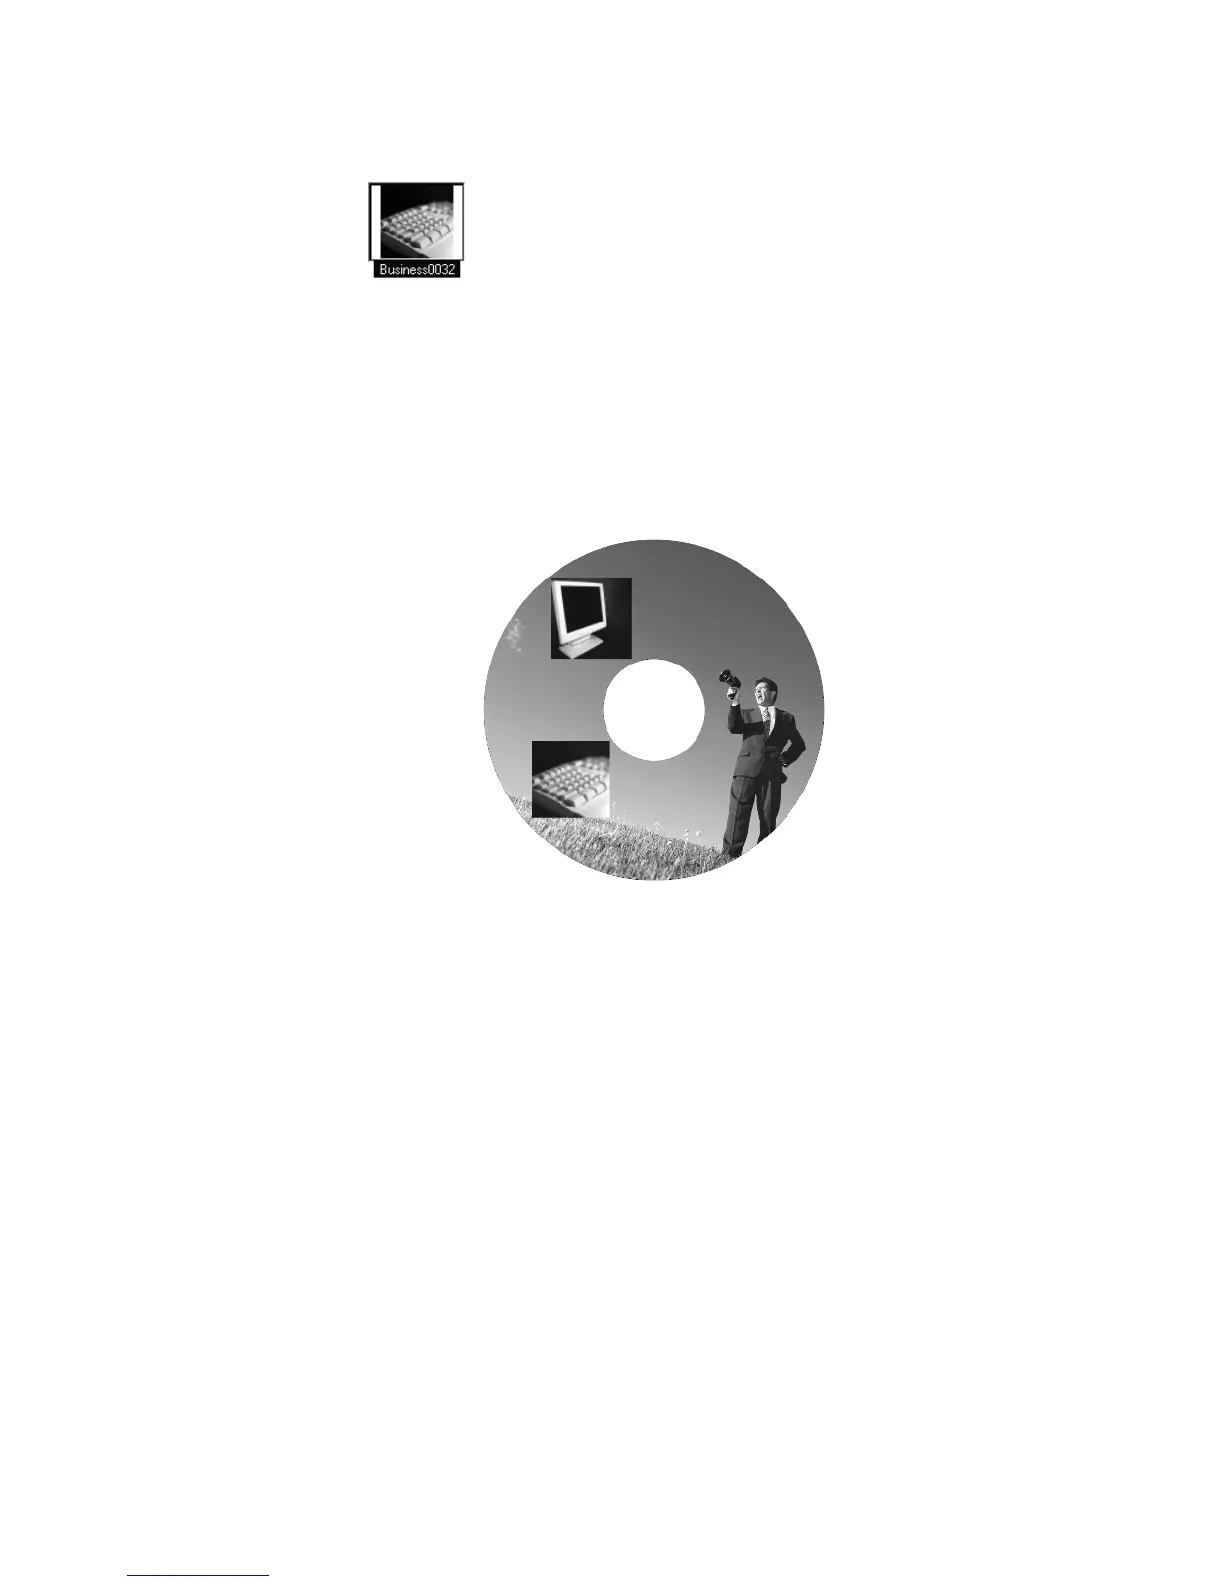
After inserting the two images above, your label should look similar to the one shown
below:
Inserting images onto a label
In the next section, we will discuss different options available to edit and work with the
images that have been inserted.
Working with Images
Several actions, such as moving, resizing, scaling, rotating and deleting, can be
performed on images once they’ve been added to your label. We will be moving and
resizing the images on our label. For our CD/DVD label, first we will resize each of our
images to a smaller scale. Then we will move the images to a new position. Complete the
steps listed below to resize and scale each image:
To resize the image:
Left-click once to select the image. The mouse pointer changes to the
Move/Edit tool and sizing handles will be displayed around the border of the
image.
Next, move your mouse to one of the sizing handles. The mouse pointer
changes to a smaller Move/Edit tool.
To scale the text field, hold down the Shift key, left-click and hold the mouse
button down while dragging the handle in any direction. Scaling a text field
 Loading...