80
the Image Library section, or our label example for inserting an image.)
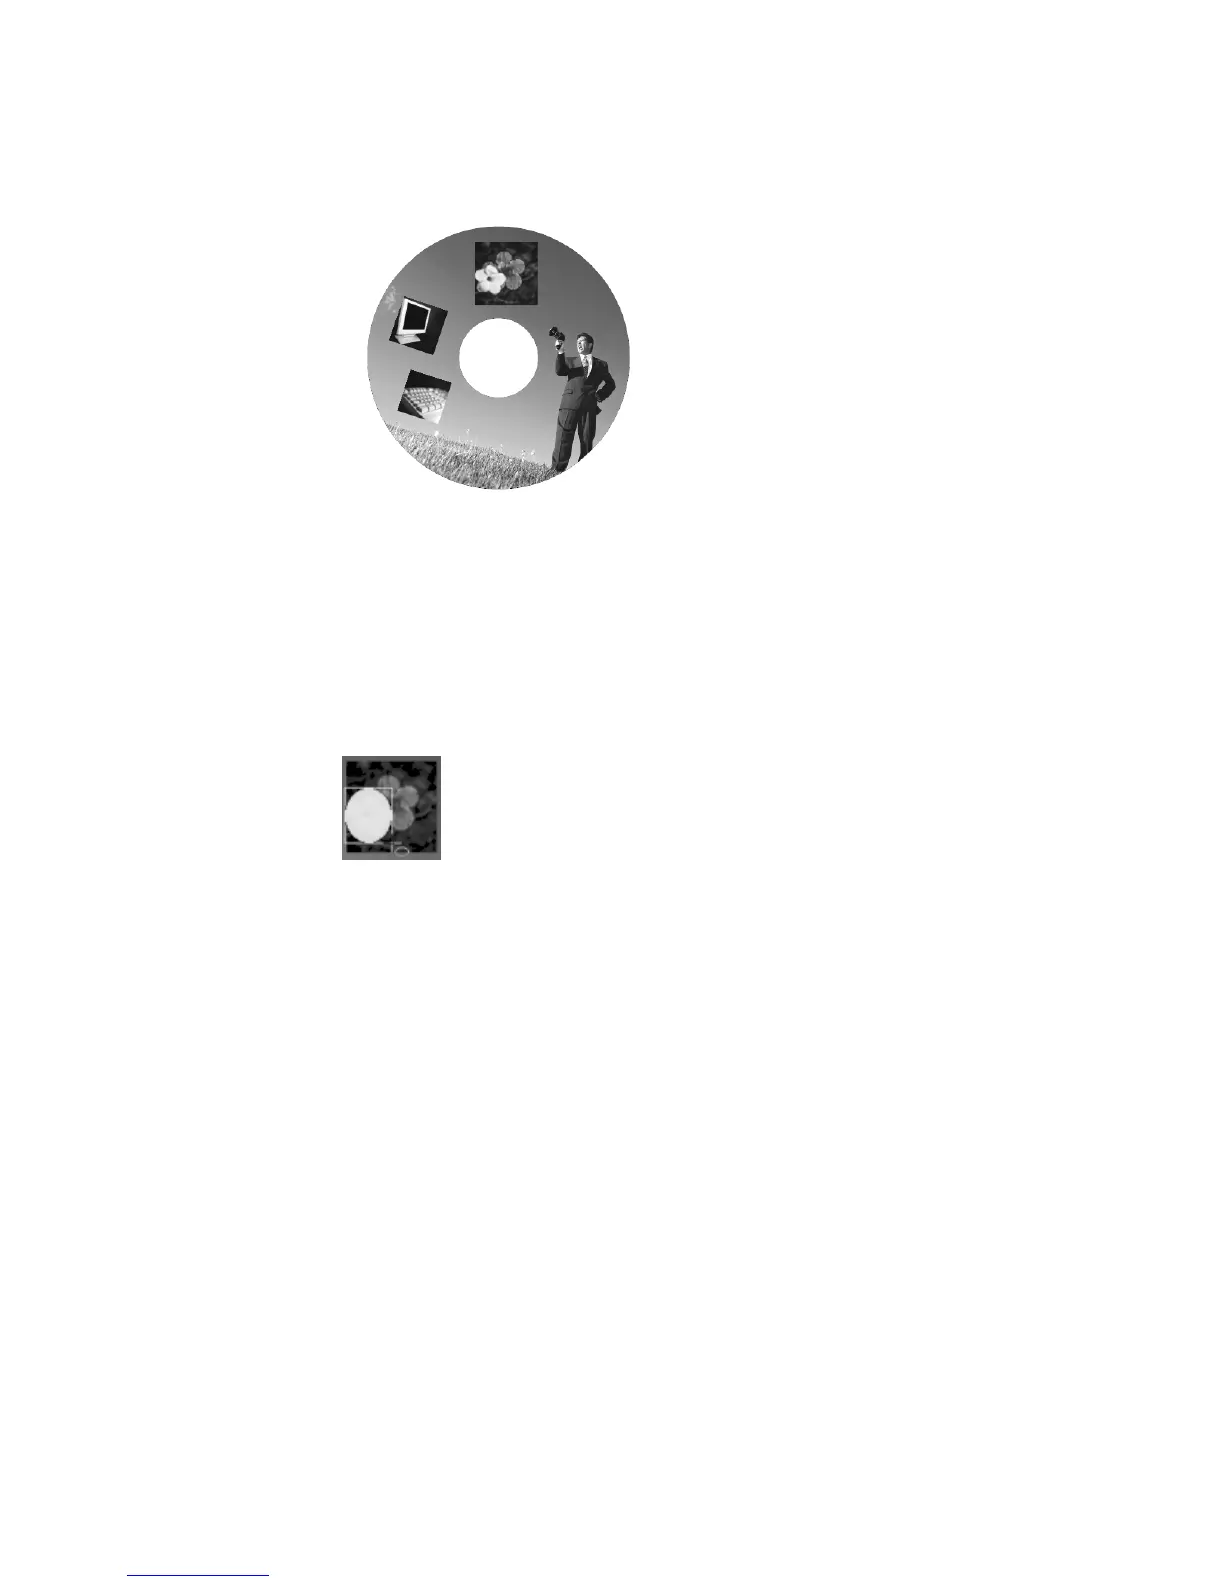
After inserting the image, your label should look like this:
Next, select one of the Shape tools (rectangle, ellipse, line). We will use an
ellipse, so select Insert>Tools>Ellipse from the menu. The cursor will change
to the Insert Shape tool.
Left-click and hold the mouse button down. Then drag the mouse to insert the
ellipse shape over the part of the image that you want to crop. For example,
we only want to use the yellow flower, so we’ll position the ellipse shape over
that part of the image, as shown below:
(If you don’t completely cover the part of the image that you want to crop, you can
move or resize the ellipse shape after you’ve inserted it on the label. The same rules
apply as for moving and resizing images, as discussed in the Working with Images
section.)
Next, select both the ellipse shape and the image. Left-click on the ellipse
shape. Holding down the Ctrl key, left-click the image. A thin light-blue
outline will appear around both of the fields.
Select Format>Image>Crop Image.



 To Next Page