DUOX PLUS IP CAMERA INTERFACE 7
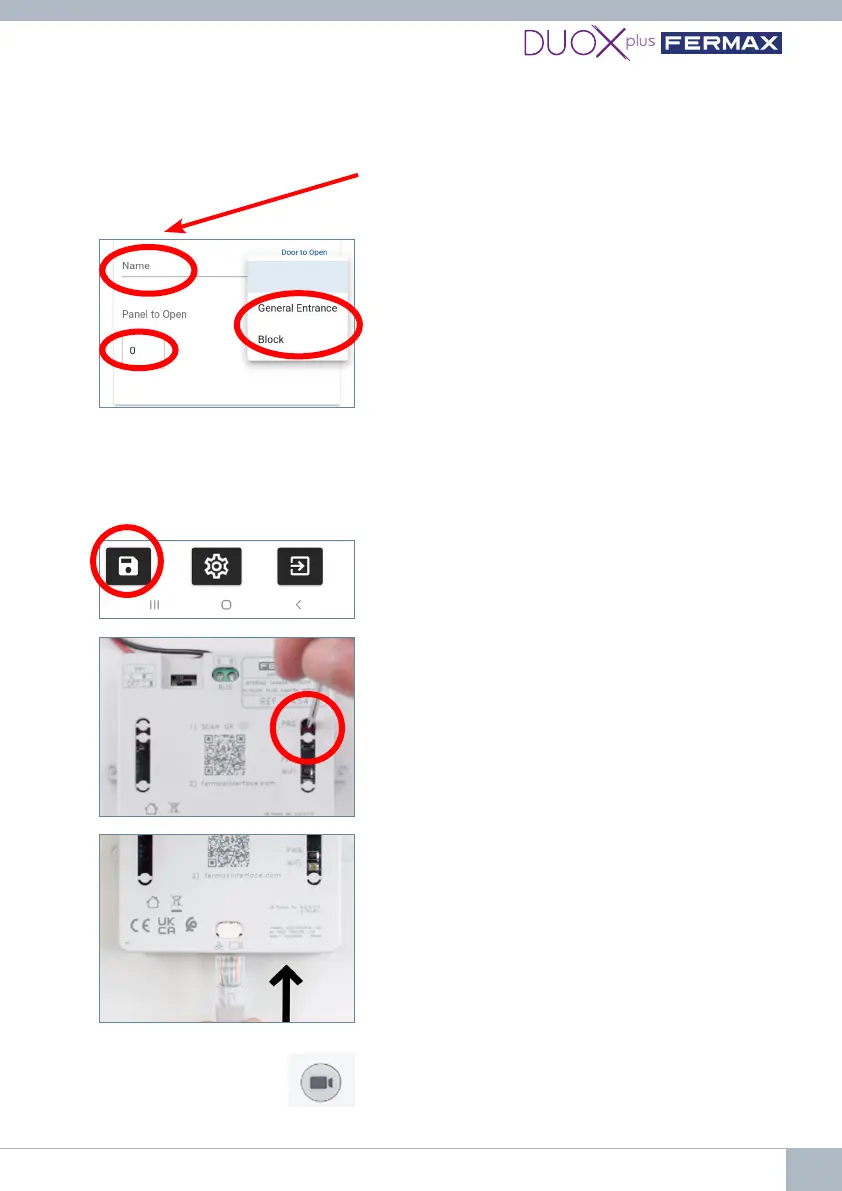
6.7. Connect the IP camera or switch where the IP
camera is located.
6.5. When nished, save the conguration and
close.
6.3.Enterthenameofthecameraforidentication
(this name will only appear within the Interface).
6.4. To activate a DUOX door or relay, select the
type and number of the outdoor panel / relay of
which the door opener / contact will be activated by
pressing the door lock release button while viewing
that camera.
• Indicate the type of DUOX panel/relay in 'Door
to open'.
• Indicate the panel/relay number in 'Panel to
open'.
*If the "DUOX Conguration" facility of the Interface
is used to indicate that it is General Entry, it will only
be able to open General Entry panels, never block
panels.
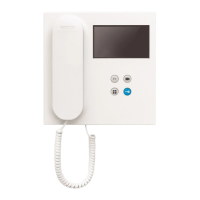
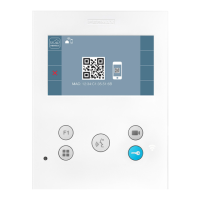
6.8. Verify correct operation by performing an auto
switch-on from any monitor connected to the bus
by pressing the camera icon as many times as
necessary until the desired camera is selected.
(Press camera button
for auto switch-on from
monitor)
specied. This information depends on the individual camera, so please refer to the
manual of the camera itself.
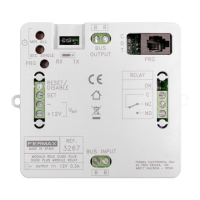
6.6. Deactivate the web server by pressing the PRG
button for 2 seconds so that the white WiFi LED
turnsocompletely.