Switching output OutA
1. Press the A pushbutton.
Ä
The first parameter set is displayed. [Fctn] flashes.
2. Press the A pushbutton to display each of the following parameters.
SPEC menu parameters
1. Press B pushbutton.
Ä
The first parameter set is displayed. [Filt] flashes.
2. Press the B pushbutton to display each of the following parameters.
3. The minimum and maximum values are displayed at the end. To reset the val-
ues, press the EDIT key.
Fig. 8 SHOW mode
Legend Meaning
MIN, MAX Parameter is displayed without time-out
EDIT pushbutton
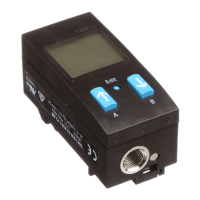
A pushbutton, B pushbutton
1) This menu item is not applicable for SPAN-B-B2 and SPAN-B-B11. With these
variants the Zero Adjust function is always switched on.
Tab. 7
6.4 Setting parameters (EDIT mode)
Fig. 9 EDIT mode
Legend Meaning
EDIT pushbutton
A pushbutton, B pushbutton
1) The values refer to the relevant measuring range and the selected unit.
2) This menu item is not applicable for SPAN-B-B2 and SPAN-B-B11. With these
variants the Zero Adjust function is always switched on.
Tab. 8
6.4.1 Entering the security code
Requirement: the sensor is ready for operation (RUN mode).
1. Press Edit pushbutton.
Ä
The EDIT mode is active. If the security code is activated, the parameter
entry option is blocked: [Lock] flashes.
2. Enter security code set with A or B pushbutton.
3. Briefly press Edit pushbutton.
Ä
[OutA] flashes. The parameter entry option is unblocked.
6.4.2 Configuring switching output
Requirement: the sensor is ready for operation (RUN mode).
Set threshold value comparator _I¯ and window comparator _I¯I_
1. Briefly press Edit pushbutton.
Ä
[OutA] flashes.
2. Briefly press Edit pushbutton.
Ä
[Fctn] flashes.
3. Select _I¯ or _I¯I_ with A or B pushbutton.
4. Briefly press Edit pushbutton.
Ä
– The set value is saved.
– The next adjustable parameter is shown.
5. Set the parameter with A or B pushbutton.
6. Repeat points 4 and 5 until all parameters are set.
7. Press Edit pushbutton.
Ä
Switch to the RUN mode.
6.4.3 Changing device settings
Requirement: the sensor is ready for operation (RUN mode).
1. Briefly press Edit pushbutton.
Ä
[OutA] flashes.
2. Select special menu [SPEC] with A or B pushbutton.
Ä
[SPEC] flashes.
3. Briefly press Edit pushbutton.
Ä
[Filt] flashes.
4. Set the parameter with A or B pushbutton.
5. Briefly press Edit pushbutton.
Ä
– The set value is saved.
– The next adjustable parameter is shown.
6. Repeat points 4 and 5 until all parameters are set.
7. Press Edit pushbutton.
Ä
Switch to the RUN mode.
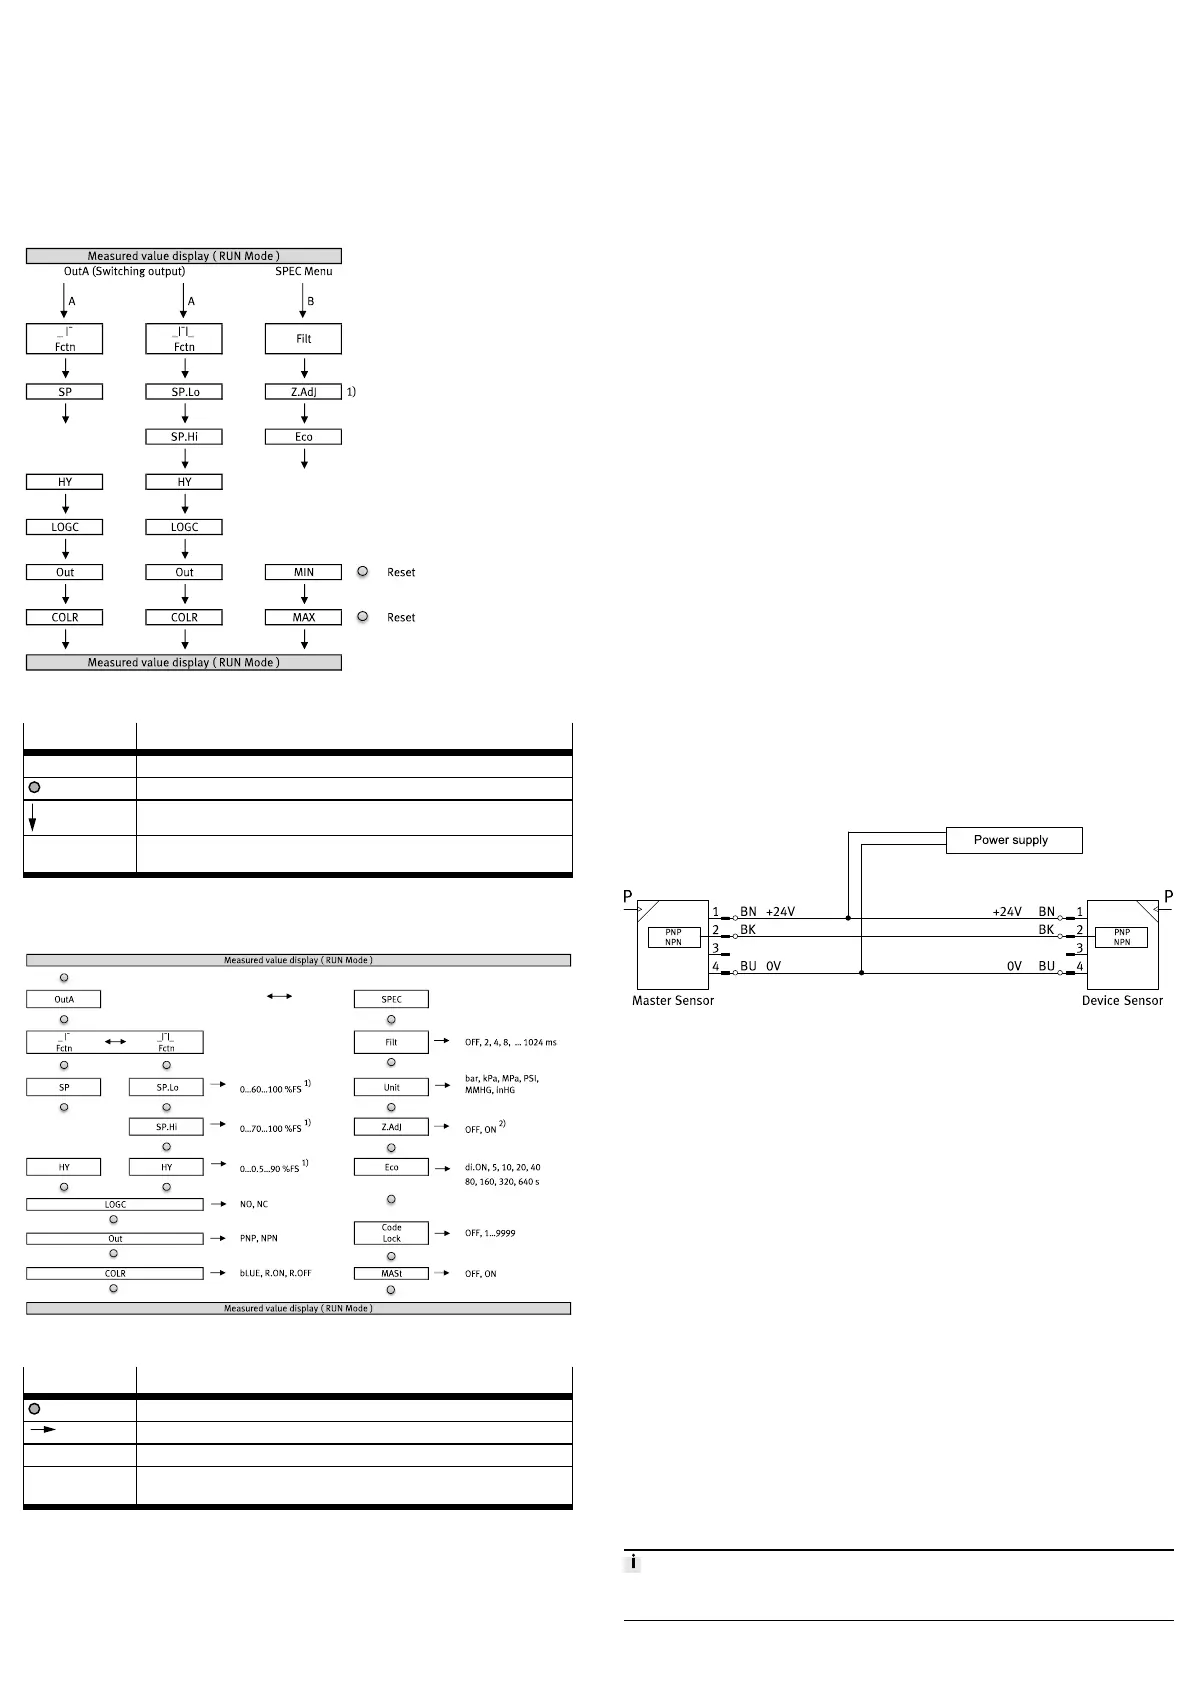
6.4.4 Replicating parameters
Requirements:
– The pre-configured sensor (master sensor) is ready for operation (RUN mode).
– Master sensor and device sensor have the same design with reference to the
parameters (same device ID).
– The master sensor is connected with the device sensor è Fig.10.
– The device sensor is in an unswitched status (switching output PNP, display
OutA off).
Fig. 10 Pin allocation
Replicating parameters
1. Select the special menu [SPEC] from the device settings on the master sensor.
2. Press Edit pushbutton repeatedly until [MASt] appears.
3. Select [ON] using the A or B pushbutton.
4. Press Edit pushbutton.
Ä
[REPL]/[RedY] appears.
5. Press A or B pushbutton.
Ä
[REPL]/[RUN] appears briefly. The parameters are transmitted to the
device sensor. [REPL]/[RedY] appears. If an error occurs, an error mes-
sage appears è 9.1 Fault clearance.
6. If an additional sensor is to be parameterised, connect the additional sensor
to "è Fig.10" and repeat step 5.
7. Press Edit pushbutton.
Ä
RUN mode is active.
6.5 Zero point synchronisation (zero adjust)
Requirement:
– The sensor is ready for operation (RUN mode).
– [Z.AdJ] [ON] is set (factory setting for bipolar variants).
– The measured value lies in the range 0 bar ± 3% FS.
Perform zero point synchronisation
1. Hold down the A and B pushbutton.
2. Also press the Edit key.
Ä
– [OK] appears. The zero point synchronisation was successful.
– If [FAIL] appears: the zero point synchronisation was not successful.
Check requirements.
If [Z.AdJ] [OFF] is set for a later time, the device accepts the factory-set calibration
values.
 Loading...