1918
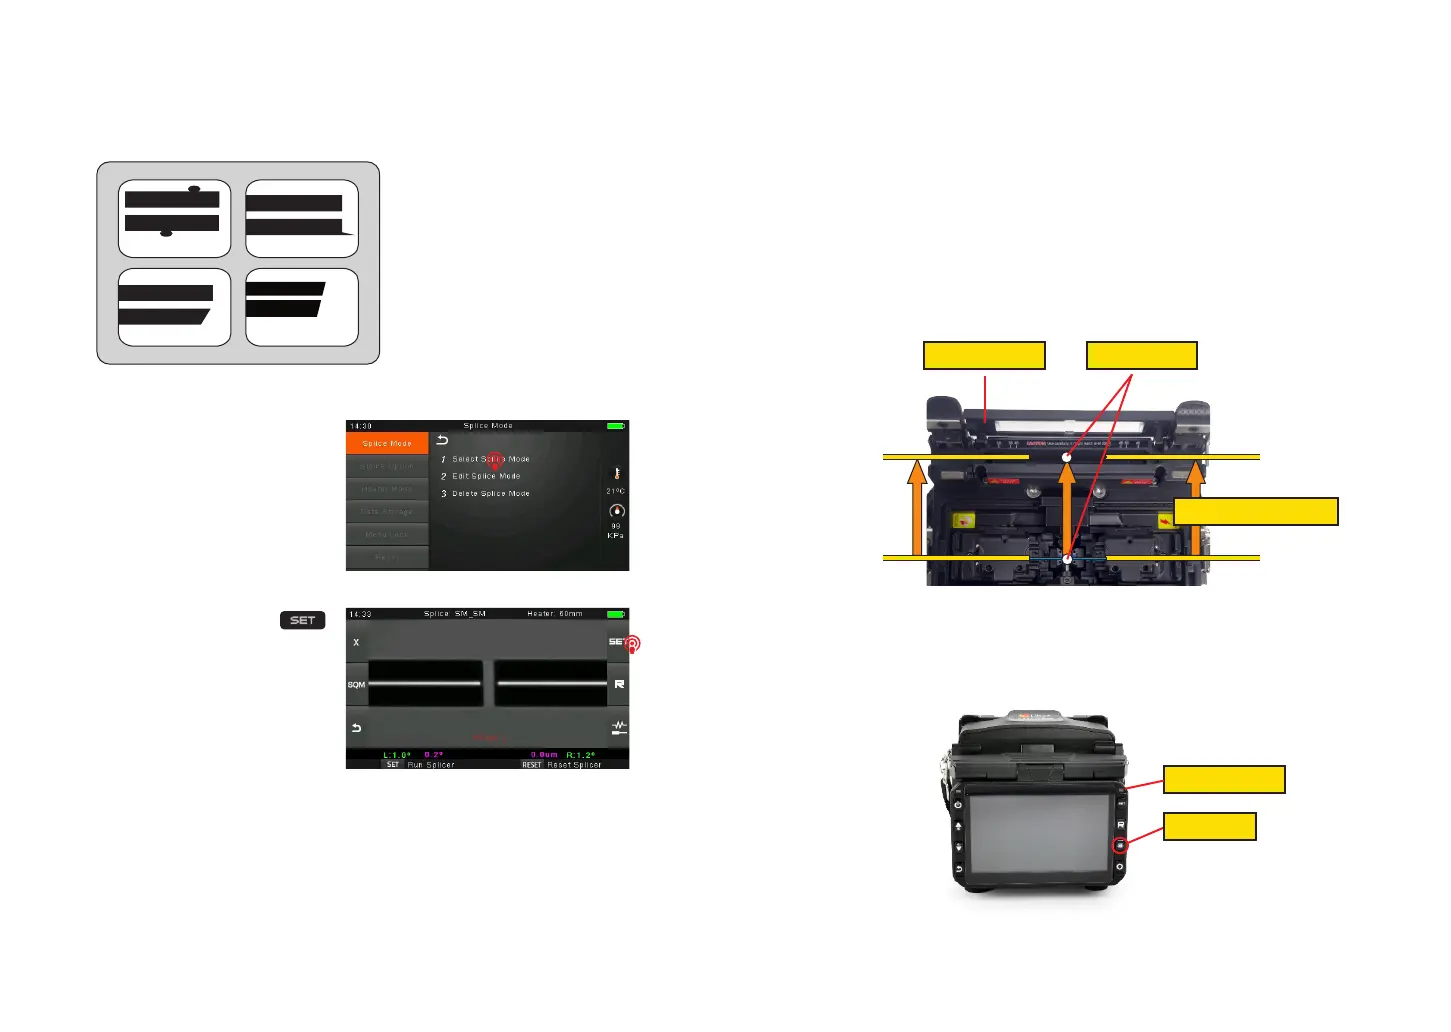
③ If you nd any defects as shown in the following pictures, remove the ber and
prepare again.
Note:The bers are checked
automatically when you press
Splice button. The splicer
automatically focuses the bers
and checks for damage or dust
particles.
3.9 Splicing
① Select any appropriate splice
mode.
Note: If the splicer is set as
“Auto mode”, splicing will start
automatically once the wind proof
cover is closed.
② Start splicing by pressing
button.
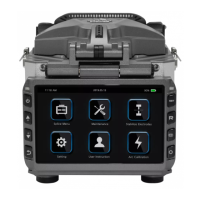
3.10 How to Protect the Splice
After splicing, protect the joint by using a heat-shrink sleeve and the heat oven
which is mounted onto the splicer. “Shrink” process can be activated via pressing
the “HEAT” key.
① Open the heat oven lid
② Raise left and right ber holders on the splicer. Hold the heat-shrink tube, lift the
spliced bers and hold them move the heat-shrink tube so that it is centered over
the splice point.
③ Move both the bers and the heat-shrink tube over to the heat oven and place
them in the oven clamps.
④ Press the “HEAT” key to begin heating, when the heating process is nished, the
heating indicator will be turned o automatically and companied by prompt sound of
the buzzer.
Open the heat oven lid Position of splices
Moving the ber into heat oven
dust on ber
chip large cleave angle
lip
Heating Indicator
Heat Button