18
ELECTRONICS MODULE REPLACEMENT
! To avoid any risk of electrical discharge, turn off and unplug the Filtrabox
before doing any activities that require disassembly of the unit.
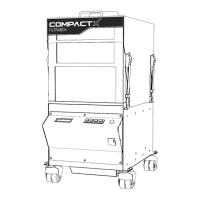
The Electronics Module houses all the main electrical components and the main electronics
assemblies. In the event of damage or a malfunction, the entire module can be removed from
Filtrabox by removing a few screws and disconnecting a few cables. Contact Filtrabox to order.
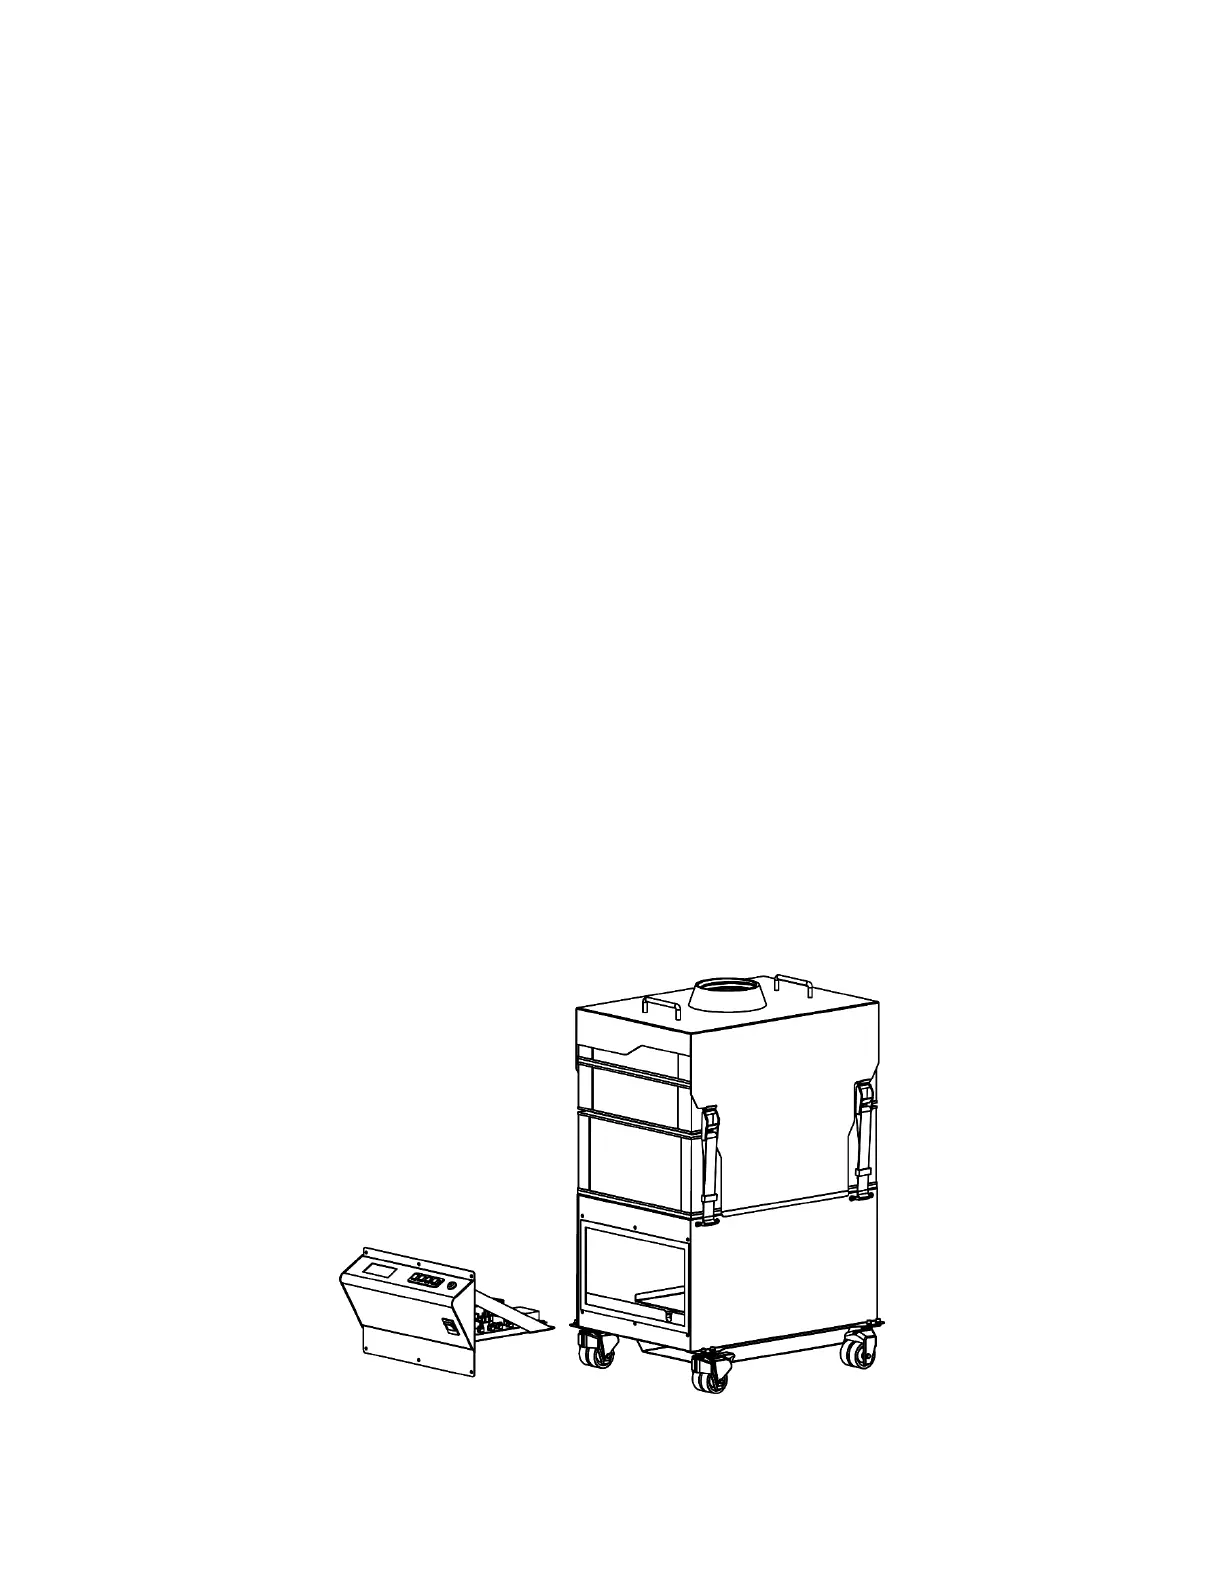
1. !IMPORTANT! Ensure that the Filtrabox is powered off and unplugged.
2. Remove all six Phillip’s-head screws holding the Electronics Module in place.
3. Pull the Electronics Module out and place it on the floor in front of the machine with all the
wires still connected.
4. Disconnect all five wires that connect the Electronics Module to the rest of the machine:
a. The large white 5-pin connector
b. The two wires on the power switch
c. The ribbon cable on the main board
d. The small 2-pin JST connector
5. Remove the old Electronics Module and replace it with the new one by reconnecting the
wires that were disconnected in step 4.
6. Insert the new module into the machine and reuse the six Phillip’s-head screws to hold it in
place.
12. Plug in and power-on the unit, then go to the User Interface and press the “Menu” button.
Press the right arrow key to advance the screen until you reach the “New Application
Calibration” section. Press the “OK” button to initiate Calibration. The Calibration process
will take approximately one minute.