PREPARATION OF MACHINE
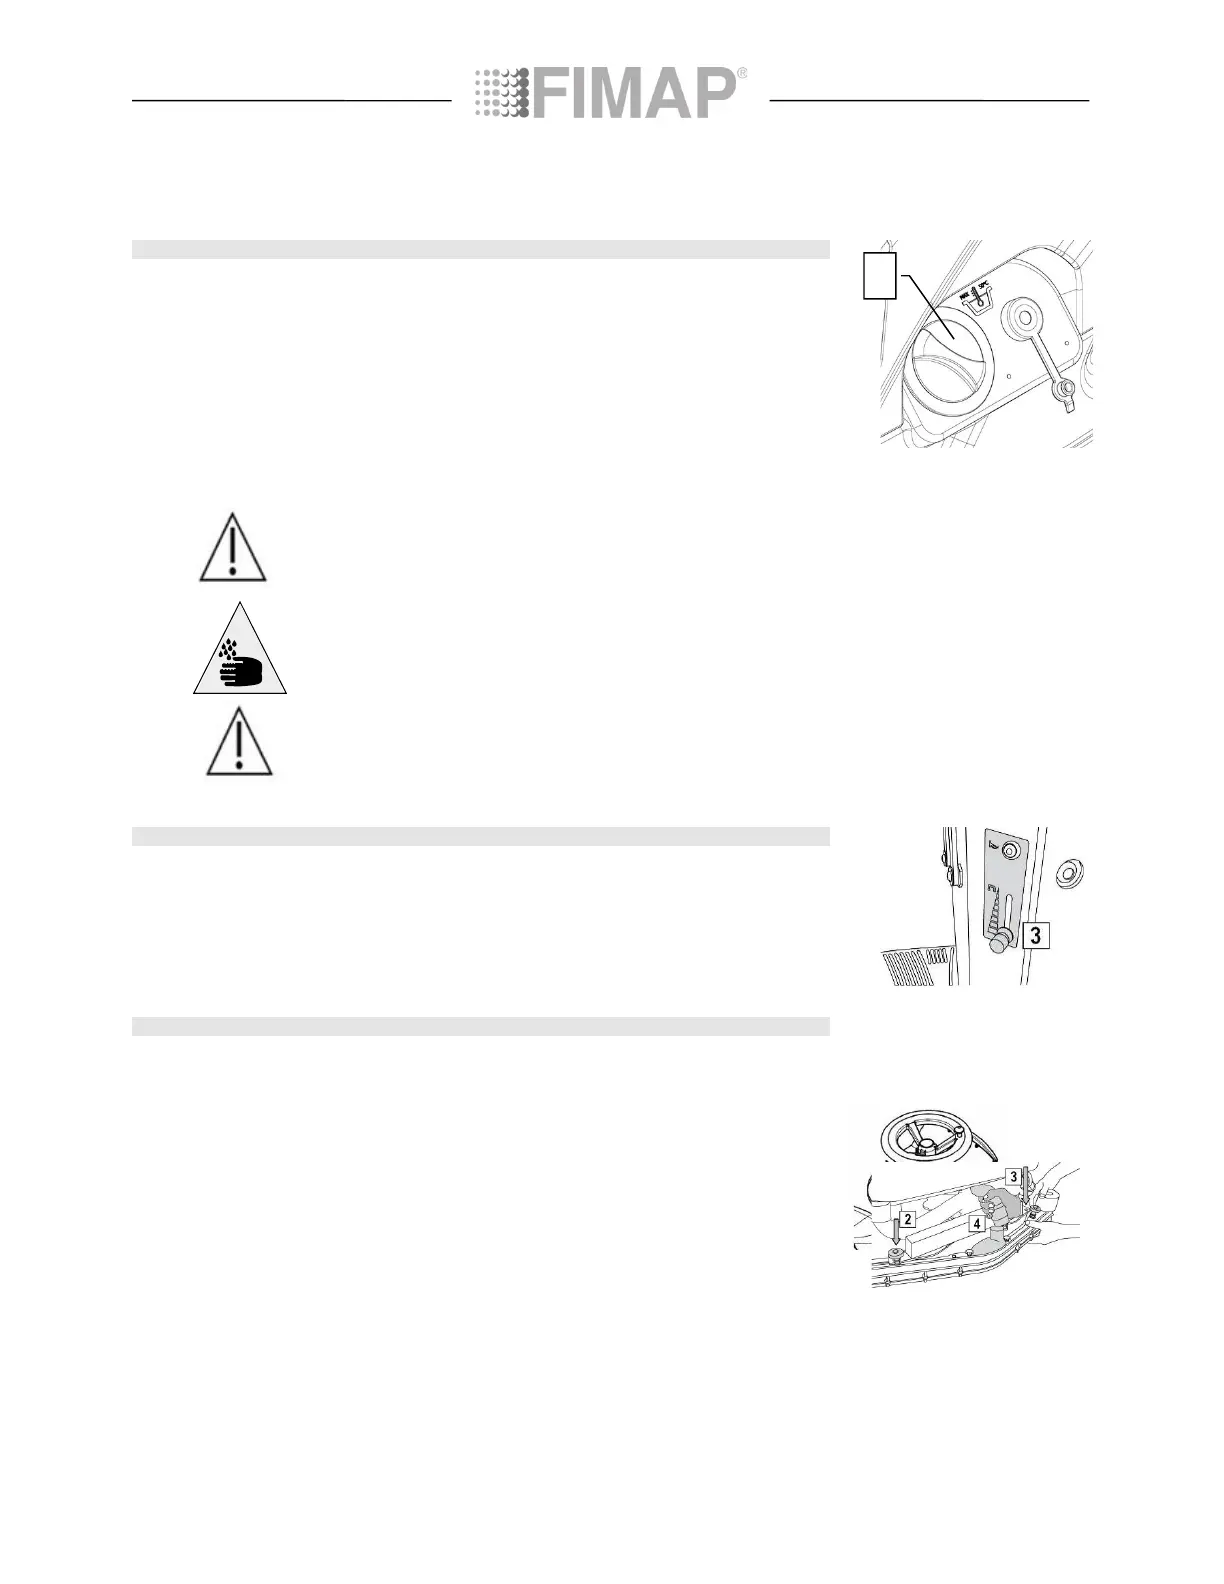
Remove the filler cap (1) and check the solution filter is correctly assembled.
filter cap, under the solution tank in the front right of the machine, is properly closed.
Fill it with clean water at a temperature not exceeding 50
C. The amount inside the tank can be seen by means
of the level pipe on the front left of the seat. The so
lution tank has a maximum capacity of about 110 litres. Add
the liquid detergent to the tank in the concentration and manner indicated on the detergent manufacturer's label.
The formation of excess foam could damage the vacuum motor, so use only the minimu
m amount of detergent
ATTENTION: Always use detergents whose manufacturer's label indicates
their suitability for scrubbing machines. Do not use acid or alkaline products or
solvents without this indication.
ATTENTION: protective gloves should always be worn before handling
detergents or acidic or alkaline solutions, to avoid serious injury to the hands.
ATTENTION: always use low-foam detergent. To avoid the production of
foam, put a minimum quantity of antifoam liquid in the recovery tank before
starting to clean. Do not use pure acids.
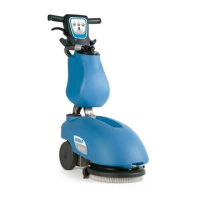
Firstly, fully open the outflow of
the tap, by means of the lever (3) on the steering column. During the first few
meters, check that the amount of solution to wet the floor is sufficient, but not too much that it exits the splash
-
guard, the adjustment of the detergent application is made b
y means of lever (3) (shifting it downwards increases
the flow, shifting it upwards decreases it). Bear in mind that the correct amount of solution always depends on the
nature of the floor, the degree of dirt and the forward speed.
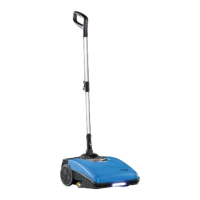
For packaging reasons, the squeegee is supplied disassembled from the machine, and must be assembled as
Raise the squeegee connection by means of the left lever (1) turning it clockwise into the vertical positi
on.
Make sure the parking brake is engaged and that the main switch is OFF. Firstly insert the left pin (2) of the
squeegee into the left slot on the arm and then the right pin (3) into the right slot, being careful to keep the spring
the arm’s flat bar. This can be simplified by first loosening the handwheel on the pin. Then
retighten the handwheel to block the squeegee in place.
Insert the squeegee tube in the appropriate sleeve (4).
1