Lit. No. 68660/68661, Rev. 04 15 January 15, 2014
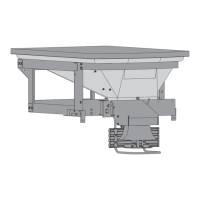
FIXED MOUNT
Removing the Spreader
1. Unplug the spreader and CHMSL (if equipped).
2. Remove the two 3/8" cap screws, washers, and
locknuts that fasten the spreader to the bumper of
the vehicle.
3. Use an additional person or clamps to support the
unit, and then remove the four 3/8" cap screws
and locknuts that fasten the spreader to the top
brackets.
4. Remove the spreader from the vehicle and stand it
in an upright position. This may require additional
support.
Removing the Brackets
1. Remove the two 1/2" cap screws, washers and
locknuts that fasten each top bracket to the
bed rail.
2. Remove the two 5/16" cap screws, washers and
locknuts that fasten each top bracket to the side of
the bed rail.
3. Package the brackets with all hardware and store
them with the unit.
REMOVING THE SPREADER
CAUTION
During removal or mounting, securely grip
spreader to avoid dropping.
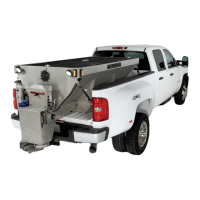
SWING AWAY
®
MOUNT
Removing the Spreader
1. Unplug the spreader and CHMSL (if equipped).
2. Remove the hitch pin from the latch‑side hinge pin.
3. Remove the 1/4" cap screw and locknut from the
hinged‑side hinge pin.
4. Use an additional person to support the unit and
remove both hinge pins.
5. Remove the spreader from the vehicle and stand it
in an upright position. This may require additional
support.
Removing the Top Brackets
1. Remove the two 1/2" cap screws, washers and
locknuts that fasten each top bracket to the
bed rail.
2. Remove the two 5/16" cap screws and locknuts
that fasten each top bracket to the side of the
bed rail.
3. Mark the location of any shims to aid in
reinstallation.
4. Package the brackets with all hardware and store
with the unit.
Removing the Base Plates
1. Remove the four 3/8" cap screws, washers,
locknuts and any shims that fasten the base plate
to the bumper.
2. Mark the location of the shims to aid in
reinstallation.
3. Package the base plates with all hardware and
store with the unit.
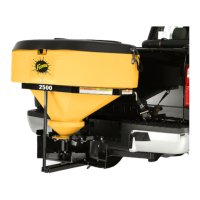
CAUTION
Empty the hopper before removing the
spreader.