9
Levelling and Calibration
The equipment has been levelled and calibrated before leaving factory. However, the
levelling plane may be damaged due to the vibration generated during transportation. It
is recommended to perform levelling before the first printing. There are two levelling
modes: auxiliary levelling mode and manual levelling mode. In the auxiliary levelling
mode, all execution will be completed with the help of the extruder sensor and auxiliary
prompts. When the function option is in the manual mode, the platform levelling in the
auxiliary mode will not activate the sensor function.
In total, the equipment contains the following levelling calibrations: Platform Levelling,
Calibration XY, Calibration Z and Auto level;
Please operate in the following order:
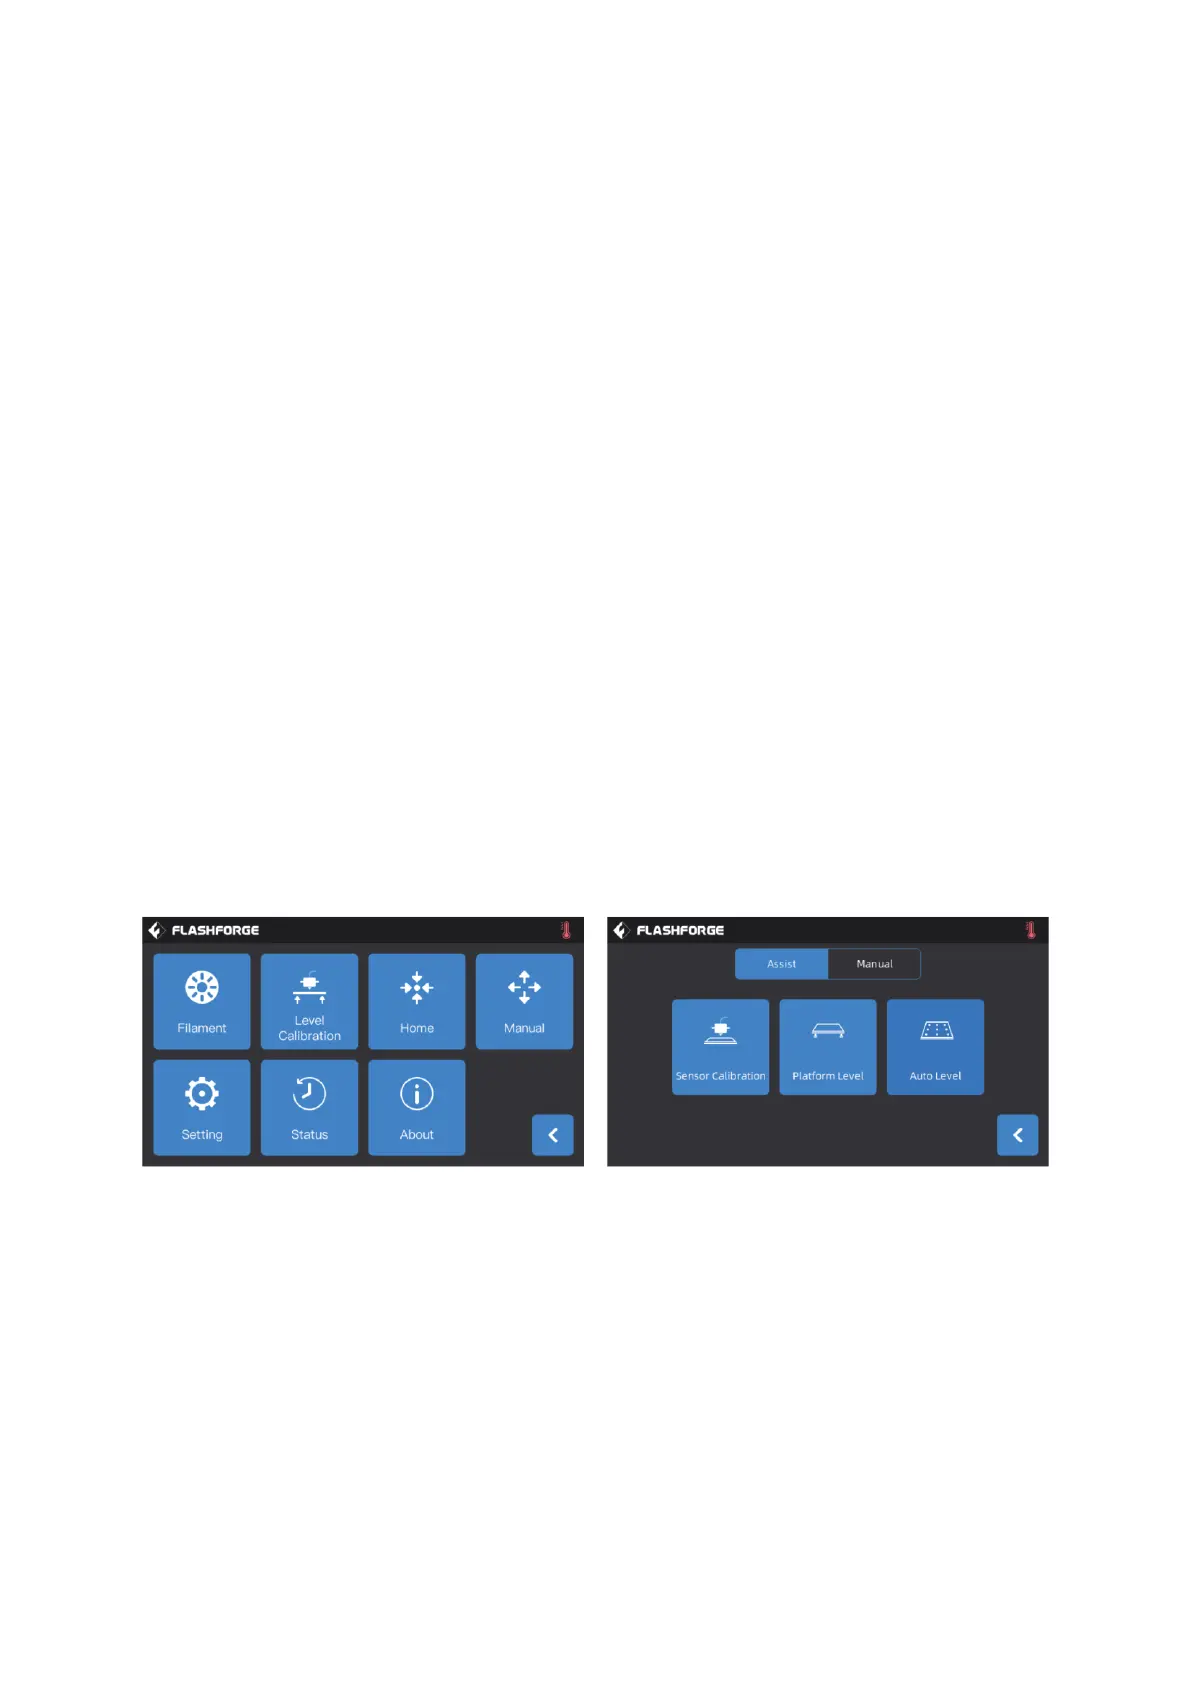
• Click [Tools] and [Level Calibration] on the touch screen;
• Select the auxiliary mode for levelling and calibration;
• The extruder sensor calibration has been set before leaving factory, so there is
no need to operate again;
• Click platform levelling and operate following the prompts on the screen;
• Perform Z-axis calibration and operate following the prompts on the screen;
• The X, Y axis have been calibrated before leaving factory, so there is no need to
operate again;
• The whole levelling and calibration is completed.
9-point levelling function: when the printing flatness is still poor after the platform
levelling and XY/Z axis calibration, this function can be used to compensate for better
flatness.
Manual levelling mode: Execute platform levelling, Z-axis calibration and X, Y axis
calibration in turn. This is a complete set of levelling and calibration operation
procedures.