10 of 59 GH-24, GH-30, GH-45, GH-60 Rev.003
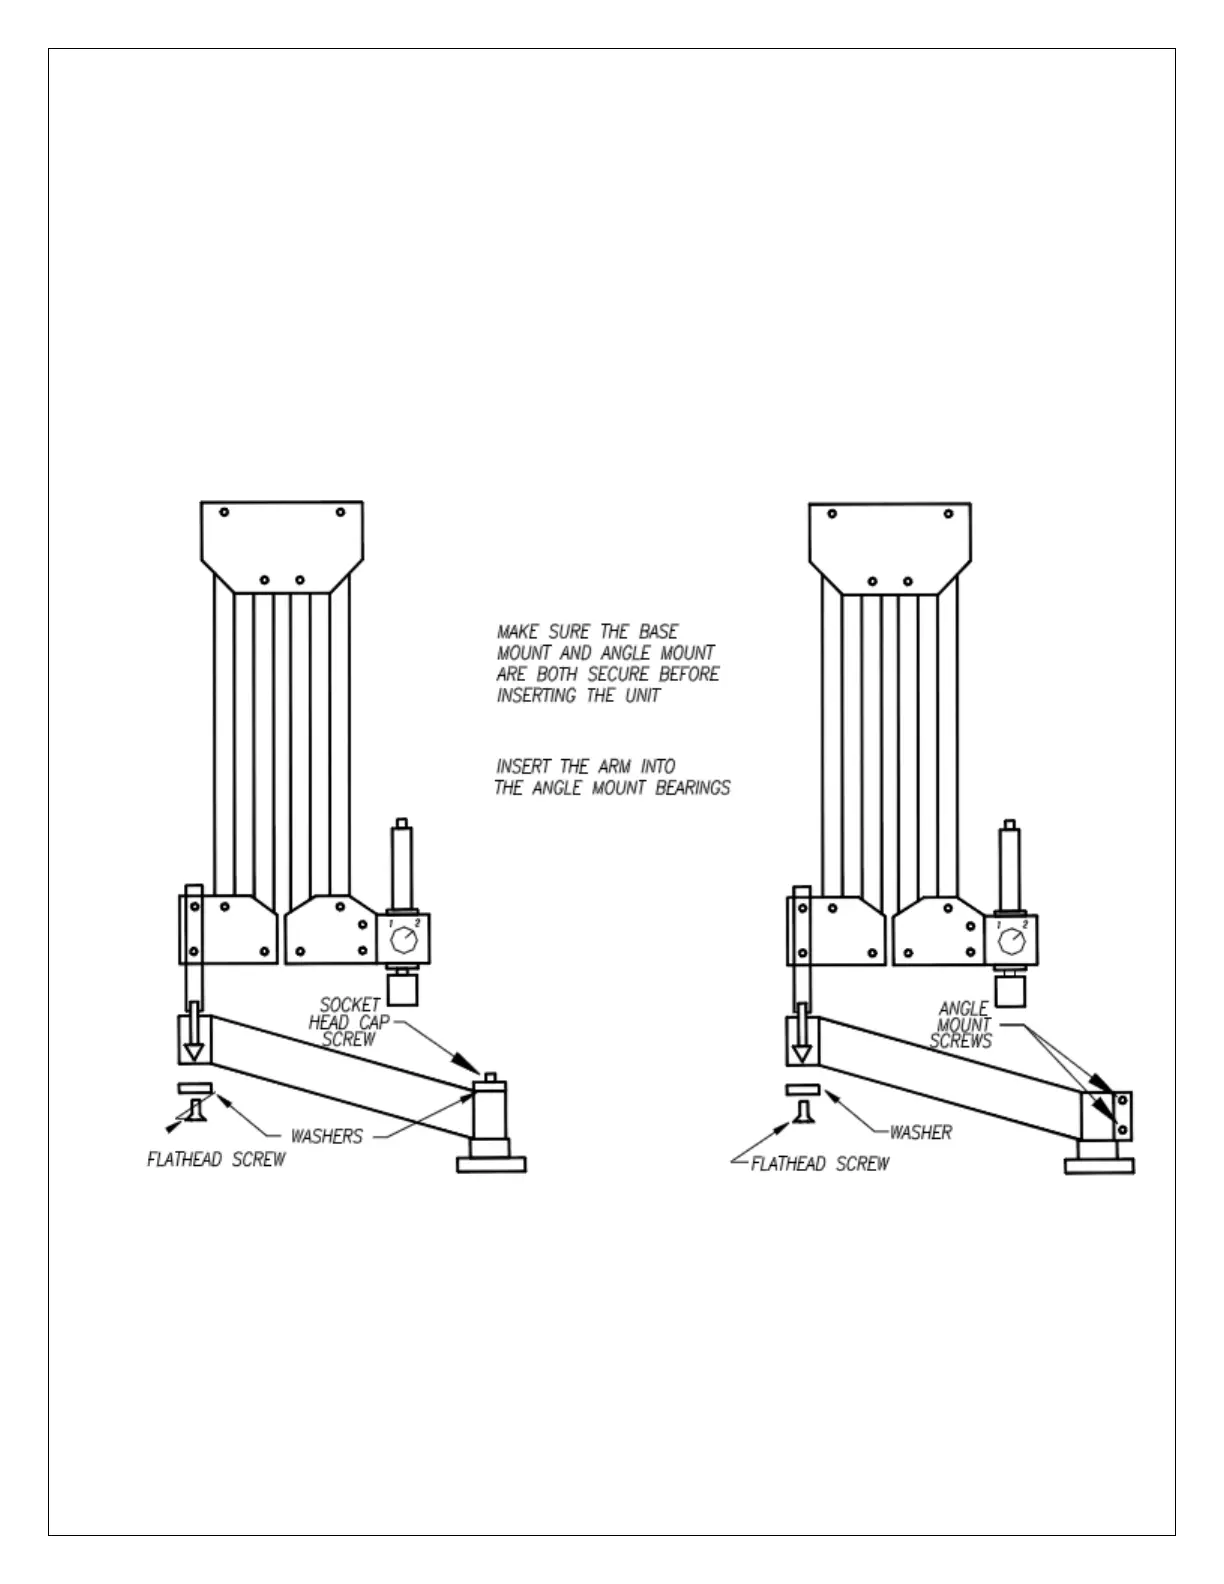
ARM INSTALLATION
3. Secure the angle mount by placing the washer on top of the lower bore and tightening the angle
mount bolt securely into the base mount for a GH-24 and GH-30. For the GH-45 and GH-60 tighten the
two angle mount screws. The angle mount bolts must be tightened securely or the machine will not
maintain perpendicularity.
4. Insert the rear pin of the unit into the upper bore and bearing of the angle mount. The rear pin may
not slide through both bearing sets- use the flathead cap screw to help pull the unit completely
through the bottom bearing.
5. Remove any straps holding the arms together and adjust the counter balance of the arm. This will
eliminate the possibility of the arm striking the operator when it is positioned at its lowest point. (See
Counter Balance Adjustment Section on page 21)