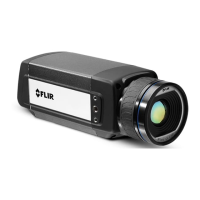
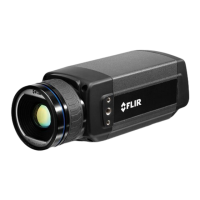
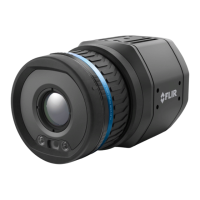
FLIR ADK
Getting Sta rt e d
The information contained herein does not contain technology as
defined by EAR,15 CFR772, is publicly available, and therefore
not subject to EAR.
6
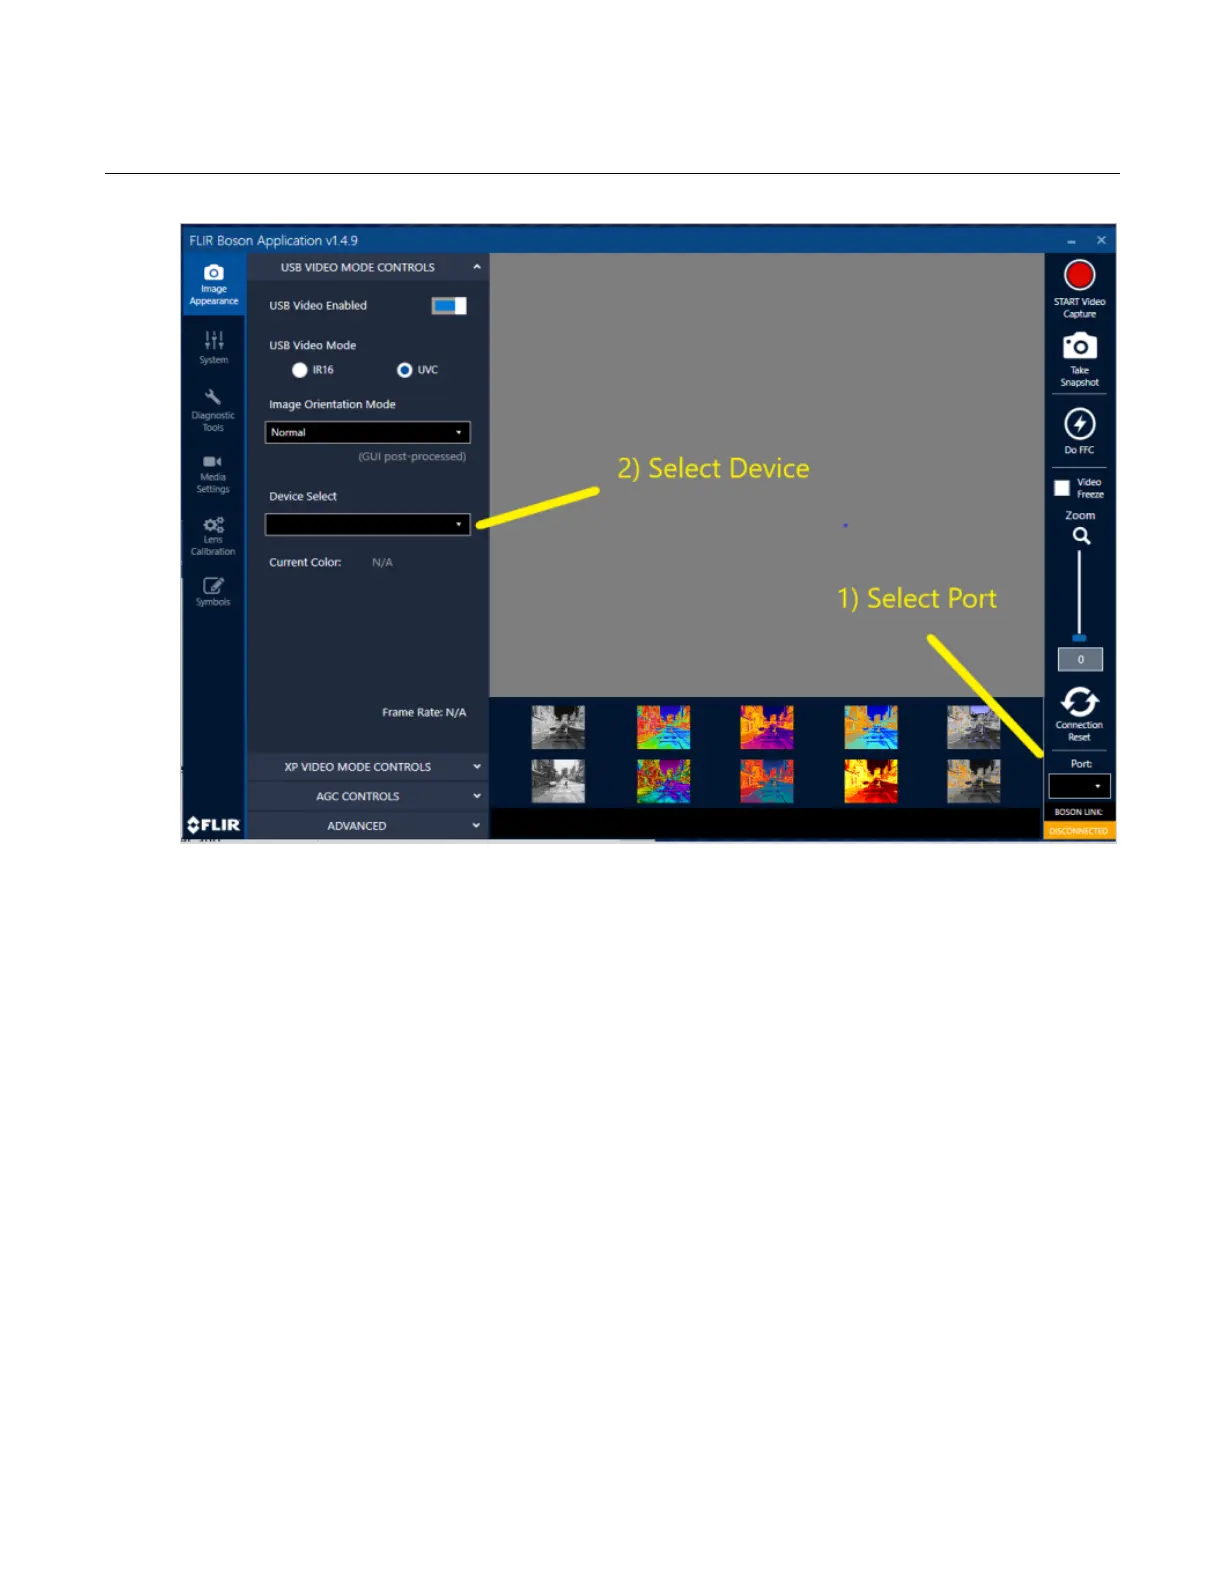
Once connected, click the “Do FFC” button on the right of the screen. The camera should
click and the image should blink. This will confirm you have control of the camera and are
streaming video.
There are many nested menus on the left side of your screen. These give you control of the
camera. The control options of most interest for automotive customers are:
“USB Video Mode” under Image Apperance -> USB Video Mode Controls
“FFC Mode” under System -> FFC Controls. Manual mode is recommended for automotive
applications.
“Table Switch” under System -> Dynamic Range Control. This may be need is the camera
sees a significant change in temperature.
“Save Power On Defaults” and “Restore Factory Defaults” under System -> Configuration
control. This lets you boot into a custom camera configuration.
“TFPA” under Diagnostic Tools -> Status Panel. TFPA stands for Temperature of the Focal
Plane Array. This is a measure of temperature inside the camera. On the same menu you can
check your camera software version and serial numbers.
“File Save Path” under Media Settings -> Media Configuration. These show the location of
the saved files when using the Video Capture and Take Snapshot buttons in the upper left.