427-0030-00-28 Version 110 Jun 2013 2-2
2
Basic Operation and Configuration
2.2 Basic Test and Configuration Steps
Configuring the camera for IP communications generally involves the following steps:
Step 1 Connect the Ethernet port of the camera to an IP network that is isolated from the existing
camera network (for example, a standalone switch
3
)
Step 2 Connect a PC or laptop to the same network
Step 3 Temporarily set the IP address of the PC or laptop to be compatible with the factory network
address of the camera (for example, 192.168.250.1)
If you are unsure how to set the IP address on the PC or laptop, refer to section 2.9 “Setting the IP
address on a Windows PC” on page 2-23.
Step 4 Perform a bench test of the camera using a web browser or FSM, prior to making any
parameter changes (this step is optional but recommended)
Step 5 Configure the camera settings, such as IP address, camera date/time, security settings,
and video stream parameters, so the camera is compatible with the existing network
equipment
Step 6 Save the configuration changes and restart the server
Step 7 Connect the camera to the existing network and test the camera
Step 8 Make a backup of the new configuration
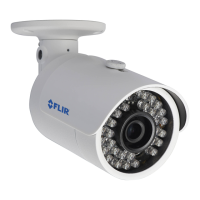
2.3 Camera Bench Test
Since the camera offers both analog video and IP video, and since some cameras can be powered by
Power over Ethernet (PoE) or by a conventional power supply, there are several ways to bench test the
camera. It is recommended the installer should test the camera using the same type of connections
as the final installation.
Even if only analog video and conventional power are used in the final installation, it is a good idea to
test the IP communications when performing the bench test. If any image adjustments are necessary,
they can be done using a web browser over the IP connection, and saved as power-on default
settings.
Once the camera and PC are connected to the same network and the camera is powered on, use a
web browser to access and test the camera as described below, and if necessary make configuration
changes prior to installation.
3. It may also be possible to connect the camera and PC back-to-back (without using a
switch) with an Ethernet crossover cable. In most cases, a straight Ethernet cable can also
be used, because many PCs have auto detect Ethernet interfaces.