427-0030-00-28 Version 110 Jun 2013 2-1
2 Basic Operation and Configuration
This chapter provides basic information on how to operate a new camera that has not yet been
configured. A bench test can be used to verify camera operation before the camera is configured for the
local network. This chapter also provides basic configuration information.
The camera has an Ethernet connection that allows streaming video over an IP network as well as
configuration and control of the camera
1
. It is possible to stream video and control the camera as it is
from the factory, without making any configuration changes. However in most cases the camera will have
at least some configuration changes to allow it to connect with other devices on the existing network.
Once the camera is connected to a network and powered on, the user can choose to use either a web
browser
2
or the FLIR Sensors Manager (FSM) software to view the video and control the camera. This
manual is primarily focused on using the web browser interface. The FSM software is included with the
camera and can be run under Microsoft Windows. Refer to the FSM User Manual for details about using
the software; the manual is available from the Windows Start menu once the software is installed.
Getting the camera IP interface set up and working may require a level of familiarity with managing IP
networks that is new to many security professionals. Prior to configuring the IP interface and streaming
video parameters, make sure you know how to manage and configure the other equipment in the
network (for example, any PC or device that will connect to the camera, any router or firewall that will
carry the IP traffic, and so on). FLIR technical support can only provide limited support in this regard.
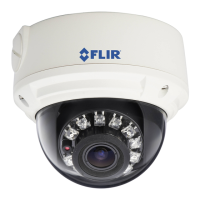
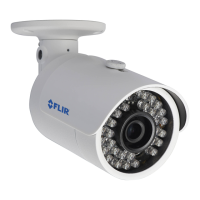
2.1 Power and analog video
Install the camera cables as described in the installation manual. With the camera powered up, analog
video can be tested using the BNC connector (or, if available, the RCA connector). Connect the camera
to a video monitor and confirm the live video is displayed on the monitor.
After the camera is turned on and finishes the bootup process (after approximately 90 seconds), the
video temporarily displays system information. As shipped from the factory, the Nexus camera has an IP
address of 192.168.250.116 with a netmask of 255.255.255.0.
If the camera does not provide a video signal to the monitor, refer to the information in section 2.8
“Troubleshooting Tips” on page 2-17.
1. For this chapter, it is assumed the camera will be connected to a network via Ethernet. For
installations that use only analog video output, it is not possible to make configuration
changes unless an Ethernet connection is also used.
2. The web interface is supported on Microsoft Internet Explorer version 9, as well as the latest
versions of Google Chrome and Mozilla Firefox®
.