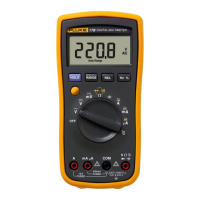
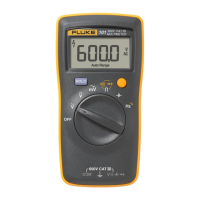
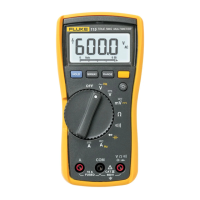
True RMS Multimeters
Replacing the LCD
9
Replacing the LCD
Caution
To prevent contamination, do not handle the conductive edges of the LCD or
LCD interconnects.
If the edges are contaminated, clean them with alcohol. Allow the alcohol to dry
before reassembling.
To remove and replace the LCD, perform the following procedure. Refer to Figure 3.
1. Turn the rotary switch to
OFF and remove test leads from the Meter terminals.
2. Remove the four screws from the case bottom, and separate the case top from the case bottom.
The circuit board remains attached to the case bottom.
3. Disconnect the battery from the battery leads.
4. Remove the circuit board screw located under the 440 mA fuse, and lift the circuit board out of the
bottom case.
5. Loosen the 4 screws on the back of the pca. This will facilitate reinstalling the LCD.
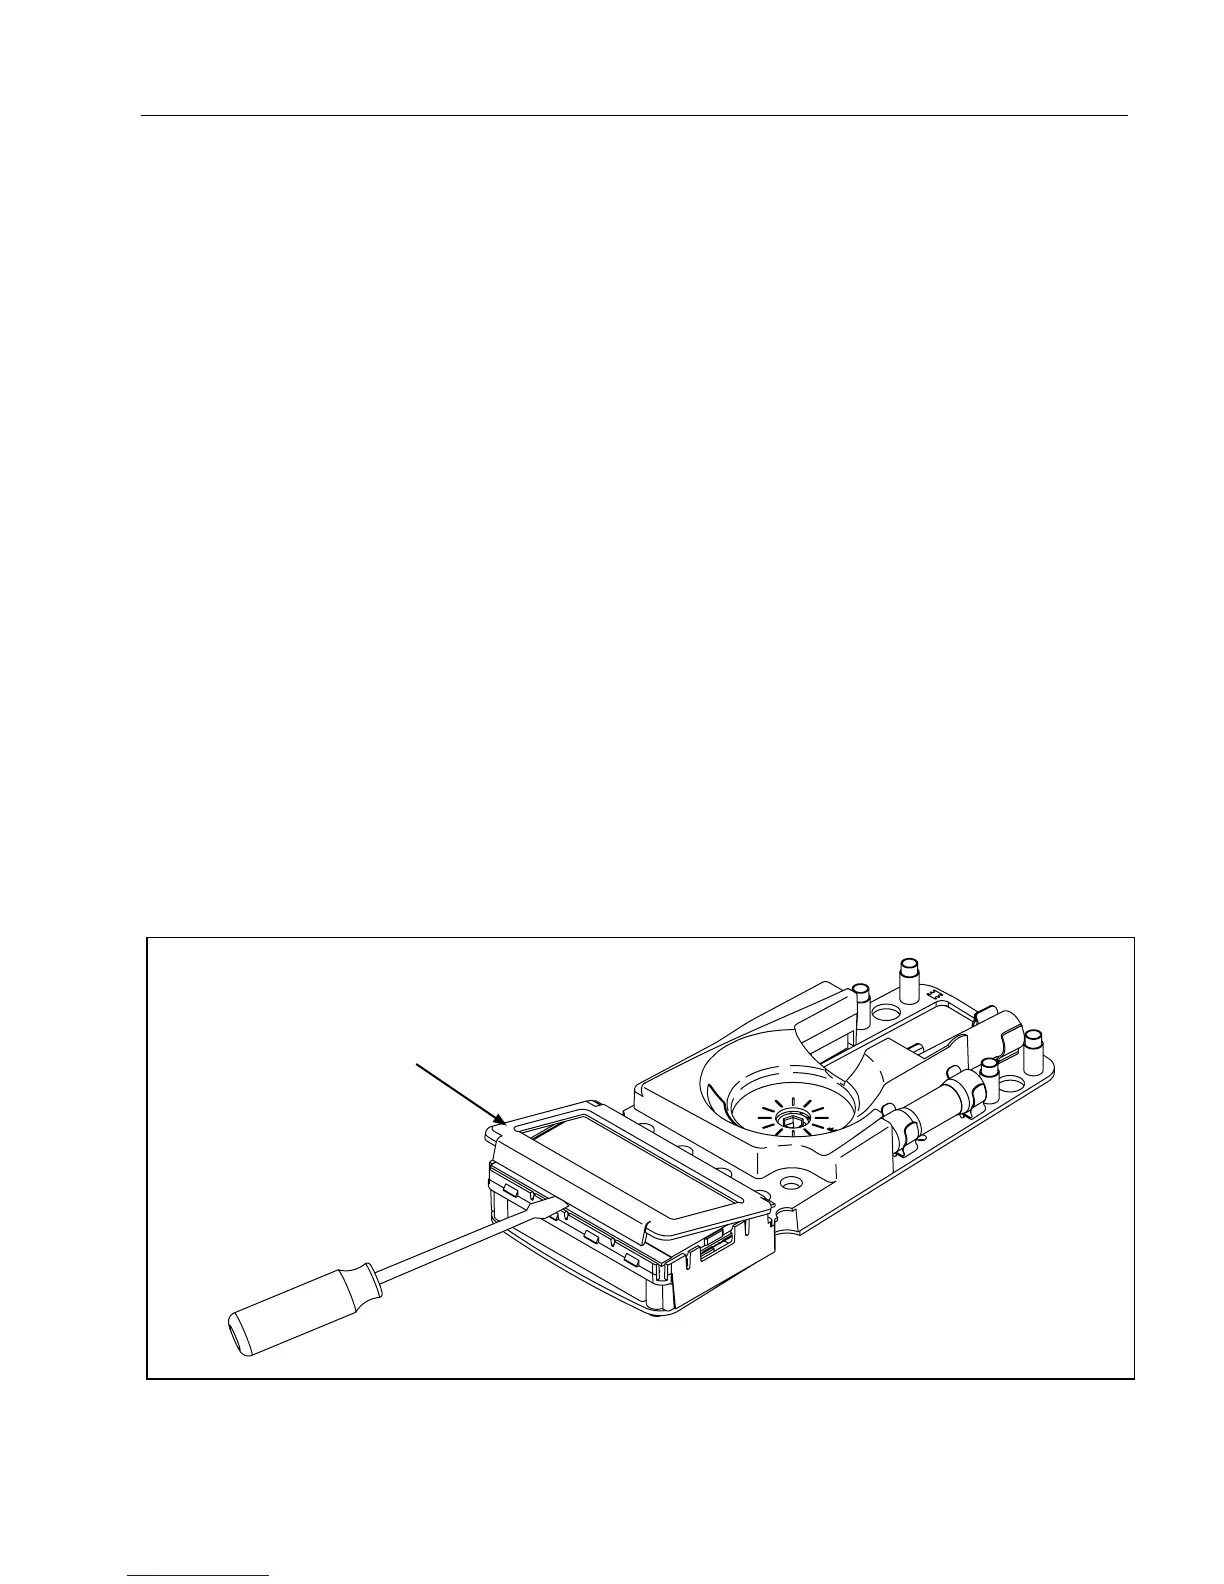
6. Insert a small, flat-head screwdriver under the LCD mask edge and gently pry the mask from the
snaps.
Caution
To avoid damaging the Meter, take care to not break the LCD with the
screwdriver.
7. Lift out the LCD.
8. Make sure that all connector contact points are clean. Refer to “Cleaning” for more information.
9. Install a new LCD, taking care that it is correctly oriented.
10. Reattach the LCD mask to the LCD assembly by snapping the mask into place.
11. Tighten the 4 screws on the back of the pca.
12. Lay the circuit board back into the bottom case, and screw it down.
13. Reinsert the 440 mA fuse.
14. Reinstall the battery.
15. Rejoin the case bottom and case top, and reinstall the four case screws.
LCD Mask
aik15f.eps
Figure 3. Removing the LCD Mask
 Loading...