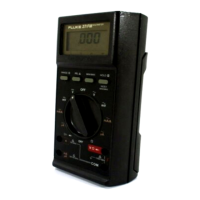
True-rms Remote Display Digital Multimeter
Battery Replacement
7
Battery Replacement
XWWarning
To prevent incorrect measurements, possible electrical shock, or personal injury, replace
the battery when the battery indicator () appears. If the display shows , the
Meter will not function until the display module batteries are replaced. If the display shows
, the Meter will not function until the Meter-base batteries are replaced.
There are two low-battery indicators in the display: one for the Meter base batteries and one for the display module
batteries. Replace the batteries when the low-battery indicator shows.
2
1
3
4
gcc112.eps
Figure 1. Meter-Base Battery Replacement
To replace the batteries in the Meter base:
1. Turn the Meter off and remove all test leads.
2. Lift the tilt stand up as shown in Figure 1.
3. Turn the battery-door latch with a standard screwdriver until the unlocked symbol () aligns with the arrow.
4. Lift off the battery door.
5. Remove the three AA batteries and replace them with new ones. Use the correct battery orientation.
6. Install the battery door.
Turn the battery-door latch until the locked symbol () aligns with the arrow. When the Meter does not power on,
the Meter-base batteries or display-module batteries can be dead. To find which of the batteries to replace:
1. Dock the display module with the Meter base.
2. Turn the function switch to off and then on.
If the red high-voltage LED on the Meter base flashes, the Meter base batteries are good. Replace the display-
module batteries and turn the Meter on.