Maintenance
Operator Maintenance
3
3-5
3-4. Battery Replacement
XWWarning
To avoid false readings, which could lead to possible electric
shock or personal injury, replace the battery as soon as the
battery indicator (M) appears.
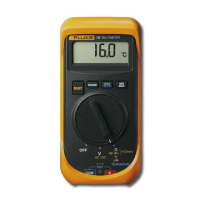
The Fluke 27 is powered by a single 9 V battery (NEDA 1604, 6F22, or 006P). Referring
to Figure 3-1, use the following procedure to replace the battery:
1. Turn the rotary switch to OFF, and remove the test leads.
2. Lift the instrument stand on the back of the instrument, then remove the four #6 X
32, Pozidriv
screws from the battery cover.
3. Pull the battery cover straight out from the back of the instrument. (A coin-slot in the
side of the battery cover facilitates removal.)
XWWarning
To avoid electrical shock or personal injury, remove the test
leads and any input signals before replacing the battery or
fuses. Make sure the battery door is closed and latched before
you operate the meter.
4. Disconnect and remove the battery.
5. Snap the battery connector to the terminals on the new battery, then slide the battery
into the battery compartment.
6. Insert the battery spacer/cover into the instrument, then start the four screws
removed in step 2. Press firmly on the battery cover while tightening the screws in a
diagonal pattern.
Fuse cover
Battery cover
Battery
Battery
connector
F2
F1
ye1f.eps
Figure 3-1. Battery and Fuse Replacement