28 II Ex
Calibration Information
16
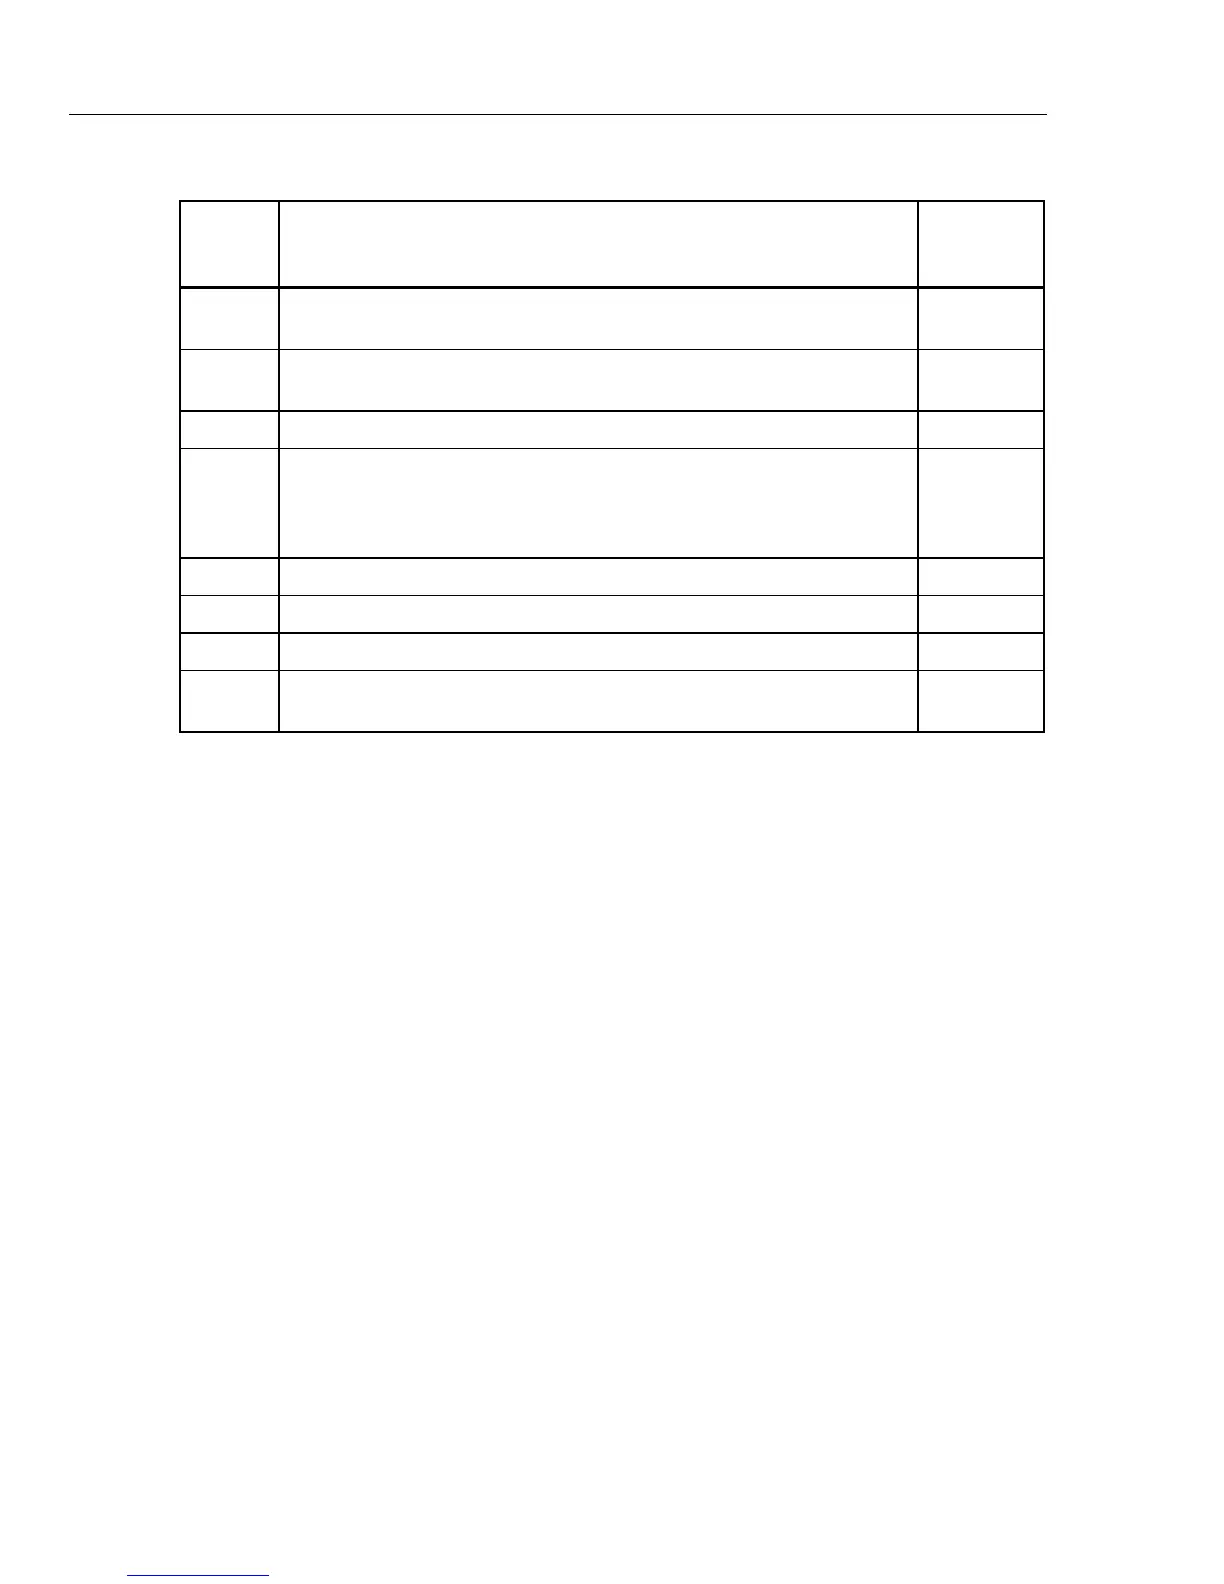
Table 5. Button Functions for Calibration Adjustment
Button CAL Function
Password
Numeric
Value
(Yellow)
Push and hold to show the measured value in the display. The measurement
is not calibrated, so it can be inaccurate.
1
Use to set the Meter to the CAL mode. In a calibration procedure, push and
hold to show the necessary input level in the Meter display.
2
C Push at the point where you type in the password to make a new password. 3
D
Use as the “ENTER” key. Push to store the new calibration adjustment value
and move to the subsequent step. This button is also used to exit the
calibration adjustment mode after the calibration adjustment sequence is
complete.
4
H Use only as a password value. 5
E Use only as a password value. 6
F Use only as a password value. 7
G
Push and hold to show the necessary frequency of the input signal in the
Meter display.
8
Calibration Adjustment Procedure
Note
In the calibration adjustment procedure, some adjustment steps are longer
to do than others (10 seconds to 15 seconds). For some of the steps, the
Meter gives two beeps when the step is complete. Not all steps have this
feature.
1. Push and hold down while you turn the rotary switch from OFF to K. Z
in the display shows you have set the Meter into the CAL mode.
2. Push D once to see the number of calibrations that have been completed.
3. Push D again to show in the display.
4. Use the eight Meter buttons to type in the current password and push D.
Note
The default factory password is 1234. See the “How to Change the
Password” section to change the password. If the password you typed in is
not correct, then the Meter will beep two times and show in the
display.

 Loading...