7 Firmware
Flymaster follows a policy of continuous improvement of its products. This means that a new version of
rmware can be uploaded from our website periodically. The update process is simple.
Before beginning update procedure make sure you download the next les from the download page of GPS
SD+ product section:
Designer software (Windows, windows 7 64bits or MAC OS X)
The last version of the rmware (xxxFirmware.fmf)
The rst step of the updating procedure consists in installing the Designer software. In order to do that you
should run the installation le and follow the on-screen instructions. The installation procedure includes
the usb drivers, so there is no need to install further software.
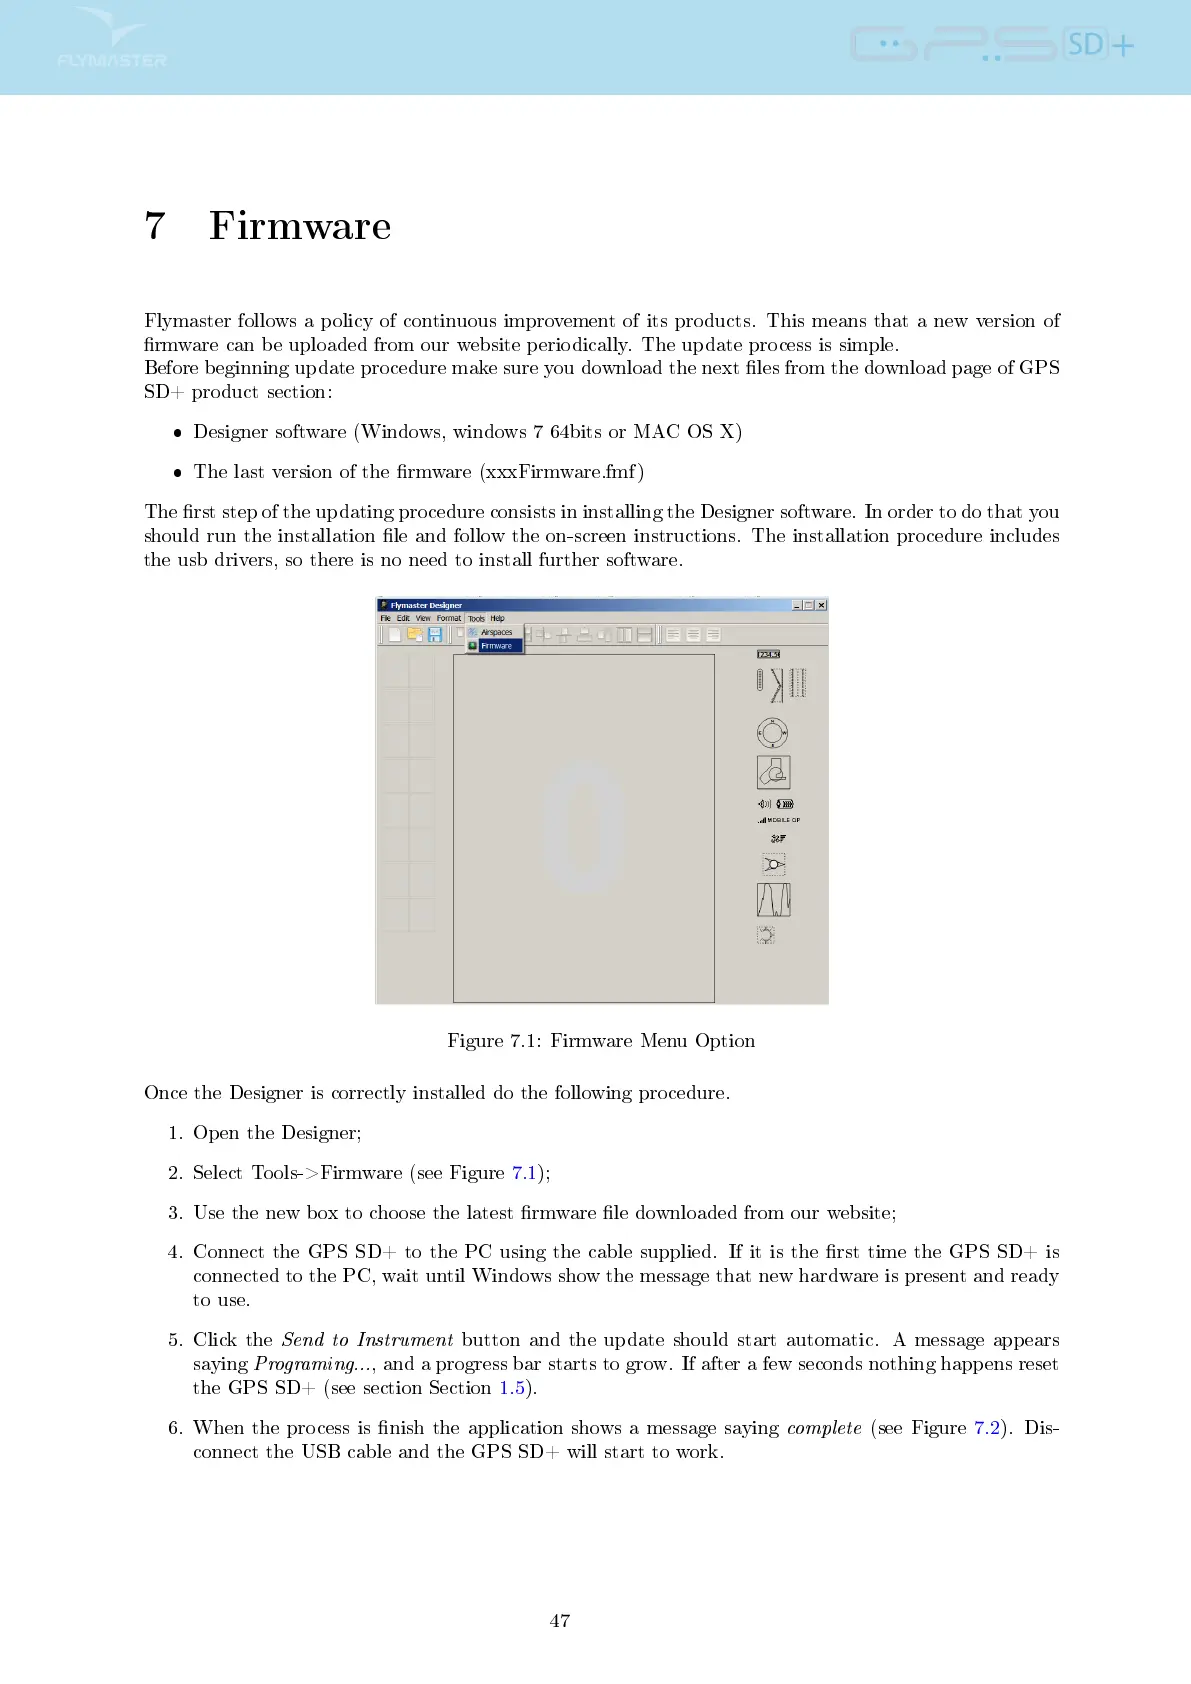
Figure 7.1: Firmware Menu Option
Once the Designer is correctly installed do the following procedure.
1. Open the Designer;
2. Select Tools->Firmware (see Figure 7.1);
3. Use the new box to choose the latest rmware le downloaded from our website;
4. Connect the GPS SD+ to the PC using the cable supplied. If it is the rst time the GPS SD+ is
connected to the PC, wait until Windows show the message that new hardware is present and ready
to use.
5. Click the
Send to Instrument
button and the update should start automatic. A message appears
saying
Programing...
, and a progress bar starts to grow. If after a few seconds nothing happens reset
the GPS SD+ (see section Section 1.5).
6. When the process is nish the application shows a message saying
complete
(see Figure 7.2). Dis-
connect the USB cable and the GPS SD+ will start to work.
47