Doc No: OMM50002312
Rev: C Page 31 of 54
Subject to contractual terms and conditions to the contrar
y, this document and all the information contained herein are the confidential and exclusive
property of FMC Technologies, and may not be reproduced
, disclosed, or made public in any manner prior to express written authorization by FMCTI.
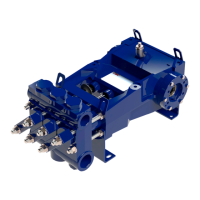
7. After the valves have been replaced, FMC recommends
that each cylinder cover gasket (42) for each cylinder cover
(41) is replaced. Install the valve cover with the gasket in
place, and install the valve cover clamps (43) over the valve
cover studs (59). FMC recommends replacing the valve
cover washers (60, if installed) and the valve cover hex
nuts (52) if any of these parts are visually deformed.
8. Torque the valve cover hex nuts or hex plugs to the
recommend values listed in the Fastener Torque
Requirements, Section 11.0 below.
10.3.1 Valve Assembly and Knock Out Tool
The simplest of the tools is the removal and installation tool, part number P534695
(small ball). For disc valves, P534694 (large ball) tool should be used.
To remove a ball valve, this tool is inserted from the bottom of the fluid cylinder and is
stopped by the bottom of the valve seat. The tool is struck firmly with a hammer and the
valve is loosened. The suction valve can be removed first through the cylinder cover
and the discharge valve through the valve cover.
Figure 4: Using the Installation and Knock Out Tool