VENTILATION
No purpose provided ventilation is normally required with this appliance. However, the ventilation requirements
of other gas appliances in the same room or space should be taken into consideration. A spillage test should be
carried out as described in the relevant section with the doors and windows both open and closed, and with any
extractor fan running on full. Where fitted, ventilation must comply with the requirements of BS 5440 part 2.
Vents directly underneath or within the immediate vicinity of appliances
musst nnot
be used as they may
adversely affect ODS pilot operation.
Note: FFor RRepublicc oof IIreland ssee IIS813, IICP3 aand IIS3277 aand aany oother rruless iin fforcce.
UNPACKING TTHE AAPPLIANCE
Stand the carton right way up, cut the strapping bands and remove the top end cap. Read all the instructions
before continuing to unpack or install this appliance.
Remove the box containing the fire front, and the bag containing the ceramics. Remove the cardboard packing
pieces, and any bags containing other fittings or parts. When all loose parts have been removed, the outer sleeve
may be lifted off to reveal the appliance.
Check that the components supplied correlate with the checklist given in section 7.1.
Please dispose of the packaging materials at your local recycling centre.
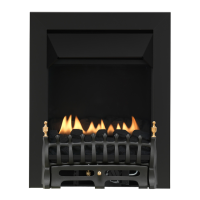
COMPONENT CHECKLIST
QUAANTITY DESCRIPTION QUAANTITY DESCRIPTION
1 Firebox and burner tray assembly 1 Fan assembly
1 Decorative fireframe 1 Twin-walled tubular flue
1 Fire front with separate ashpan cover 1 Rockwool jacket
1 Moulded ceramic fibre combustion matrix 1 Terminal guard cage
1 Front coal piece 1 Fan box trim
1 Bag of 16 moulded ceramic coals (coal versions only 1 Fan box cover
1 Bag of 16 ceramic pebbles (pebble versions only)
1 Set of manufacturers instructions
1 Bag of fixings (10 rawl plugs, 10 No8x1.5 screws, 4 No8x0.5 screws), 3 lengths of sealing strip
3 Reversible ceramic radiant panels
PREPARING FOR INSTALLATION
Remove the fire tray from the firebox by removing the two
securing screws in the front legs of the tray and rear mount-
ed transit screws, and invert the tray. Carefully unplug the
safety solenoid on the tray from the control box by squeez-
ing the clip on the three way connector and easing apart.
Place the tray safely to one side along with the fuel bed
components, firefront and decorative frame.
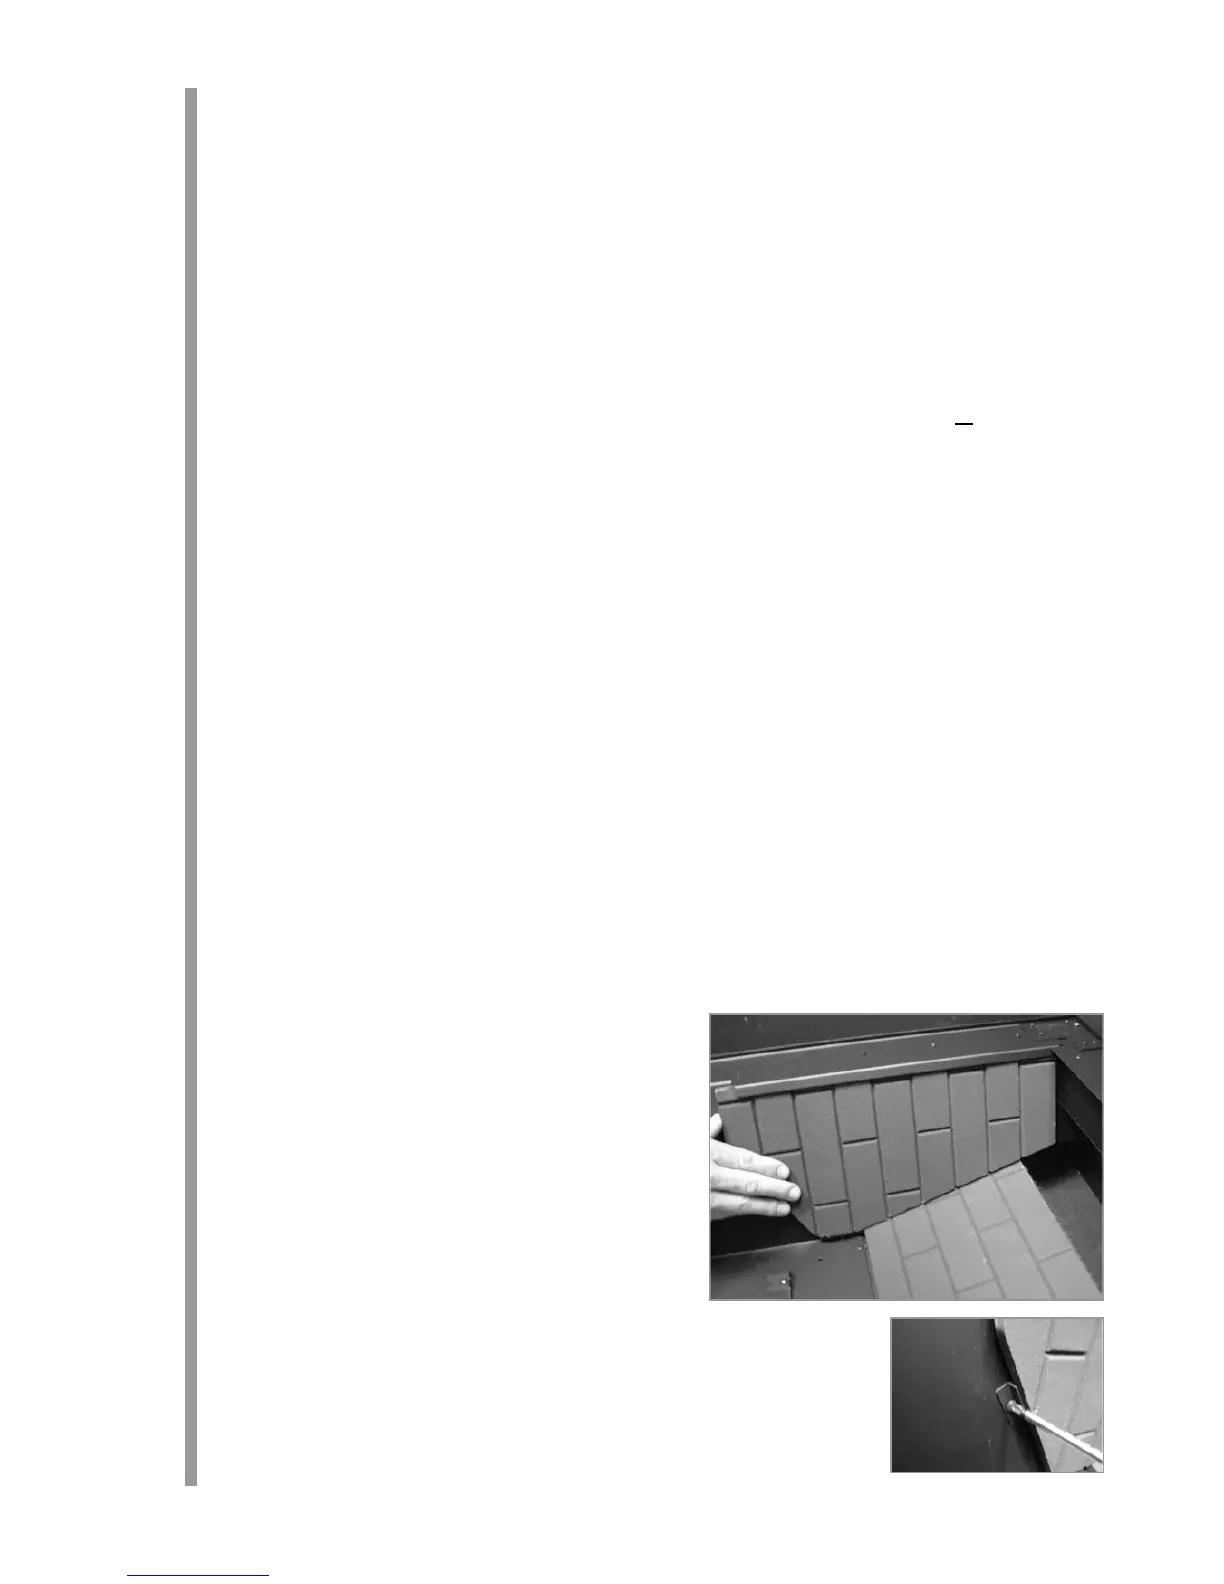
The three radiant panels may now be fitted inside the fire-
box. Select the plain or patterned side of the panels and
insert as follows; Lay the firebox on it’s back. Lay the tapered
panel onto the rear face of the firebox. The side panels should be fitted by inserting
their front edges into the pre-fitted retaining brackets on the front face of the fire-
box. Gently align the side panels with the sides of the firebox, over the back panel
already in place. Make sure that the side panels are pushed
up
firmly to the roof of
the firebox, and
bacck
firmly to retain the rear panel. Make small adjustments to line
up the mortar lines if required. Clamp the side panel using the ‘L’ shaped brackets
and screws provided. The screws should locate into the holes in the sides of the fire-
box.
5
6.0
8.0
7.0
7.1