11
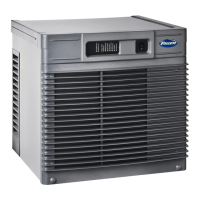
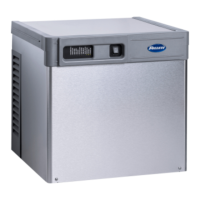
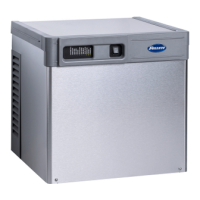
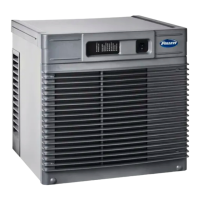
Installing RIDE model ice machine and rough-in utilities with optional slide-out
accessory
The slide-out accessory allows the ice machine to be pulled out on a track from below a counter without
disconnecting utilities. A leg supports the ice machine in the full-out position. If your order did not include a
slide-out accessory proceed to ice machine ventilation and exhaust.
Step 1 – Installing track accessory (Follow either A or B below for RIDE model ice
machine)
Track must be positioned ush against inside of counter and slightly above counter access opening.
A. When ice machine stand is used (required if ice machine is not supported on counter channels)
1. Bolt vertical utility panel to slide-out track assembly with supplied 10/32 screws.
2. Secure slide-out track assembly to ice machine stand with 10/32 screws provided.
3. Position ice machine stand in desired location and adjust stand legs to proper height and level in
both directions.
4. Using holes in anged legs as template, mark oor for 12 anchoring holes to be drilled.
5. Remove stand/track assembly and drill marked holes.
6. Reposition and anchor stand to oor with 12 fasteners appropriate to oor material (not supplied).
Stand MUST be anchored to avoid tipping and possible injury when ice machine is pulled out.
B. When ice machine is supported on counter channels
1. Bolt vertical utility panel to slide-out track assembly with supplied 10/32 screws.
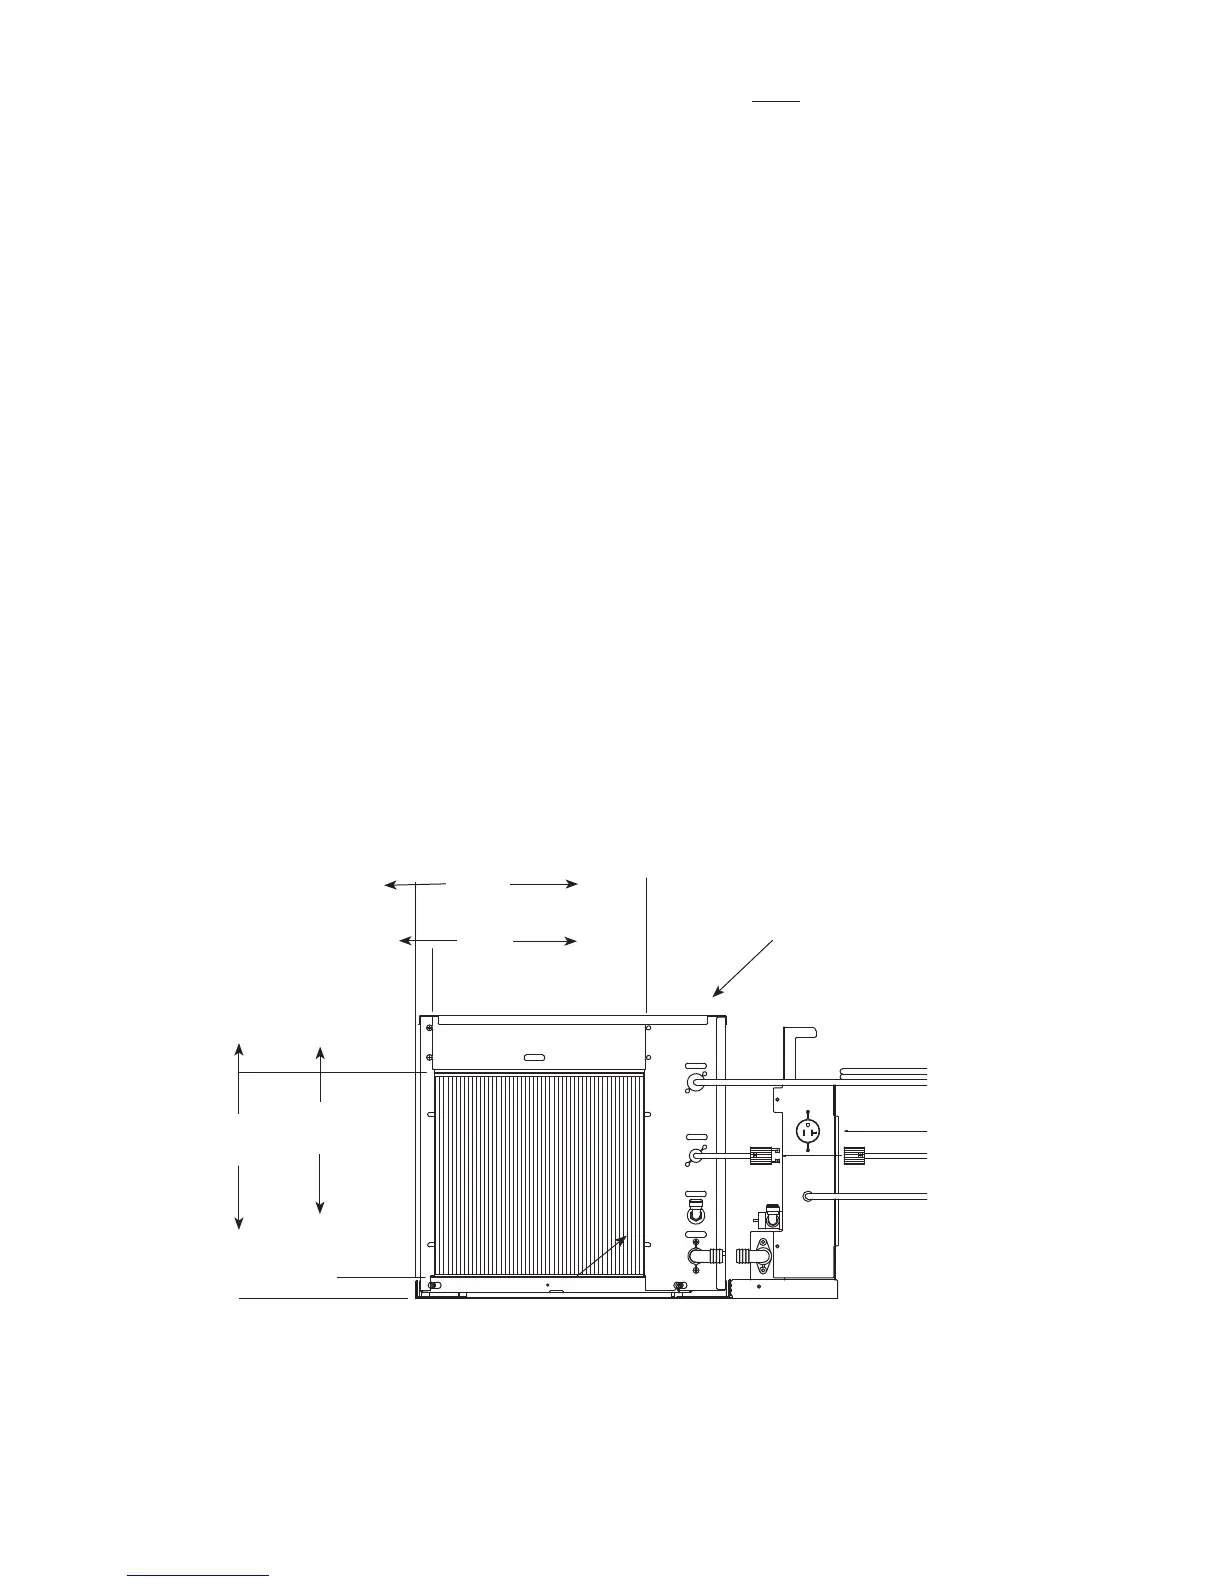
2. Position track assembly on counter channels (Fig. 3).
3. Using holes in track assembly as a template, mark and drill required holes in counter channels.
4. Remove track assembly on channels and drill marked holes.
5. Reposition track assembly on channels and secure using appropriate hardware (not supplied).
verical utility pane
13"
(331mm)
14"
(356mm)
12.75
(324mm)
14"
(356mm)