27
Step 3
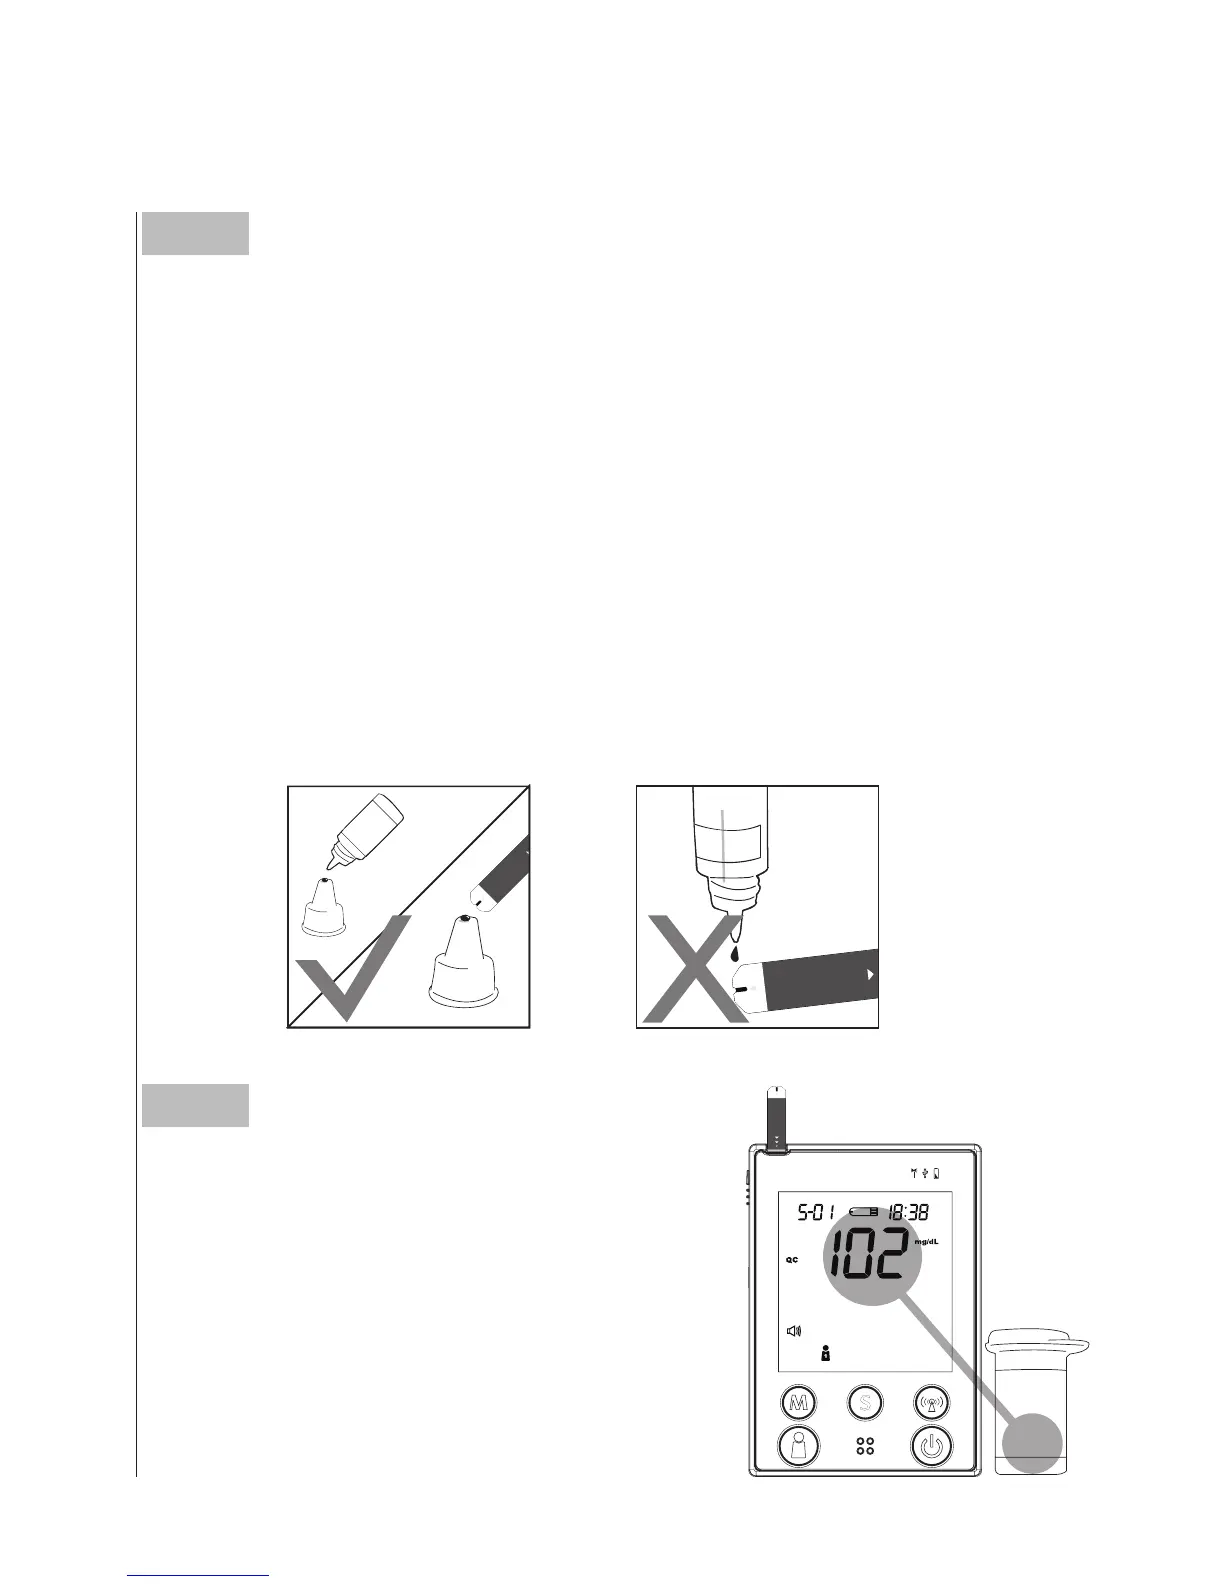
Apply Control Solution
Shake the control solution vial thoroughly before use. Squeeze out a
drop and wipe it off, then squeeze another drop and place it on the tip
of the vial cap.
Hold the monitor to move the absorbent hole of test strip to touch the
drop. Once the confirmation window fills completely, the monitor will
begin counting down.
To avoid contaminating the control solution, do not directly apply
control solutio
n onto a strip.
Step 4
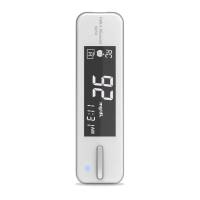
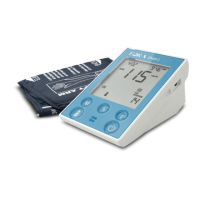
Read and Compare the Result
After counting down to 0, the test result of
control solution will appear on the display.
Compare this result with the range printed
on the test strip vial and it should fall
within this range. If not, please read the
instructions again and repeat the control
solution test.
109~165
Normal