10
© Copyright, Sunrise Tradex Corp., 2018
Installation Manual
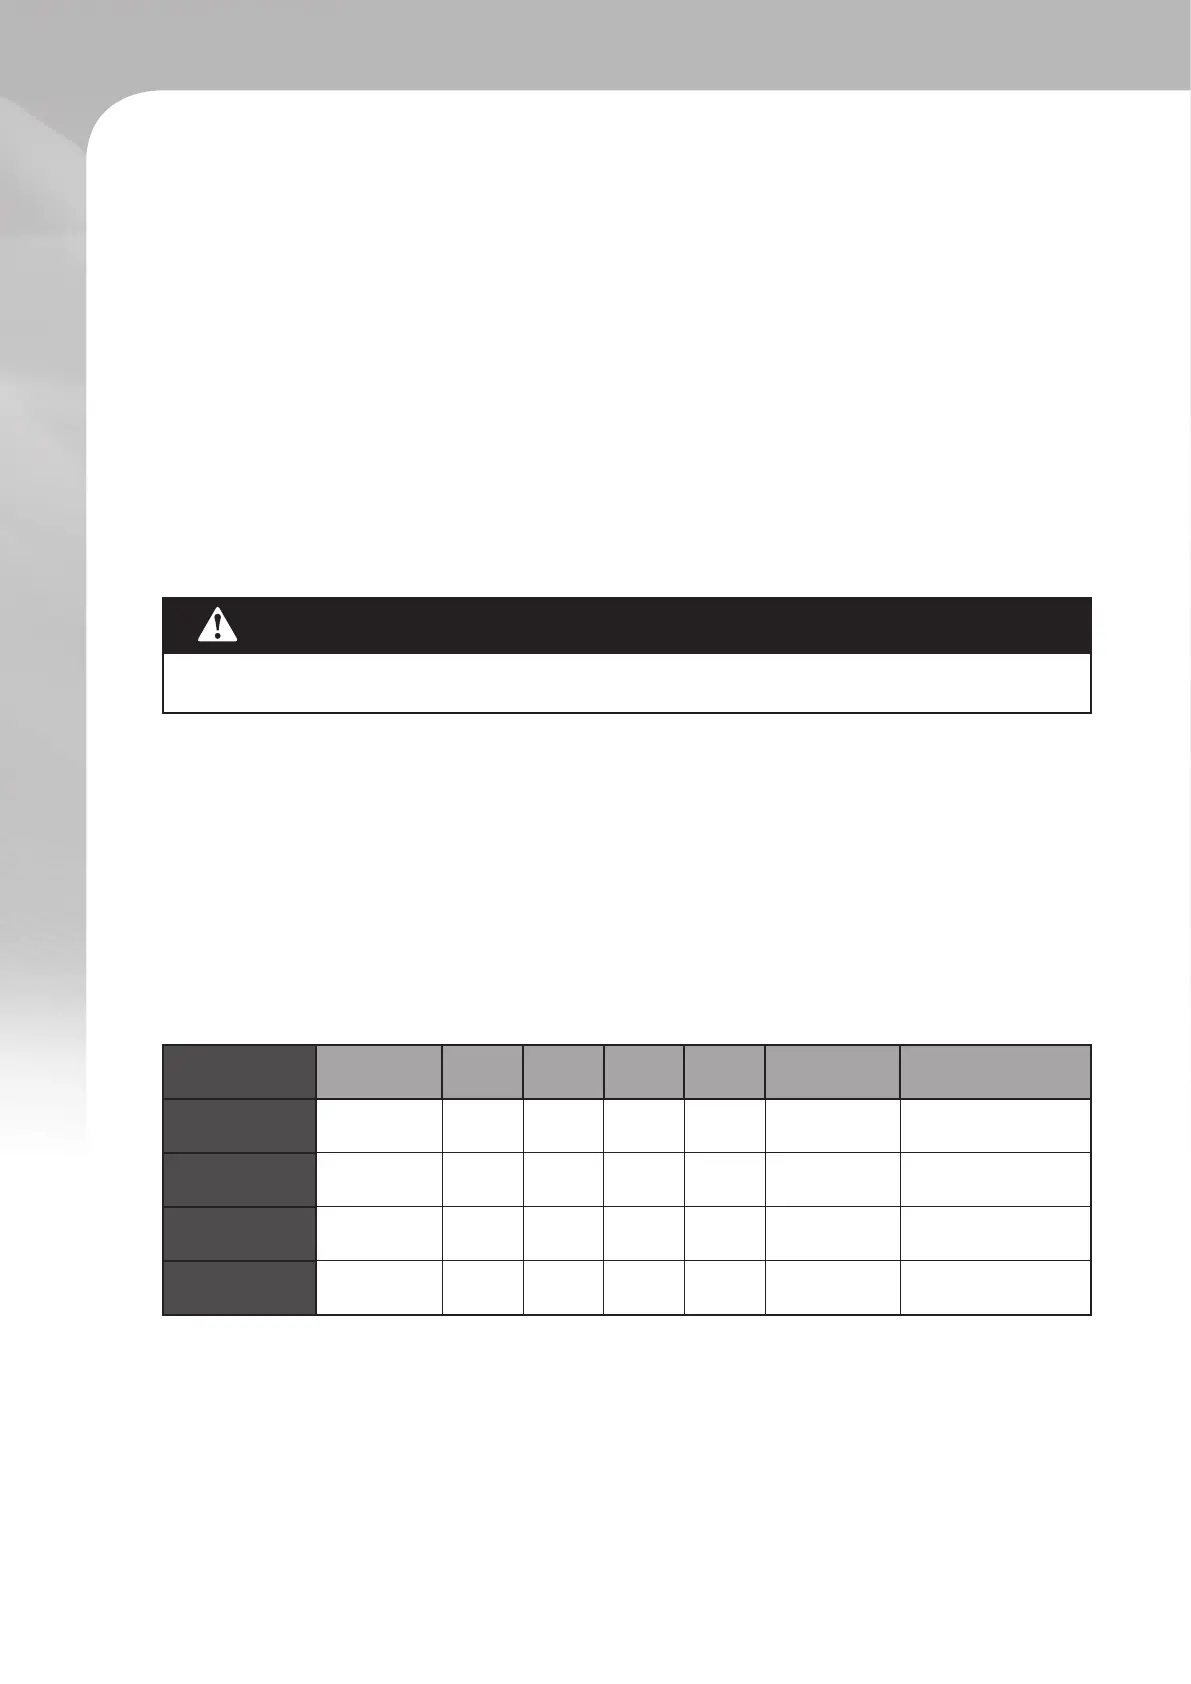
WARNING
The unit must be permanently grounded. Failure to do so can result in electrical shock
causing personal injury or death.
4.2 CONTROL WIRING
IMPORTANT : Low voltage Class 2 control wiring should not be run in the conduit with the
main power wiring and must be separated from the power wiring, unless class 1 wire of proper
voltage rating is used.
▪ Low voltage control wiring should be 18 AWG color-coded. For lengths longer than 30 meters
(100 ft), 16 AWG wire should be used.
▪ Low voltage control connections are made to low voltage pigtails extending from the top of the
air handler (upow position - see g. 3). Connections for the control wiring are made with wire
nuts. Control wiring knockouts (15.88 mm (⅝ in) and 22.23 mm (⅞ in) in diameter) are also
provided on the right and left side of the unit for side connection.
▪ See the wiring diagrams attached to indoor and outdoor sections to be connected.
▪ After the installation, make sure the separation of the control wiring and power wiring has
been maintained.
4.3 GROUNDING
▪ Grounding may be accomplished by grounding metal conduit when installed in accordance
with electrical codes to the unit cabinet.
▪ Grounding may also be accomplished by attaching a ground wire(s) to a ground lug(s)
provided in the unit wiring compartment.
▪ Ground lugs are located close to the wire entrance on the left side of the unit (upow). Lugs
may be moved to marked locations near the wire entrance on right side of the unit (upow) if
this alternate location is more convenient.
▪ Use of multiple supply circuits require grounding of each circuit to the lug(s) provided in the
unit.
4.4 ELECTRICAL DATA
MODEL VOLTAGE HERTZ HP
RPM SPEEDS CIRCUIT AMP
MAXIMUM CIRCUIT
PROTECTOR
24 208 / 230 60 0.20 701 3 0.95 15 (A)
36 208 / 230 60 0.50 794 3 1.63 15 (A)
48 208 / 230 60 0.50 845 3 2.11 15 (A)
60 208 / 230 60 0.75 963 3 2.79 15 (A)


 To Next Page