22
© Copyright, Sunrise Tradex Corp., 2018
Thermostat
TIME / TIMER
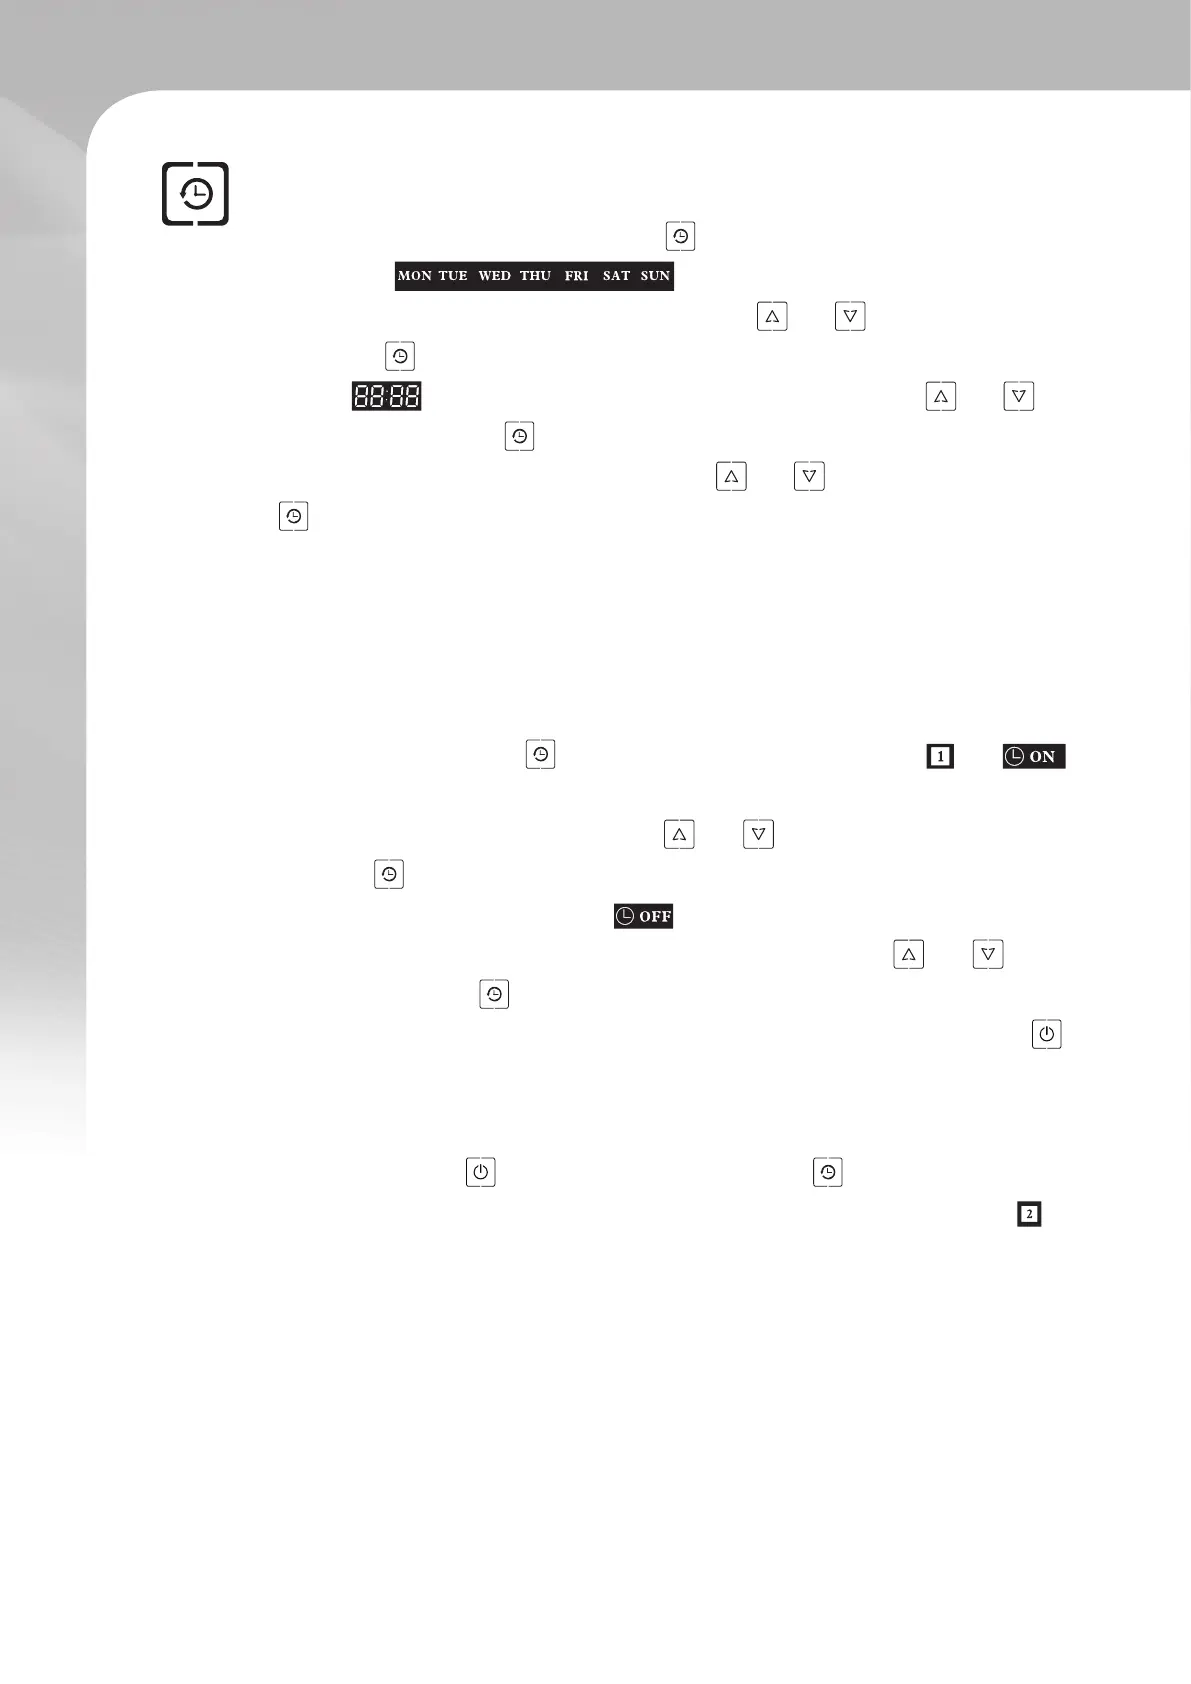
▪ Setting the current time and day :
In the main interface, press the time key until the indicators representing the days
of the week start blinking. This means you can now set
the current day of the week. Using the arrow keys and , select the desired day,
then press once to conrm your choice. Following this, the hour digits of the time
display will begin blinking automatically. Use the arrow keys and to
set the hour then press once to conrm your choice. Next you will required to set
the minute digits. Again, using the arrow keys and , set the minutes then press
once to lock your time setting. Once this is done, no more actions is needed on
your part. The interface will return to normal with the new time setting.
▪ Setting a timer :
Up to two timers can be running at the same time. Follow these instructions to set a
timer or series of timers.
Timer 1 : Press and hold for at least 5 seconds. The indicators and
as well as the hour digits should start ashing. This means you can set a time at
which to switch on. Use the arrow keys and to set the hour, then press the
timer key once to conrm your choice. Repeat the same step to set the minutes
digits. Following this, the indicator should start blinking indicating that you
can now set a switch off timer. Once again, use the arrow keys and to set
the hour, then press once to conrm your choice. Repeat the same steps to set
the minutes digits. Once you are done with this task, press the ON / OFF key to
save your timer setting and return to the main interface.
Timer 2 : If you wish to setup a second timer, after nishing the setting of the rst
timer, do not press , but instead press the timer key once. This will lead you
into the second timer setting. This should be made apparent by the ashing
indicator. Repeat the same steps as previously seen to set a second timer.
 Loading...