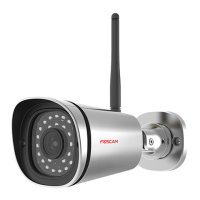
1.LAN: 10/100 Mbps RJ-45 port for wired connection
2.Power: DC 5V/2A Power supply
3.Network Light: The LED will blink slowly in wired connection, blink two times faster in wireless connection,
blink four times faster when WPS
4.Power Light: If the power supply works fine, the light will turn on
5.WPS: Push the WPS button on the camera and wireless router in 1 minutes, the camera will connect the
wireless router automatically, in WPS process, the Network Light will blink very fast
6. Micro SD card Slot: Supports up to 32GB Micro SD card for storing the video
7.Audio Output: This jack is used to plug an external speaker
8.Audio Input: This jack is used to plug an external microphone
9.Antenna: Used to connect external wireless antenna
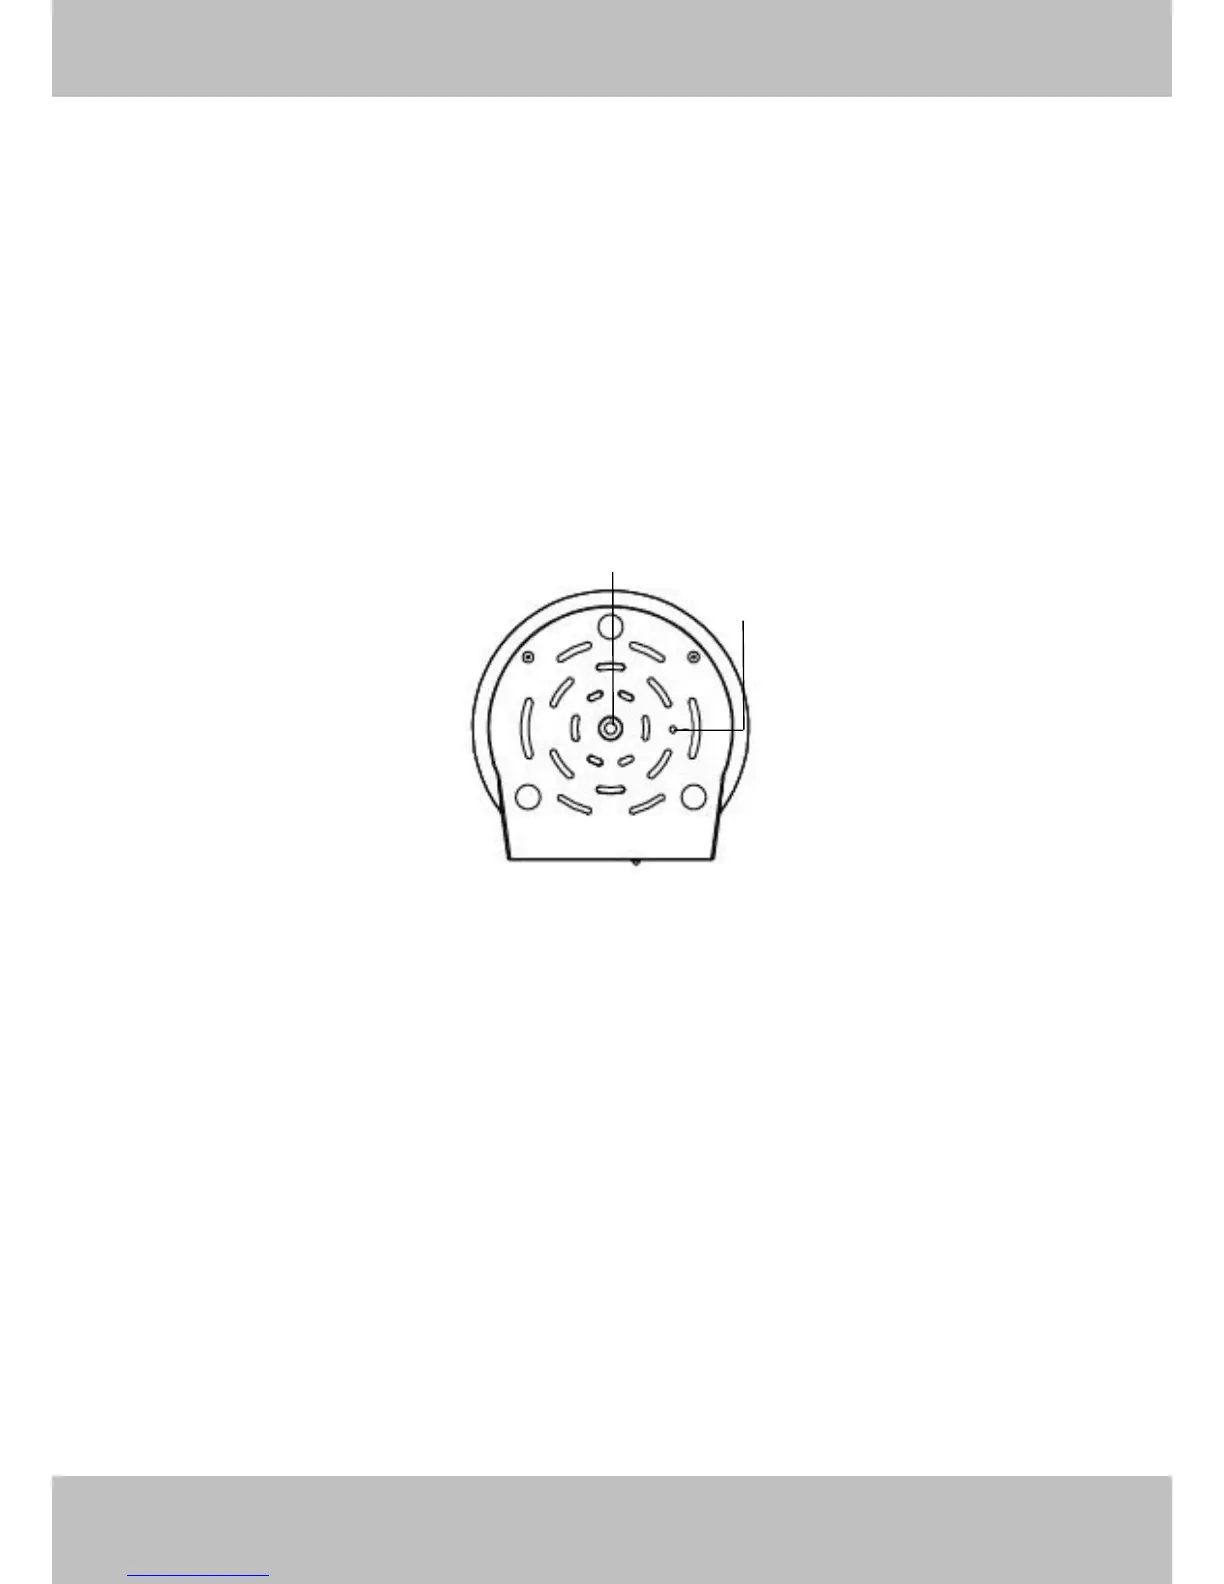
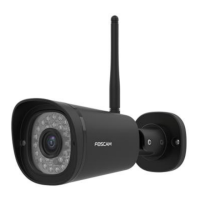
Bottom View
Figure 1.3
1.Mounting Port: Port for mounting bracket
2.Reset Button: Push and hold for more than 5 seconds to set the camera to factory default
1.5 SD Card
This camera supports Micro SD Card and the max size of SD card must be under 32G.
When you plug in the Micro SD card during the camera work process, please reboot the camera again, or else
the SD Card may be cannot work well.
Go to the Settings
Status
Device Status page, you can see the SD card status.