22
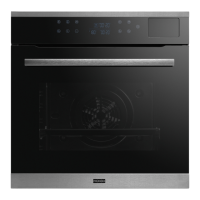
5. Lift the door slowly up on
the left and right at the same
time, making the bottom side
of the hinge hole of the door
frame higher than the
mounting bottom of the hinge
of the door frame.
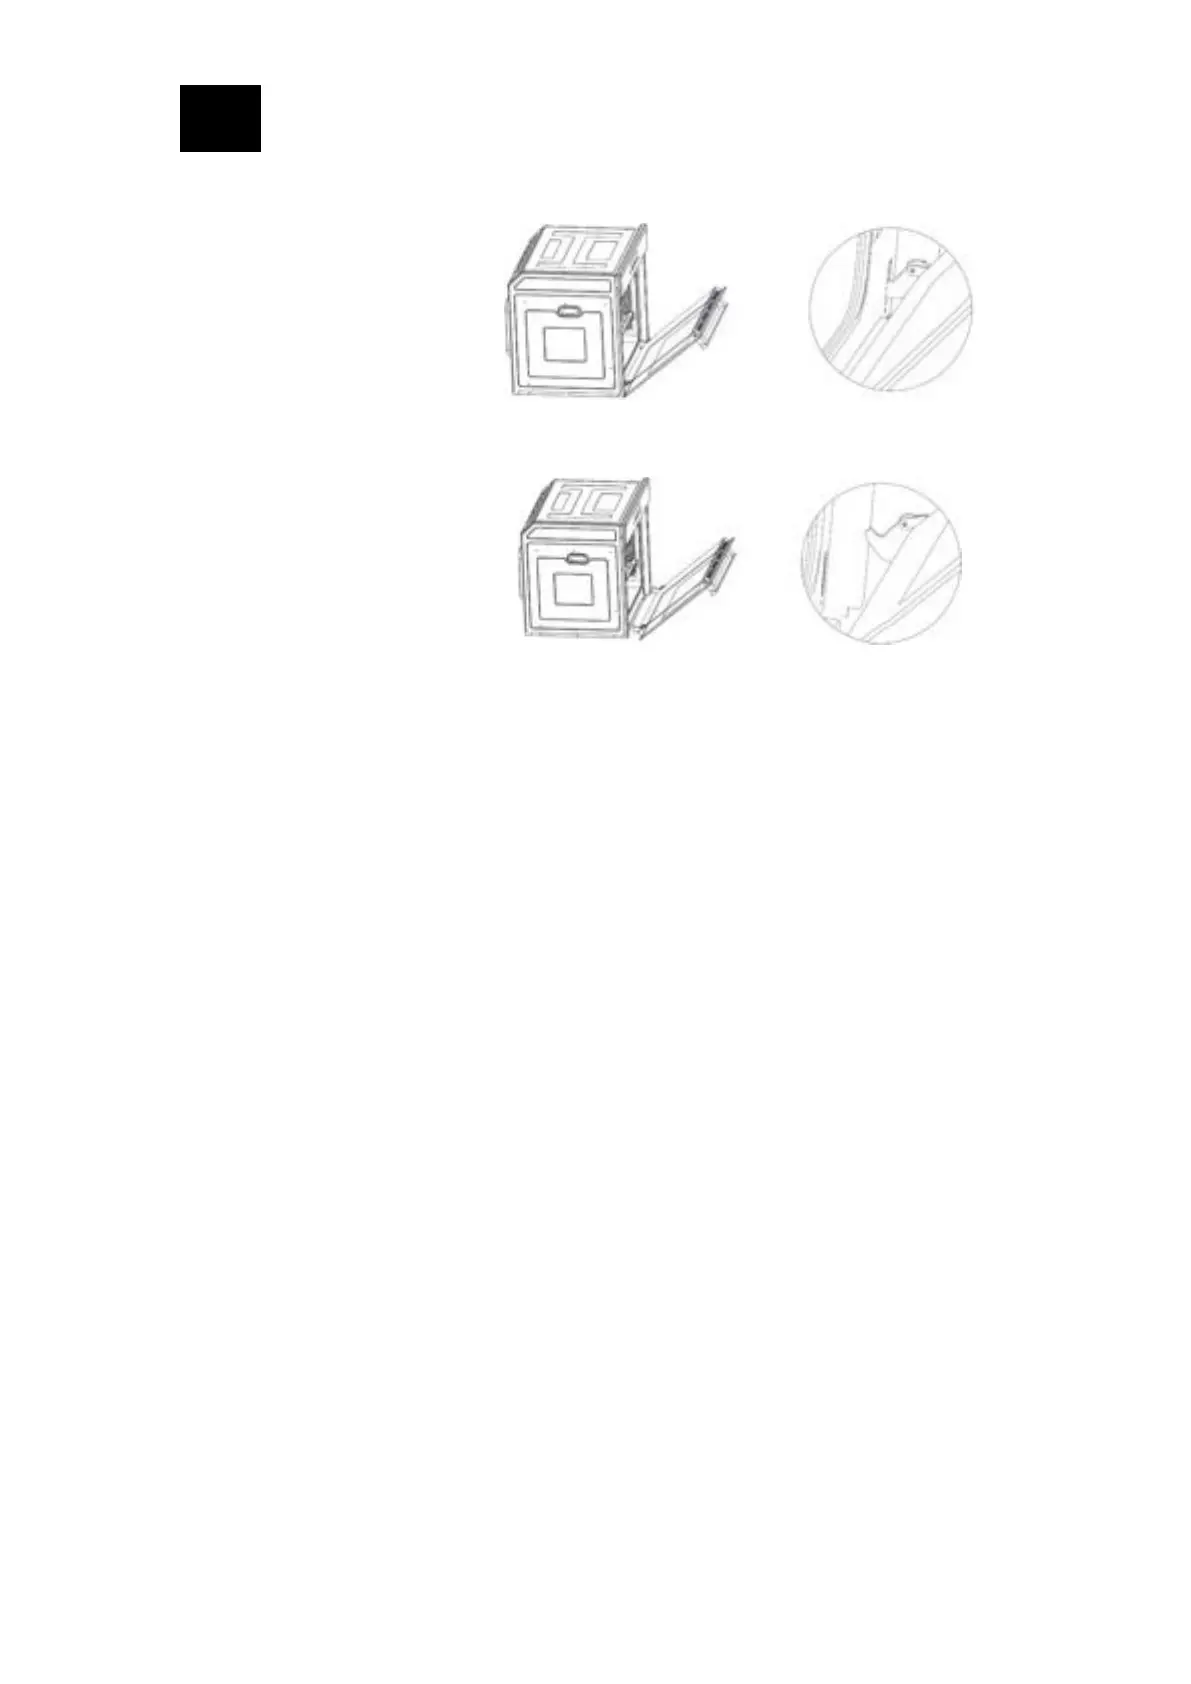
6. Move the door outward
on the left and right at the
same time, so that the bottom
of the hinge at the hinge hole
of the door frame is removed
from the hinge mounting hole
of the door frame.
9.2 Installation of door assembly
Follow the disassembly steps of the door assembly in reverse.
9.3 Notes
1. Do not place packaging materials (including plastics, films, expanded polystyrene
materials) where children may reach them as they are toxic.
2. Never use the handle on the oven door to move or extract the oven.
3. The surfaces of facilities and objects adjacent to the oven must be insulated and
heat resistant.
4. After the oven is fixed, contact with electrical components should be prevented.
5. Make sure the power outlet is reliably grounded.
6. When the oven is heated, do not directly touch the heating parts inside the oven
to avoid burns.
7. Before replacing the internal lighting equipment, please confirm that the power
has been turned off to avoid electric shock.
8. When using the oven, some surface parts may have a high temperature. Please
keep them out of reach of children.
9. Do not use inferior cleaners or sharp blades to remove dirt from the oven glass,
which may damage the surface.
10. Remove food immediately with special tools or heat-resistant gloves after baking.
11. Do not use a steam cleaner or water to rinse the oven or interior surface.
12. When removing the fan cover for cleaning, make sure that the power is turned off
and that the internal temperature of the oven has dropped to room temperature.
After cleaning, please install and secure the fan cover to its original position.