DFA400 Rev150730
8
INSTALLATION
Note: Plumbing systems are always unique and may cause small deviations
in the factory calibration. It is recommended that the owmeter is checked
after installation for accuracy and calibrated when necessary.
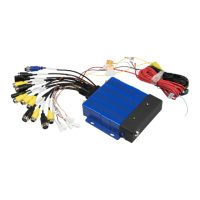
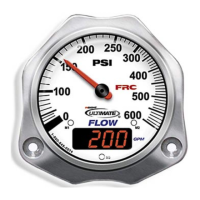
Install Display Module
Display modules are interchangeable. It is recommended to check display accuracy
if modules are swapped and calibrated when necessary.
1. Measure and mark mounting location for display module panel cutout and
mounting screw holes. Make sure there is clearance behind the panel for
the display and cables before cutting holes. Refer to Figure 2 for layout and
dimensions.
2. Cut out a 2 3/4 inch diameter hole and drill two holes (clearance or tapped)
for 10-32 mounting screws.
3. Place display module in position and secure with two screws.
4. Connect the cables and wires. (Refer to Wiring Section.)
Figure 2. Display Module Mounting Dimensions
Mounting holes are
clearance or tapped
for 10-32 screws.
3 1/4"
3 1/4"
1/4"
2"
2 3/4"
Panel Cutout
2 3/4" Diameter
2.7"
.95"
C
L