LGT100 Rev0309
10
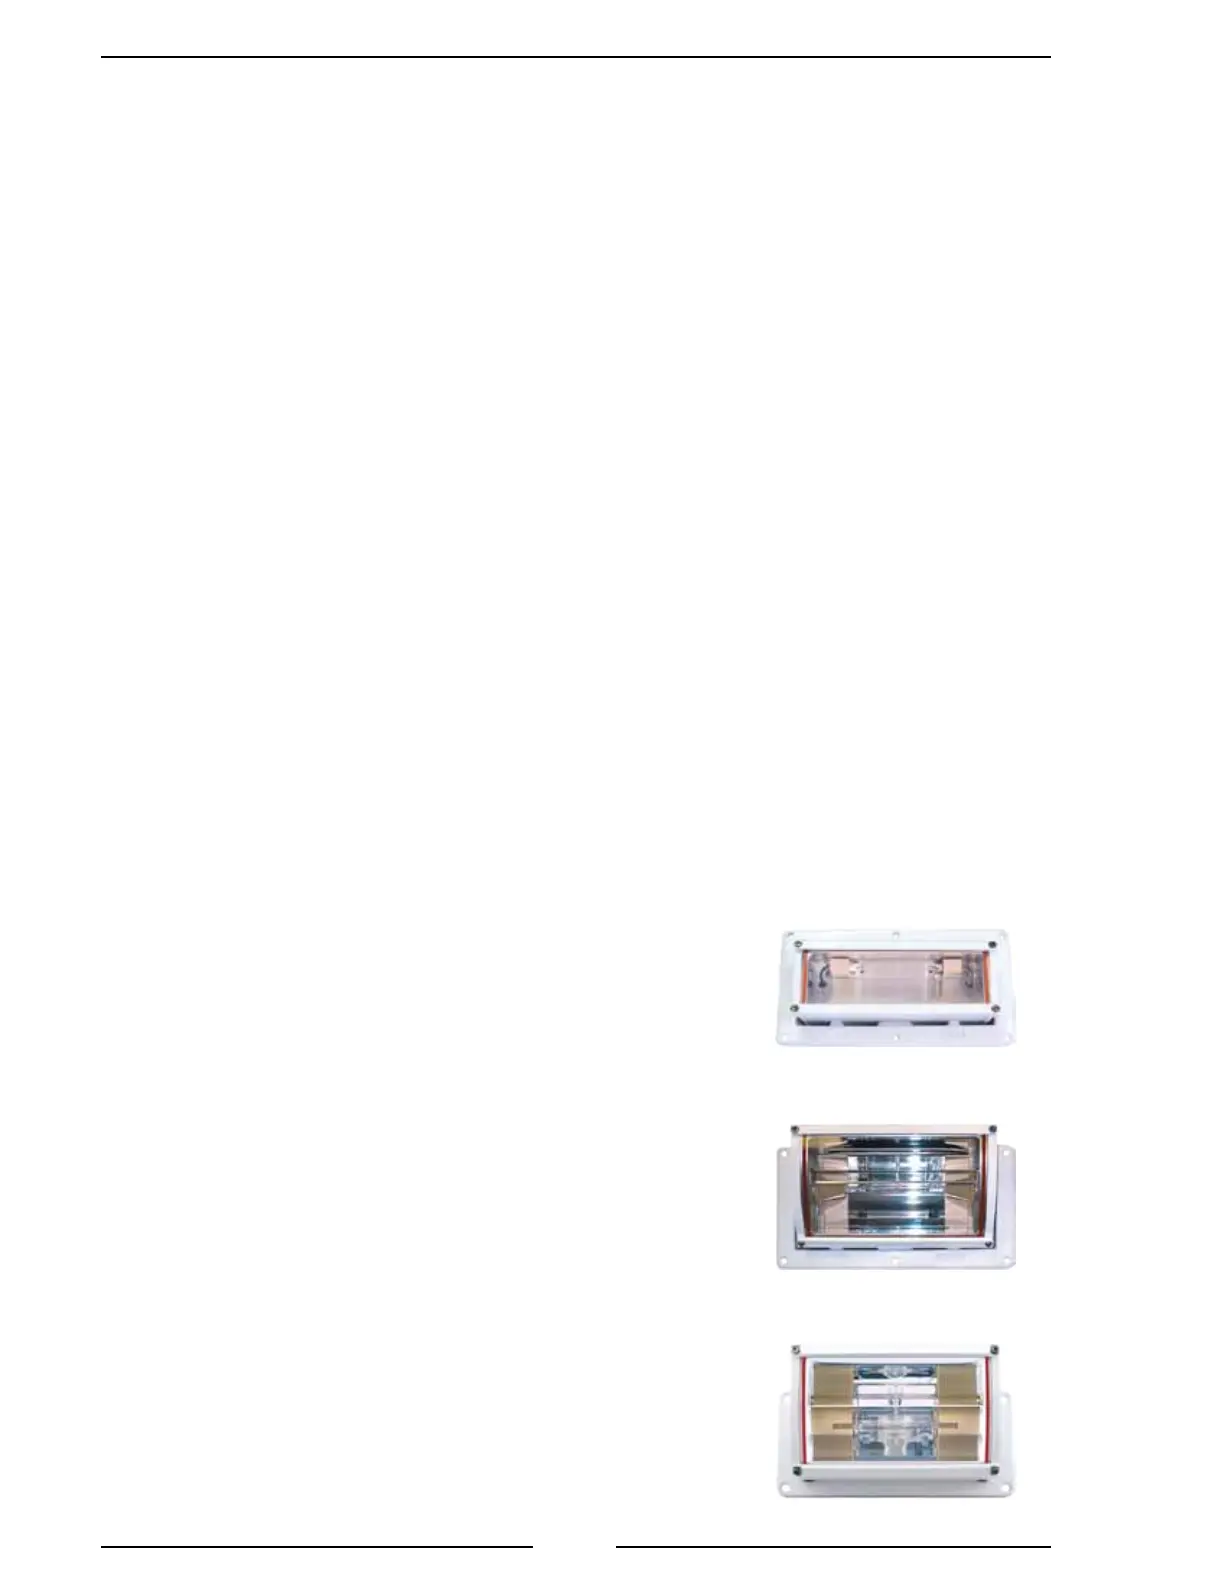
Install Recessed Mount Models 200, 230, 250
1. Measure and mark mounting location for cutout.
2. Cut out mounting hole.
3. Place the light in position to check for fit and mark mounting screw
locations.
4. Double check the clearance around and behind the light housing. Recessed
lights require a minimum of 3 inch clearance between wall insulation and the
light housing.
5. Drill mounting screw holes.
Note: Wires may need to be connected before installing the recessed light.
6. Ensure that approved strain relief for the wiring is installed.
7. Secure the housing with mounting screws.
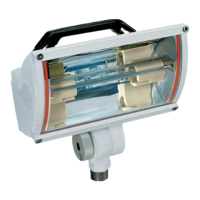
Wiring
12/24 VDC
Connect the BLACK wire to GROUND.
Connect the RED (or WHITE) wire to POWER.
120/240 VAC
Connect the SILVER BRAID or GREEN wire to chassis GROUND.
Connect the WHITE wire to RETURN.
Connect the BLACK wire to POWER.
FCA200
OPA200, OPA230
OPA250