NOTICE
Failure to use the recommended oil can result in
engine or aftertreatment component damage and
will void the warranty.
8.
Inspect the fuel tanks, fuel lines, and connections
for leaks.
8.1
Check that the fuel tanks are secured to
their mounting brackets and that the
mounting brackets are secured to the
frame.
8.2
Replace leaking fuel tanks.
8.3
If lines or connections are leaking, have
them repaired or replaced.
For repair and/or replacement procedures,
see Group 47 of the S2 Chassis Work-
shop Manual, or take the vehicle to an
authorized Freightliner dealer.
8.4
If equipped with fuel tank shutoff valves,
be sure the valves are fully open.
WARNING
Never operate the engine with the fuel tank shut-
off valves partly closed. This could damage the
fuel pump, causing sudden loss of engine power,
possibly resulting in serious personal injury due
to reduced vehicle control.
9.
Check the fuel level in the fuel tank(s).
To keep condensation to a minimum, fuel tanks
should be filled at the end of each day. Federal
regulations prohibit filling a fuel tank to more
than 95 percent of its liquid capacity. Select the
proper grade of fuel as specified by the engine
manufacturer.
WARNING
Do not mix gasoline or alcohol with diesel fuel.
This mixture could cause an explosion, possibly
resulting in serious personal injury or death. Do
not fill the fuel tanks in the presence of sparks,
open flames, or intense heat. These could ignite
the fuel, possibly causing severe burns.
IMPORTANT: Use ultralow-sulfur diesel
(ULSD) fuel with 15 ppm sulfur content or
less, based on ASTM D2622 test procedure.
Failure to use ultralow-sulfur diesel fuels
may void the warranty on emission compo-
nents.
9.1
Fuel should always be strained or filtered
before being put into the tanks. This will
lengthen the life of the engine fuel filter
and reduce the chances of dirt getting into
the engine.
9.2
Before installing the fuel cap, clean the
area with a rag, or if necessary, clean the
cap with solvent.
9.3
If needed, prime the fuel system. For
priming procedures, see the applicable
engine manufacturer’s manual.
10.
If equipped with a fuel/water separator, check for
water.
Drain any water found. Check the fuel/water
separator for leaks and contaminants.
For an Alliance Model, see
Fig. 15.6. Place a
suitable container under the fuel/water separator.
Check the water level in the sight bowl, if so
equipped. To drain the water, loosen the valve at
the bottom and allow the water to run out. Close
and tighten the valve finger-tight.
IMPORTANT: When draining fluid from a fuel/
water separator, drain the fluid into an appropri-
ate container and dispose of it properly. Many
states now issue fines for draining fuel/water
separators onto the ground. On all types of
separators, stop draining fluid when you see
fuel come out of the separator drain valve.
11.
Inspect the front and rear suspension compo-
nents, including springs, spring hangers, shocks,
and suspension brackets.
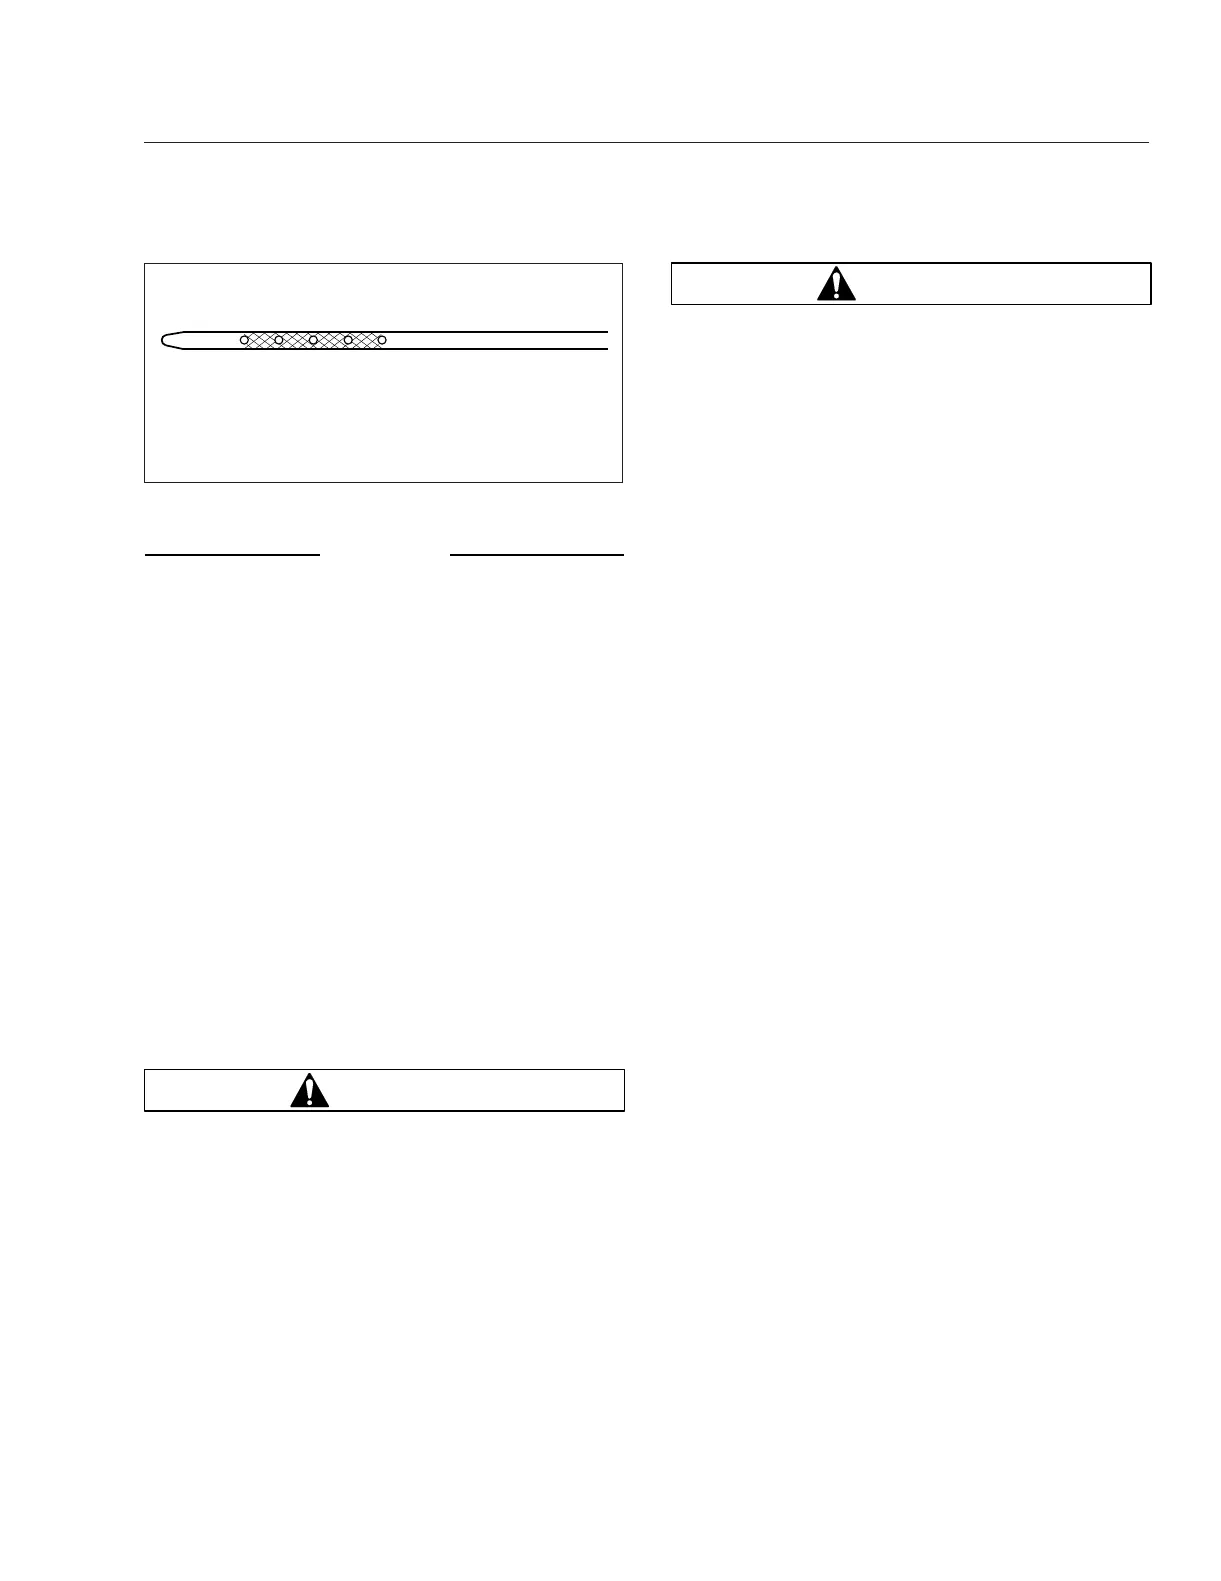
08/05/2010 f012186
Oil should be within the cross-hatched area of the
dipstick.
Fig. 15.5, Oil Dipstick (LPG engine)
Pre- and Post-Trip Inspections and Maintenance
15.4