IMPORTANT: The load and cold inflation pres-
sure must not exceed the wheel manufacturer’s
recommendations, even though the tire may be
approved for a higher load inflation. Some
wheels are stamped with a maximum load and
maximum cold inflation rating. If they are not
stamped, consult the wheel manufacturer for the
correct tire inflation pressure for the vehicle
load. If the load exceeds the maximum wheel
capacity, the load must be adjusted or reduced.
IMPORTANT: Low-rolling resistance (LRR) tires
minimize wasted energy as a tire rolls, thereby
decreasing rolling effort and improving fuel effi-
ciency. If tire replacement is necessary, replace-
ment tires must meet or exceed the rolling resis-
tance of the originally installed tires in order to
maintain compliance with greenhouse gas and
fuel efficiency regulations (GHG14).
Contact your tire manufacturer/supplier to deter-
mine the rolling resistance of the originally in-
stalled tires. Visit
www.epa.gov/smartway for
additional information and resources.
20.
Inspect each tire for wear, bulges, cracks, cuts,
penetrations, and oil contamination. A weekly
pressure loss of 4 psi (28 kPa) or more in a tire
may indicate damage. The tire should be in-
spected and if necessary, repaired or replaced.
20.1
Check the tire tread depth. If tread is less
than 4/32 inch (3 mm) on any front tire, or
less than 2/32 inch (1.5 mm) on any rear
tire, replace the tire.
20.2
Inspect each tire for bulges, cracks, cuts,
and penetrations.
20.3
Inspect each tire for oil contamination.
Fuel oil, gasoline, and other petroleum
derivatives, if allowed to contact the tires,
will soften the rubber and destroy the tire.
21.
Check the wheel nuts for indications of loose-
ness. Examine each wheel component.
21.1
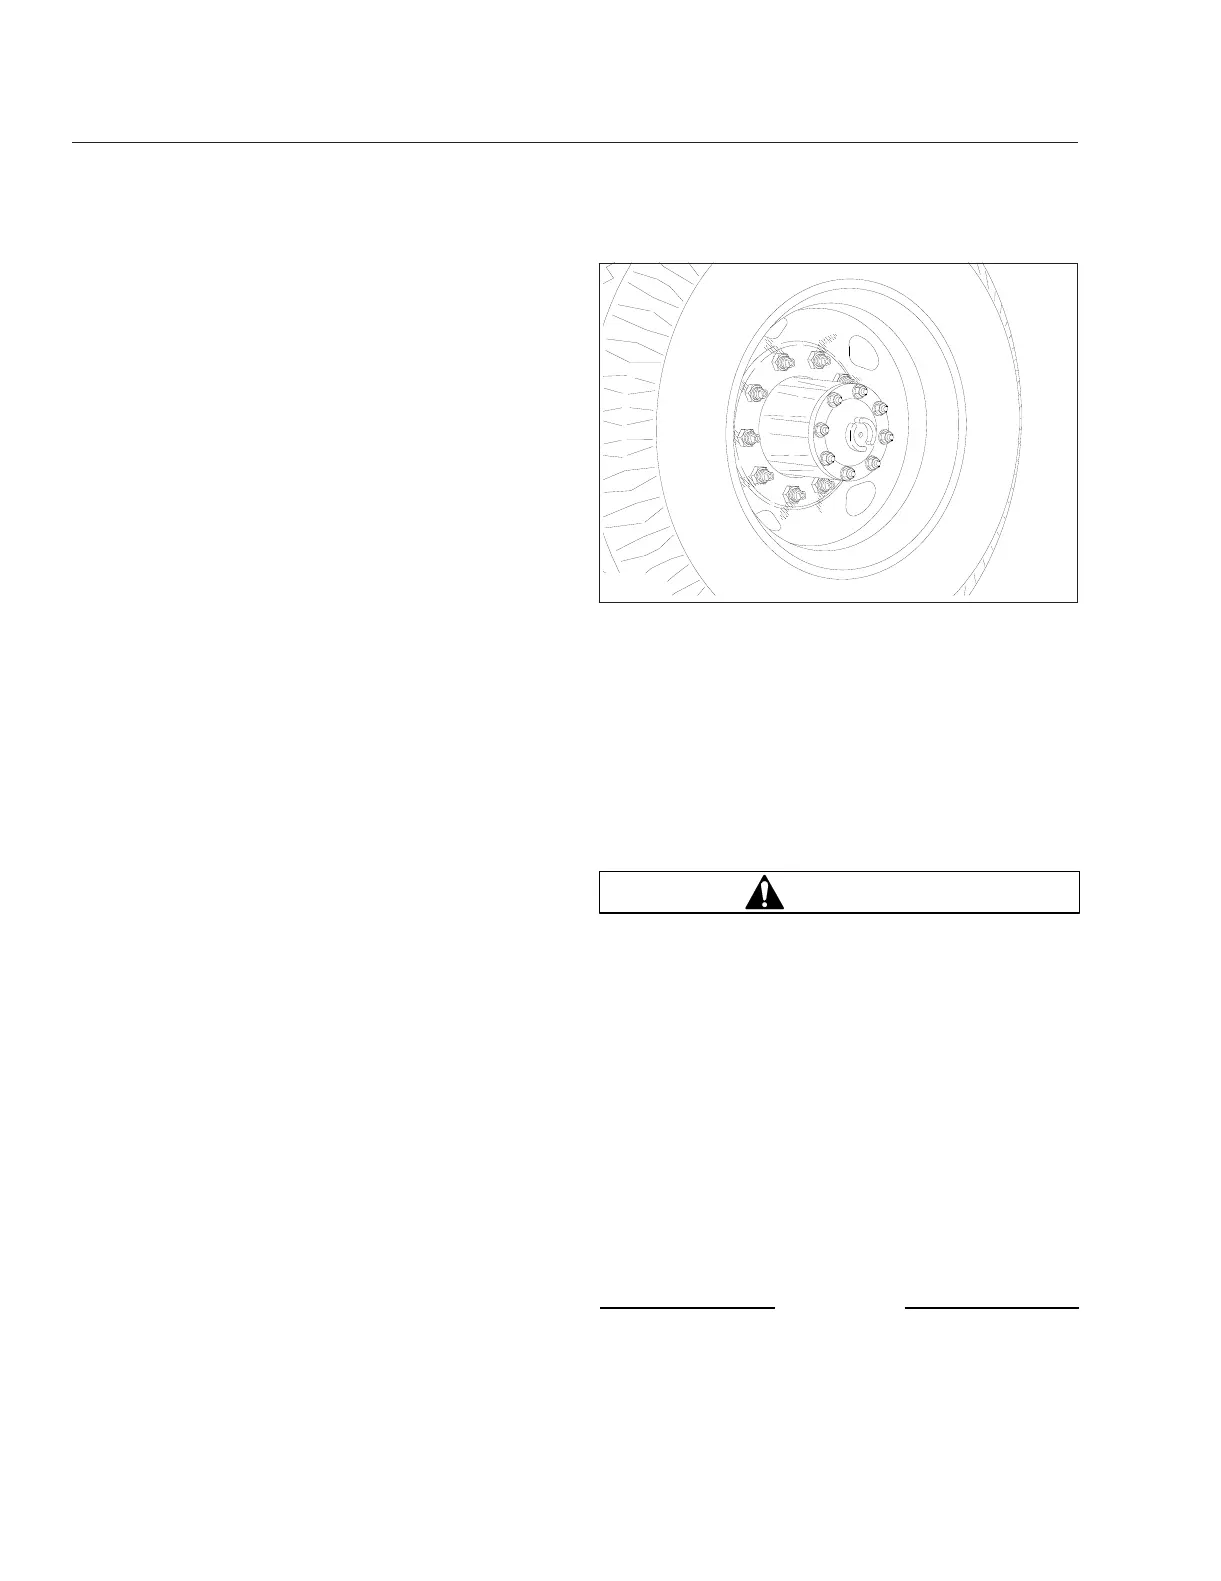
Remove all dirt and foreign material from
the assembly. Dirt or rust streaks from the
stud holes, metal buildup around stud
holes, or out-of-round or worn stud holes
may be caused by loose wheel nuts. See
Fig. 15.8 and Fig. 15.9.
21.2
Examine the wheel components (including
studs, and nuts) for cracks, or other dam-
age.
See Group 33 or Group 35 of the S2
Chassis Workshop Manual for service pro-
cedures on the studs and hubs, and see
Group 40 in the same manual for wheel
and tire servicing, or take the vehicle to an
authorized Freightliner dealer.
WARNING
Have any worn or damaged wheel components
replaced by a qualified person using the wheel
manufacturer’s instructions and the wheel indus-
try’s standard safety precautions and equipment.
Otherwise a vehicle or workshop accident could
occur, possibly resulting in serious personal in-
jury or death.
21.3
Make sure all wheel nuts are tightened
450 to 500 lbf·ft (610 to 678 N·m) for Ac-
curide wheels with unlubricated threads.
Use the tightening pattern in
Fig. 15.10 for
10-hole wheels and the tightening pattern
in
Fig. 15.11 for 8-hole wheels. See
Group 40 of the S2 Chassis Workshop
Manual for more information.
NOTICE
Insufficient wheel nut torque can cause wheel
shimmy, resulting in wheel damage, stud break-
age, and extreme tire tread wear. Excessive
02/09/95
f400058
Fig. 15.8, Dirt and Rust Streaks from the Stud Holes
Pre- and Post-Trip Inspections and Maintenance
15.7