Preliminary Checks
Before checking or adjusting the headlight aim, do
the following:
•
Check that the hood is closed and latched.
•
Check the suspension for proper functioning of
the leveling mechanism. On vehicles with air
suspensions, make sure that the height is
properly adjusted.
•
Remove any large amounts of mud or ice from
the underside of the fenders.
•
Check the springs for sagging or broken
leaves.
•
Check for damage to the hood and hinge as-
sembly. Repair as necessary.
•
Clean the headlight lenses. Use a soft cloth
with mild, non-caustic soap or detergent, and
water.
•
With the vehicle unloaded, check that the tires
are inflated to the recommended air pressure.
Checking Headlight Aim
1.
Park the vehicle on a level surface, 25 ft (7.6 m)
away from, and perpendicular to, a vertical
screen or wall. Shut down the engine and set the
parking brake. Chock the tires.
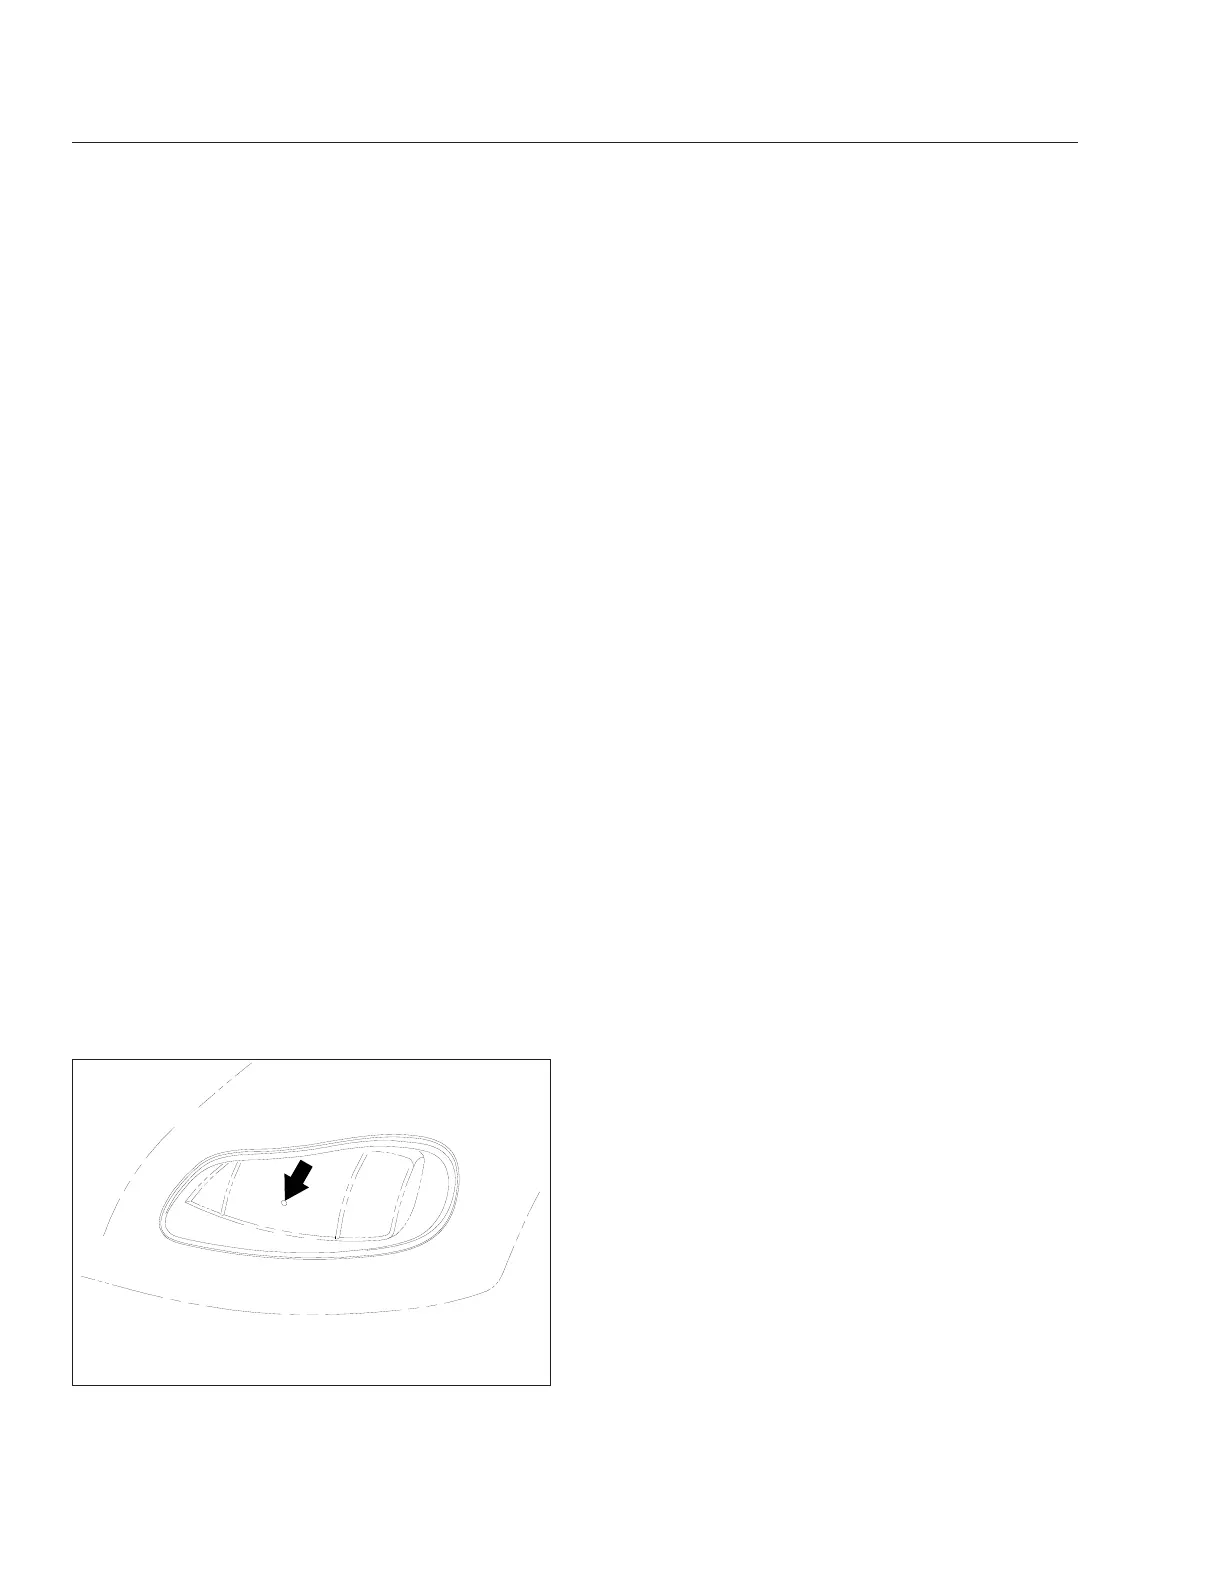
2.
Each headlight has a height adjusting dot. See
Fig. 18.1. Measure the distance from the ground
to the height adjusting dot on each headlight.
Note those distances. See
Fig. 18.2, Ref. A.
3.
Mark the vertical distances found in step 2 on
the screen or wall, directly in front of the head-
lights. These marks represent the desired loca-
tions of each headlight bulb center in the follow-
ing steps. See
Fig. 18.2, Items 2 and 3.
4.
Turn on the low-beam headlights.
5.
Identify the center of each beam projection by
marking the area of brightest intensity on the
wall. The area of brightest intensity should fall on
or very near the marks made during step 3. See
Fig. 18.3.
6.
Use Table 18.1 to determine the maximum verti-
cal distance allowable between the marks made
in step 3 and the marks made in step 5. If the
vertical distance between the marks made in
steps 3 and 5 is greater than the maximum dis-
tance given in
Table 18.1, adjust the vertical po-
sitioning of that headlight.
Adjusting Headlight Aim
NOTE: Because of the various headlight assem-
bly options offered, the location of adjustment
screws on the vehicle’s headlight assembly may
vary from what is shown here.
1.
Lift the flap over the rear end of the headlight
bucket to expose the two plastic adjusting knobs
on each headlight. See
Fig. 18.4.
2.
If necessary, adjust the horizontal positioning of
the headlights so that each projection points di-
rectly forward.
3.
Turn the vertical adjustment knob to adjust the
headlight beam to meet the desired height. See
Table 18.1. Turn the knob clockwise to raise the
beam; turn the knob counterclockwise to lower it.
4.
Adjust the other headlight.
11/06/2002 f544236
Measure beam height from the ground to the small dot
roughly in the center of the headlight lens.
Fig. 18.1, Headlight Beam Height Adjusting Dot
Headlight Aiming
18.1