13 SEP 12
/ Battery Charging Systems / Welding Technology / Solar Electronics
Use and Operation
Initial Set-up and Turn On
Step 1:
Step 1:Step 1:
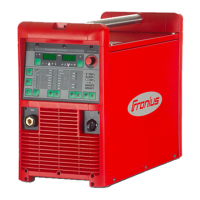
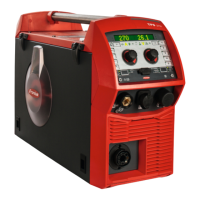
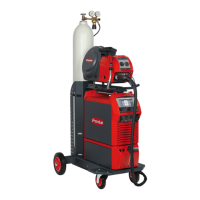
Step 1: Connect main power, gas and wire
to the welder/wire feeder. If equipped with
one, fill the cooler with Fronius Coolant.
Step 2:
Step 2:Step 2:
Step 2: Connect or clamp the ground
connection to the fixture or work piece.
Plug the other end into the welder ground
connection.
Step 3:
Step 3:Step 3:
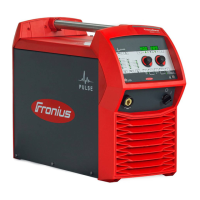
Step 3: Turn the welder on. Almost
immediately, you will hear a click from the
wire feeder. Within a minute, the display
should come on.
Step 4:
Step 4:Step 4:
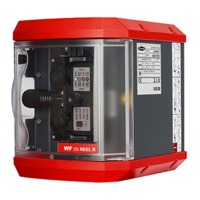
Step 4: Load the consumables into the wire feeder and torch as
necessary. Store extras in a safe place for later use.
Step 5:
Step 5:Step 5:
Step 5: Perform a resistance test.
Step 5:
Step 5:Step 5:
Step 5: If using a non-CMT push-pull gun, perform a PPU
alignment
Step 6:
Step 6:Step 6:
Step 6: If using a cooler, verify cooler is turned on and set
properly (C-C and C-T⁄.
Step 7:
Step 7:Step 7:
Step 7: Select proper synergic-line for the application to be
done.
Step 8:
Step 8:Step 8:
Step 8: If using jobs, set and edit them as needed. If
not, select all other needed weld parameters.
Step 9:
Step 9:Step 9:
Step 9: Start welding
Notes
NotesNotes
Notes
If you encounter an error code
or weld problems, attempt to
perform a basic check-out.
Note any failure points before
calling support.
When calling support, please
have the following information
available:
- Welder serial number
- Welder firmware/database
- Error Codes (if any⁄
- Filler metal type,
diameter, and gas.
-
--
- 35
35 35
35 -
--
-
 Loading...
