7
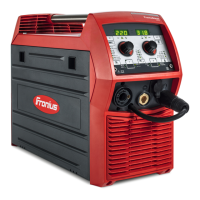
Depending on the welding process selected, select the desired welding parameters
and adjust them using the appropriate selection dial
8
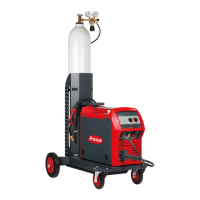
Open the gas cylinder valve
9
Adjust quantity of shielding gas
CAUTION!
Danger of injury and damage from electric shock and from the wire electrode
emerging from the torch.
When you press the torch trigger:
▶
Keep the welding torch away from your face and body
▶
Wear suitable protective goggles
▶
Do not point the welding torch at people
▶
Make sure that the wire electrode does not touch any conductive or grounded parts
(e.g., housing, etc.)
10
Stitch welding
Procedure for stitch welding:
1
Keep the welding torch vertical
2
Depending on the stitch mode set under the Int parameter:
Press and hold the torch trigger (2-step mode)
Press and release the torch trigger (4-step mode)
3
Maintain the position of the welding torch
4
Wait for the welding interval
5
Position the welding torch at the next point
6
To stop stitch welding, depending on the stitch mode set under the Int parameter:
Release the torch trigger (2-step mode)
Press and release the torch trigger (4-step mode)
7
Wait for the gas post-flow time
8
Raise the welding torch
76
 Loading...