HOW TO ADJUST OR REPLACE THE FRICTION WHEEL
How To Check The Friction Wheel
If the snowthrower will not move forward, check the traction drive
belt, the traction drive cable or the friction wheel. If the friction
wheel is worn or damaged, it must be replaced. See “How To
Replace the Friction Wheel” in this section. If the friction wheel is
not worn or damaged, check as follows.
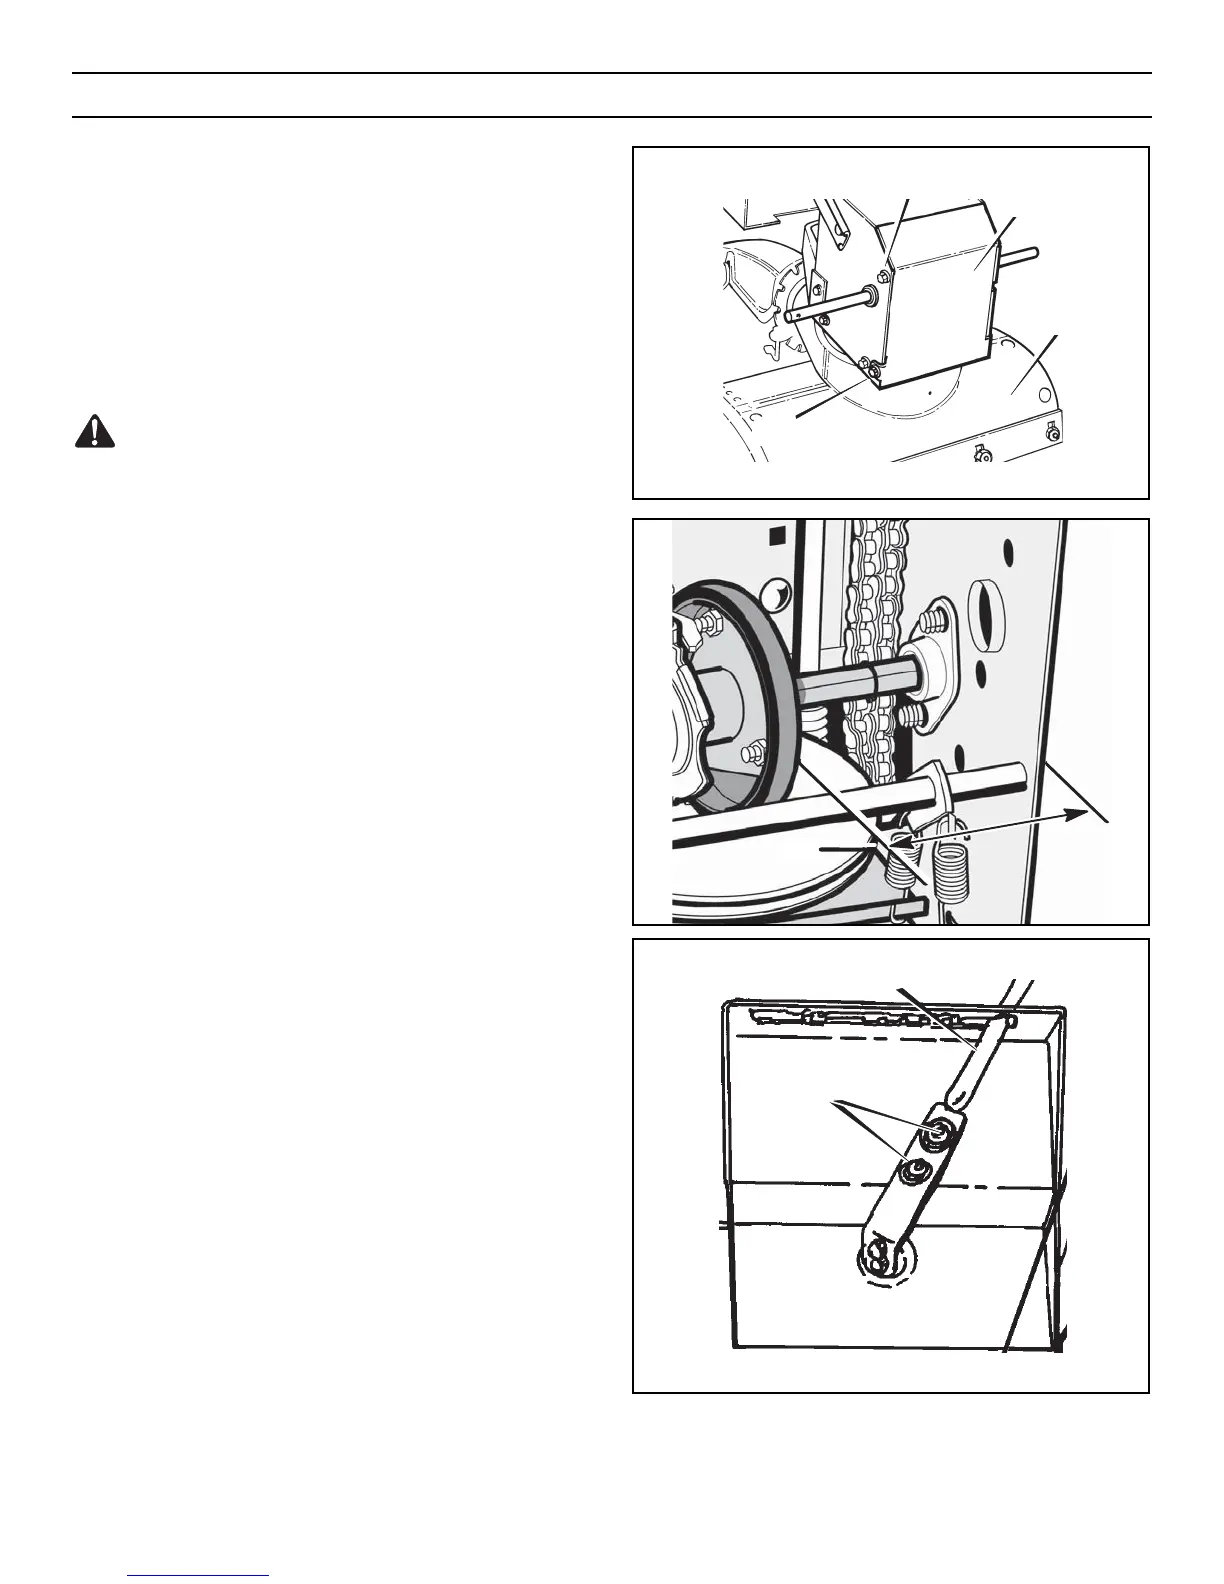
1. Remove the gas from the gas tank. Stand the snowthrower up
on the front end of the auger housing (see Figure 44).
WARNING: Drain the gasoline outdoors, away from fire or
flame.
2. Disconnect the spark plug wire.
3. Loosen the bolts on each side of the bottom panel (see
Figure 44).
4. Remove the bottom panel.
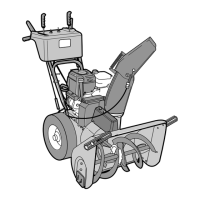
5. Position the shift speed lever in the lowest forward speed.
6. Note the position of the friction wheel (see Figure 45). The
correct distance “A” from the right side of the friction wheel
to the outside of the motorbox is as follows:
Tire Size Distance “A”
12 and 13 inch 4-1/8" (10.5 cm)
16 inch 4-5/16" (10.95 cm)
If the friction wheel is not in the correct position, adjust as
follows.
How To Adjust The Friction Wheel
1. Position the shift speed lever in the lowest forward speed.
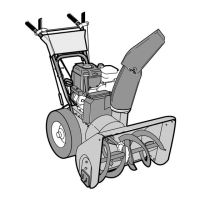
2. Loosen the bolts on the speed control rod (see Figure 46).
3. Move the friction wheel to the correct position (see Figure
45).
4. Tighten the bolts on the speed control rod (see Figure 46).
5. Install the bottom panel (see Figure 44).
6. Tighten the bolts on each side of the bottom panel.
Figure 46
Loosen Bolts
Speed Control Rod