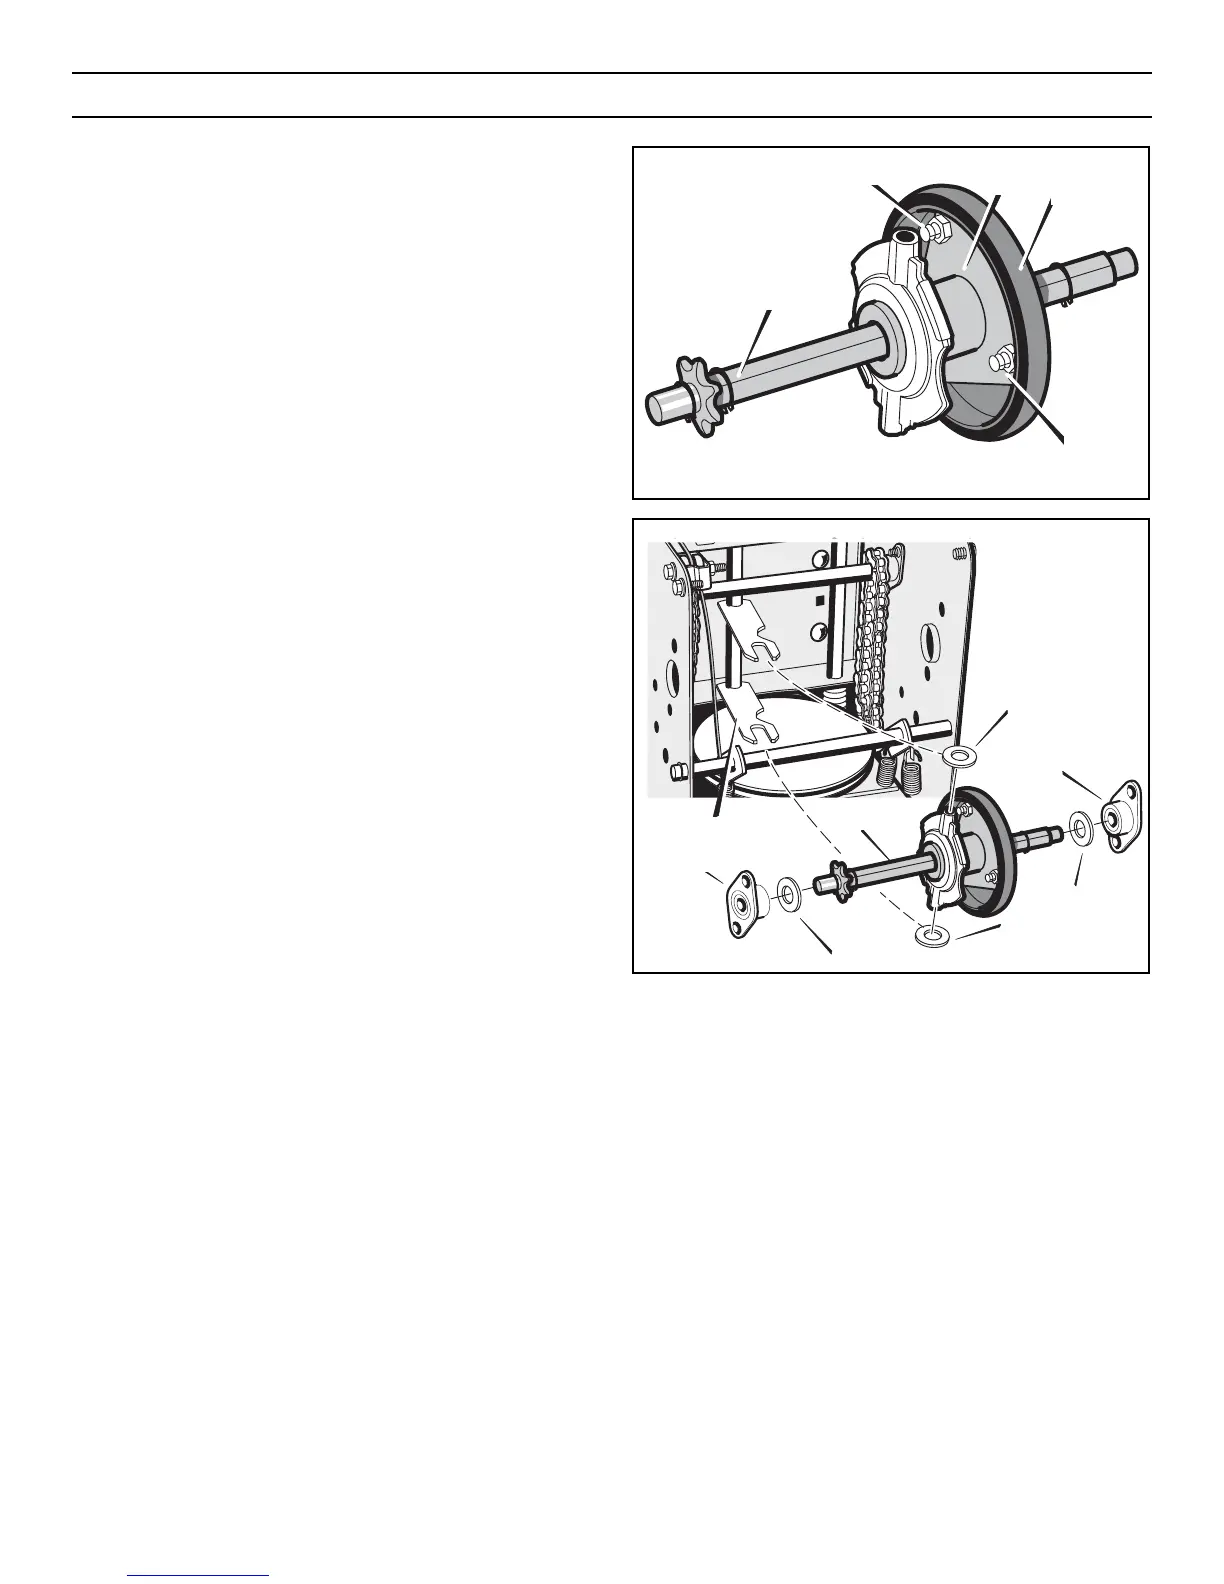
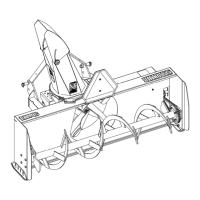
10. Remove the three fasteners that hold the friction wheel to the
hub (see Figure 50).
11. Remove the friction wheel from the hub. Slip the friction
wheel off the hex shaft.
12. Assemble the new friction wheel onto hub with the fasteners
removed earlier.
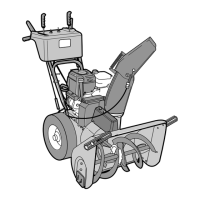
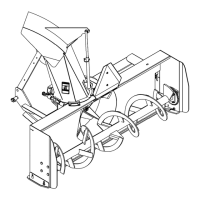
13. Install the hex shaft and bearings with the four bolts removed
earlier (see Figure 51).
Make sure the washers are properly installed in the original
position. Also, make sure the two washers are properly
aligned with the actuator arms.
14. Make sure the hex shaft turns freely.
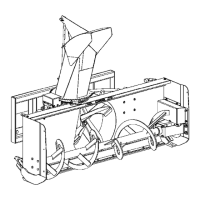
15. Install the right wheel, axle, and drive sprocket with the fas-
teners removed earlier. Install the chain onto the drive sprock-
et (see Figure 48).
16. Check the adjustment of the friction wheel. See “How To
Adjust The Friction Wheel” in this section.
17. Make sure the friction wheel and the disc drive plate are free
from grease or oil.
18. Install the bottom panel (see Figure 47).
19. Tighten the bolts on each side of the bottom panel.
20. Install the left wheel to the axle with the fasteners removed
earlier.
21. Connect the spark plug wire.
Figure 51
Washer
Bearings
Washer
Washer
Washer
Actuator Arms
Bearings
Hex Shaft
Figure 50
Fasteners
Hub
Friction
Wheel
Hex Shaft
Fasteners
MAINTENANCE
36