37
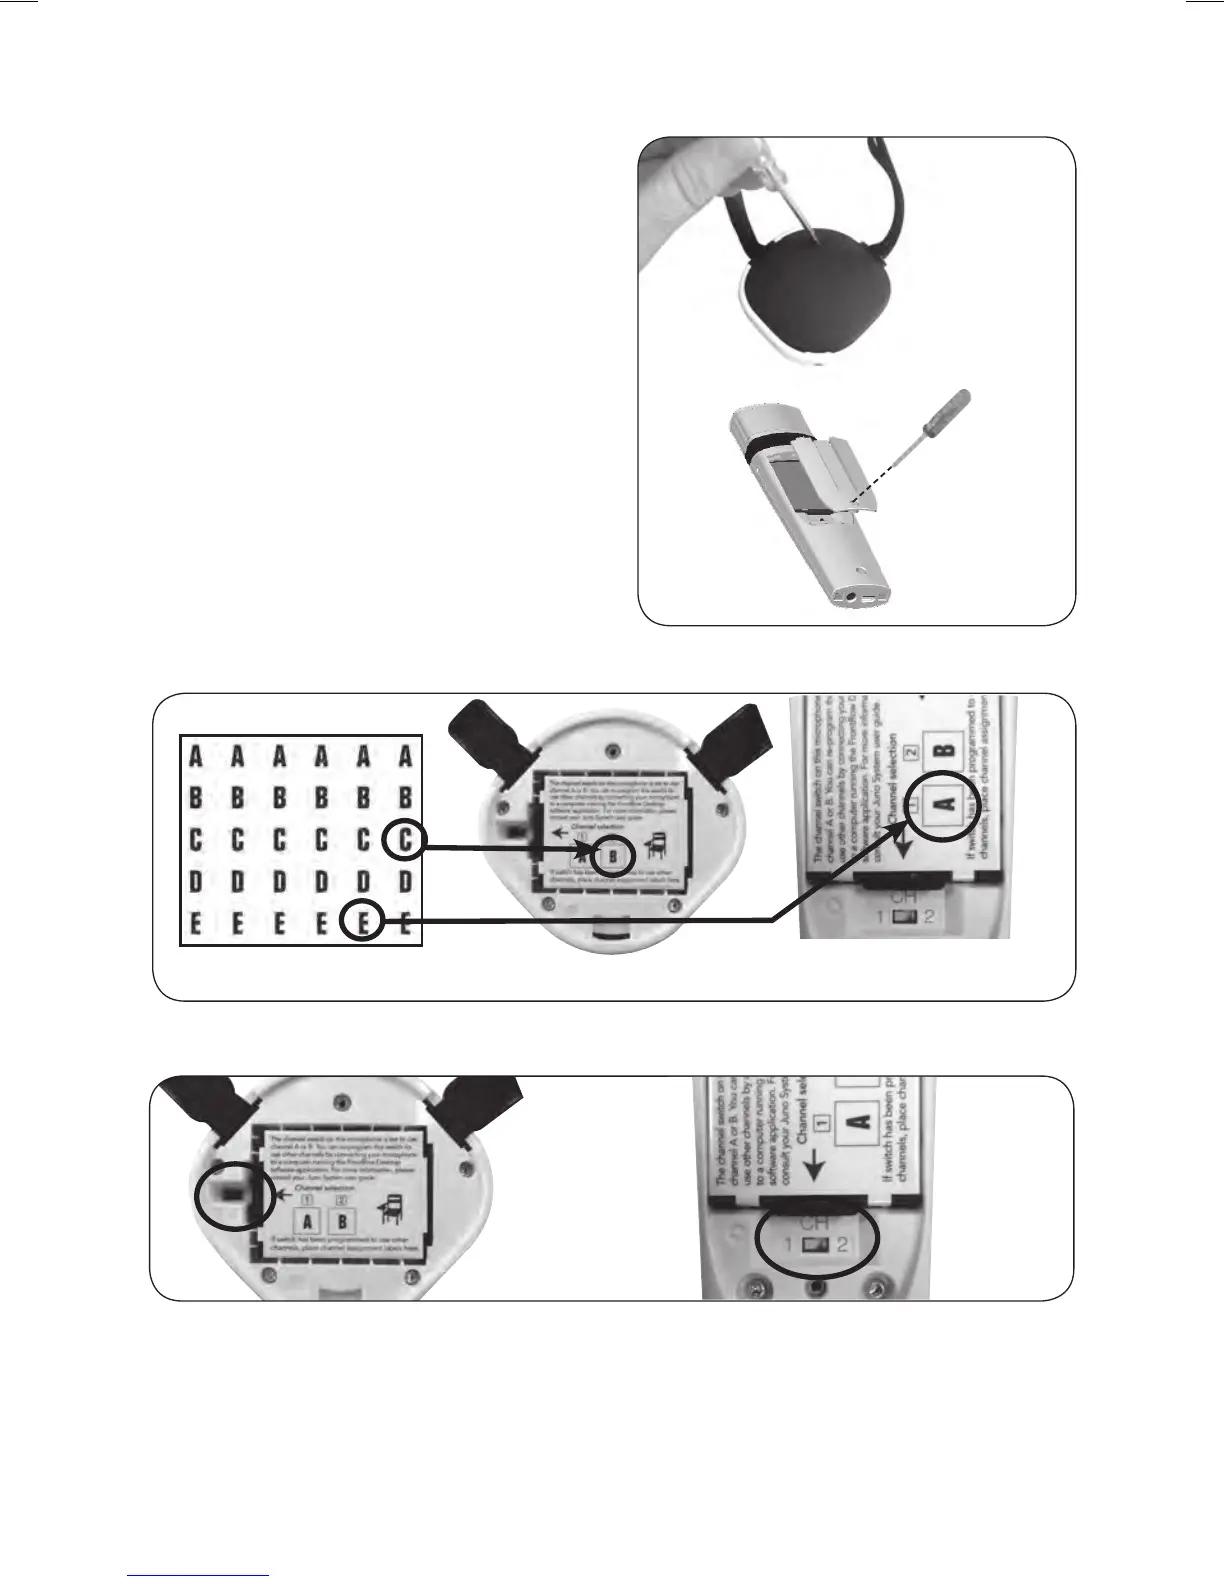
6. Unscrew battery door using the supplied
Phillips screwdriver. See Image 44
7. Using the channel indicator labels included
with your microphones, label the switch
positions you've just reprogrammed.
See Image 45
8. Move the selection switch (see Image 46)
to the channel you want to use – ideally,
the one indicated in the shaded column in
the table on page 36.
9. Close and screw down battery door.
Image 44
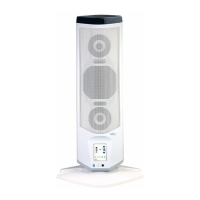
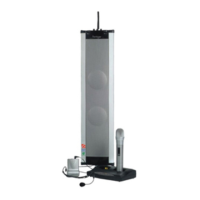
Pass-Around
Microphone
Pendant
Microphone
Pendant
Microphone
Pass-Around
Microphone
Image 46
Image 45
Pass-Around Microphone
Pendant Microphone
Channel Label Sheet