Chapter 5: 35
5. Attach a new probe tube to the probe microphone.
6. Thread the probe microphone through the edged side of the probe micro-
phone adapter so that the probe tube sticks out a coupler of millimeters from
the other side of the adapter.
7. Secure the probe tube in place by put-
ting a dab of Fun-Tak (Blue Stik) on the
edged end of the adapter.
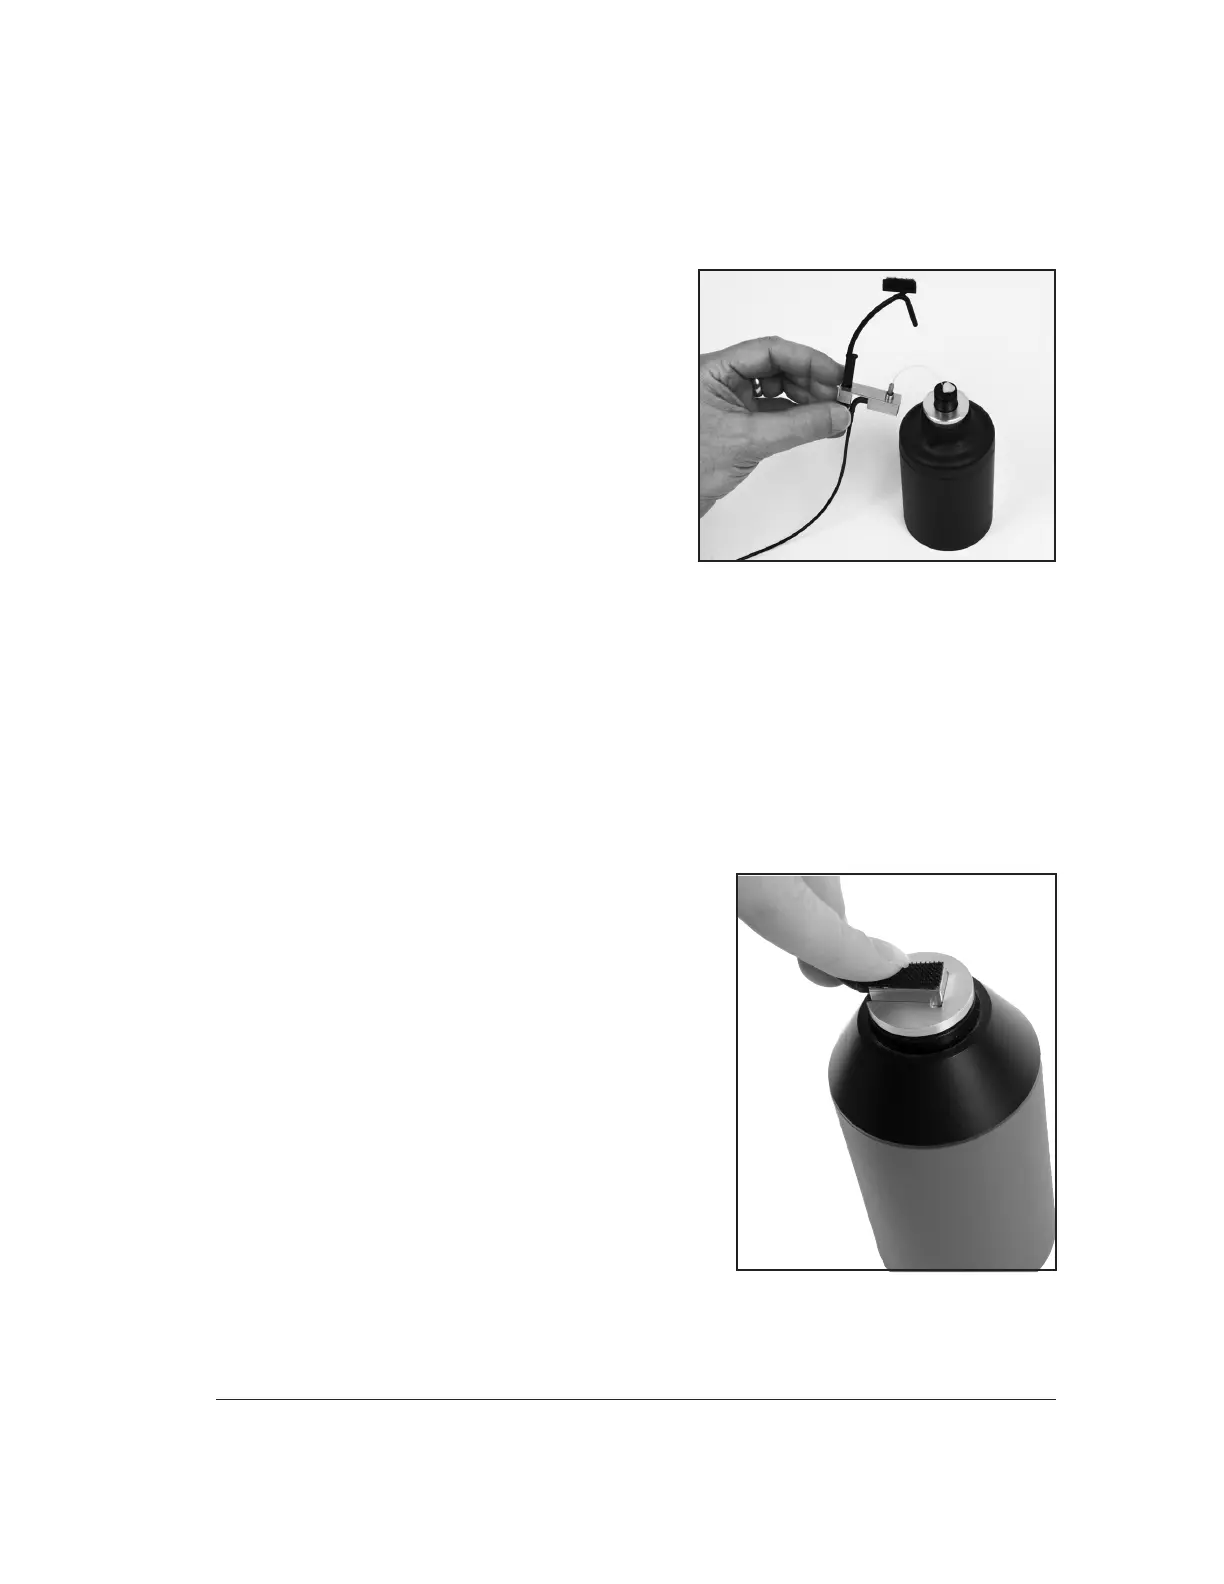
8. Insert the probe microphone adapter
with the attached probe microphone
into the calibrator. See Figure 5.1.2.
9. Turn on the calibrator.
10. Position the cursor with left/right keys
till the selected level matches the cali-
brator level. Press the [START] key to
make the calibration.
5.1.3 Calibrating the Rectangular Reference Microphone
This procedure describes how to calibrate the rectangular reference microphone that
is part of the integrated probe microphone set.
1. From the Opening Screen, press [MENU] to enter the Setup Menu.
2. Press F6 to enter the Microphone Calibration screen.
3. Use the down arrow key to select "Probe Left or Right", "Ref"
4. Insert the rectangular reference microphone
adaptor into the sound calibrator.
5. Remove the reference microphone from the
integrated ear hook and insert it into the
calibration adapter with the opening of the
reference microphone pointing into the cali-
brator. See Figure 5.1.3. You can use a rub-
ber band to hold the microphone onto the
calibrator, if necessary.
6. Turn on the sound calibrator.
7. Position the cursor with left/right keys till
the selected level matches the calibrator
level. Press the [START] key to make the
calibration.
Figure 5.1.2: Integrated probe microphone
inserted into sound calibrator.
Figure 5.1.3: Rectangular reference
microphone inserted into sound calibrator.