4-13
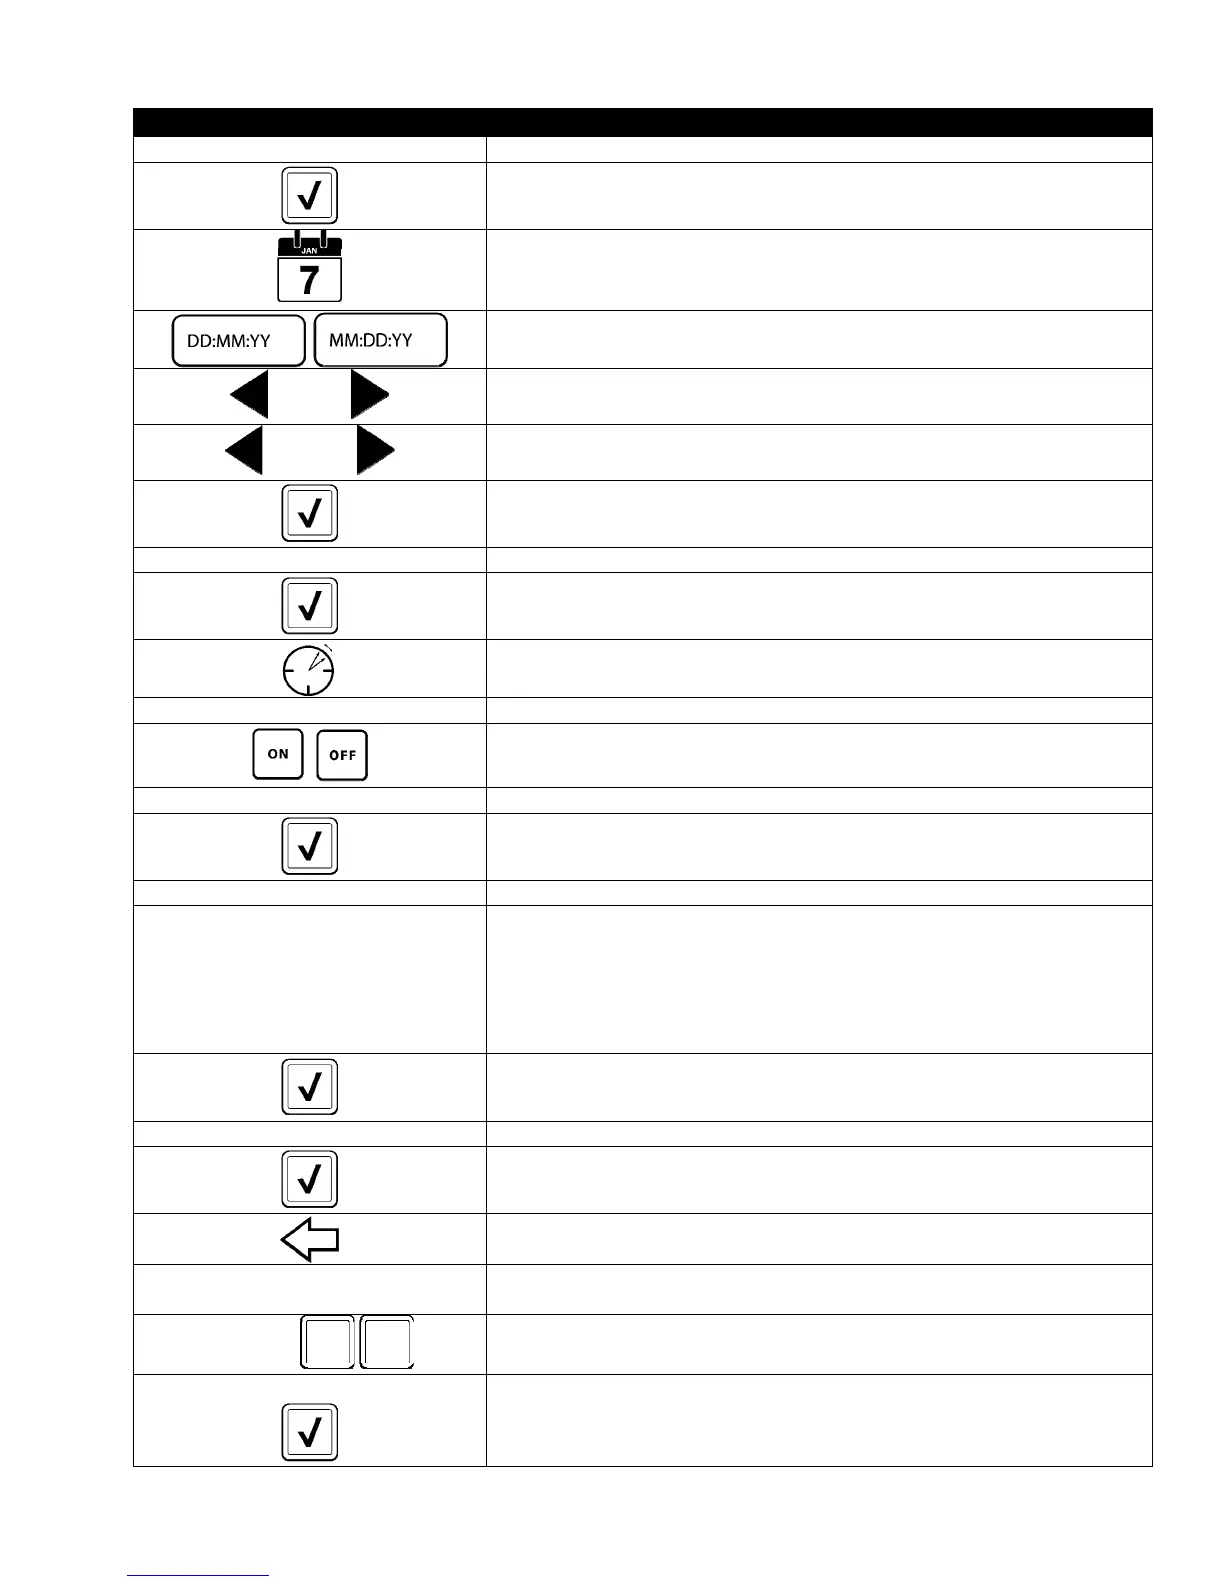
DISPLAY ACTION
SETUP COMPLETE 20. No action.
21. Press the smaller √ (check) button inside the SETUP COMPLETE box.
22. Press the Set Date button
23. Press the Date Format box to toggle between MM-DD-YY or DD-MM-YY.
2 0 1 4
24. At the top of the screen, the year is shown. Press the left or right arrow
to select the year.
MARCH
25. Below the year is the month. Press the left or right arrow to select the
month.
26. Select the date using the numbered keys and press the √ (check)
button.
SETUP COMPLETE 27. No action.
28. Press the smaller √ (check) button inside the SETUP COMPLETE box.
29. Press the DST (DAYLIGHT SAVINGS TIME) SETUP button.
□ DST ON/OFF 30. Press the DST ON/OFF button.
31. Select ON to enable DST or OFF to disable DST.
SETUP COMPLETE 32. No action.
33. Press the smaller √ (check) button inside the SETUP COMPLETE box.
□ DST SETTINGS 34. Press the DST SETTINGS button.
□ DST START MONTH
□ DST START SUNDAY
□ DST END MONTH
□ DST END SUNDAY
35. Select any of these and use the keypad to modify. The default settings
for the US are:
DST START MONTH -3
DST START SUNDAY -2
DST END MONTH -11
DST END SUNDAY -1
36. Press the √ (check) button when complete.
SETUP COMPLETE 37. No action.
38. Press the smaller √ (check) button inside the SETUP COMPLETE box.
39. Press the Back button three (3) times.
□ F° TO C°
40. Press the F° TO C° or F° TO C° button.
NOTE: F is used for Fahrenheit, C is used for Celsius
CONFIRM
41. Select YES to toggle the temperature scale.
COMPLETED SUCCESSFULLY
42. Press the √ (check) button when complete.
YES NO