4-14
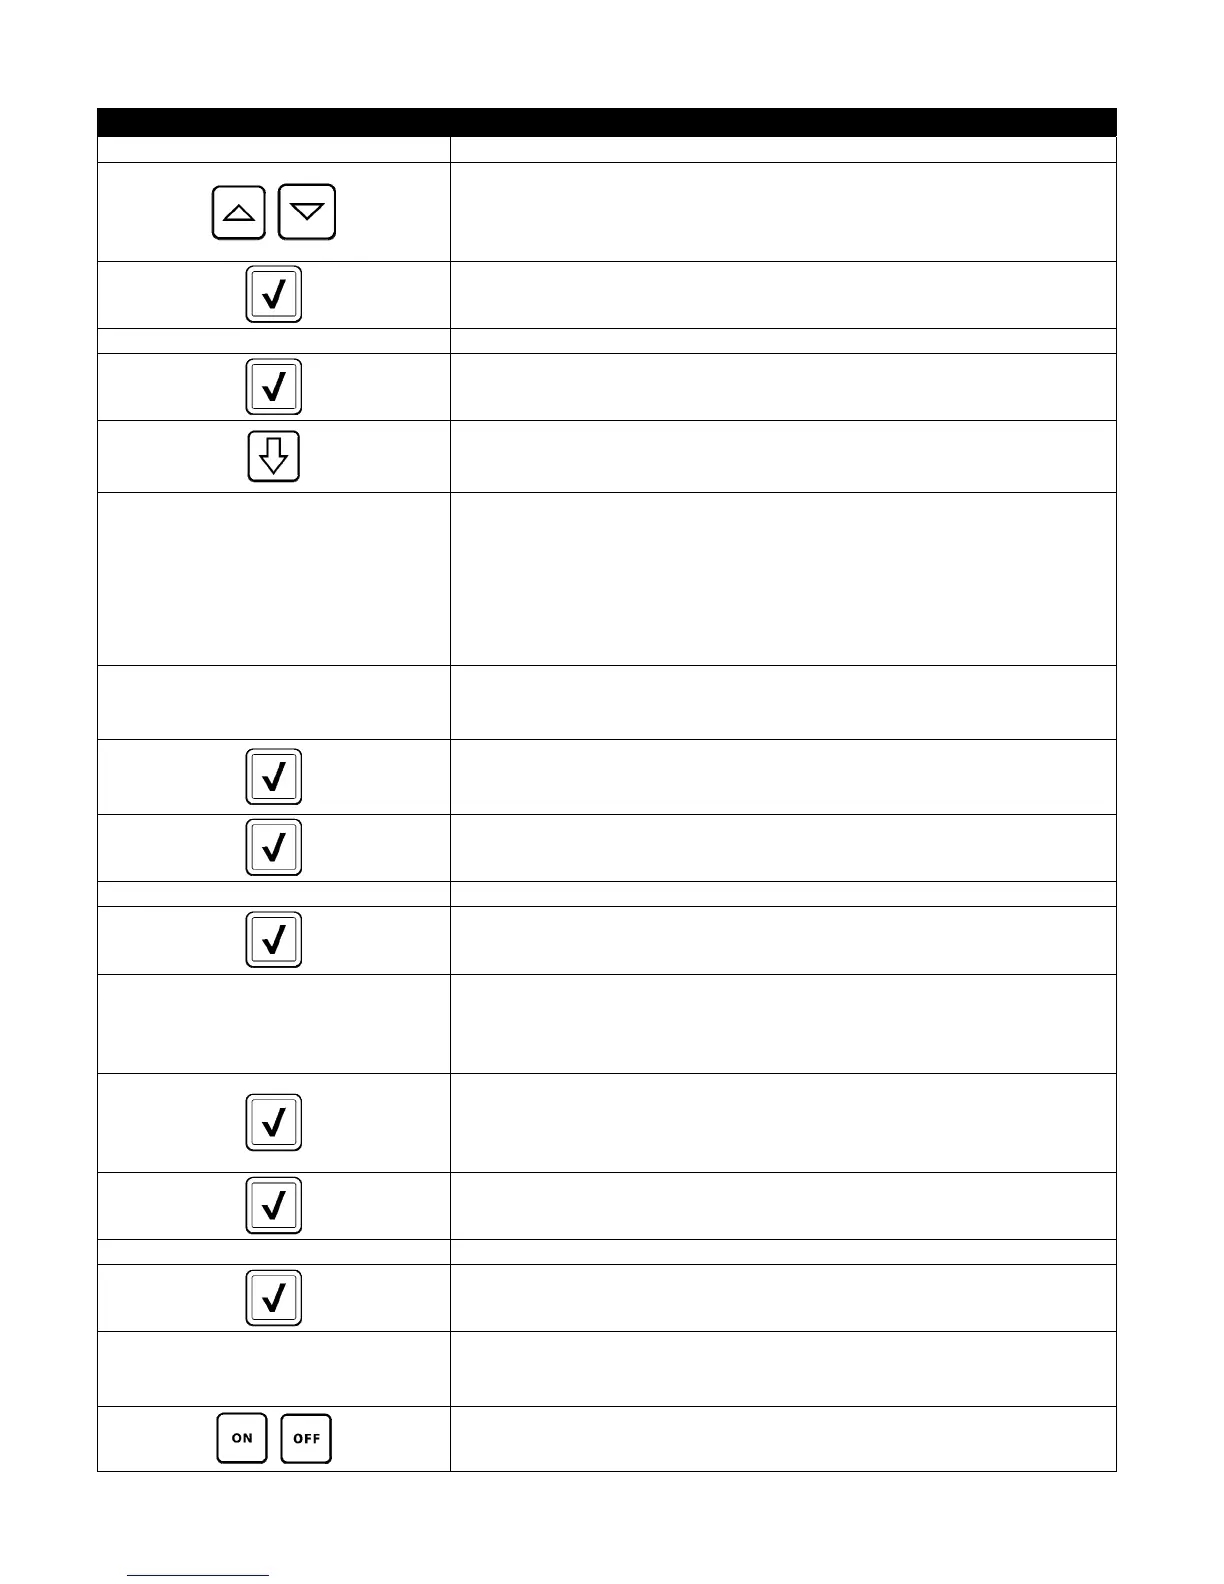
DISPLAY ACTION
□ SOUND 43. Press the Sound button.
44. Use the up down arrows to change the volume level and tone. Volume
has nine levels with 1 being the softest and 9 the loudest. Tone has
three frequencies from 1-3. Use different frequencies to distinguish
protein or French fry stations.
45. Press the √ (check) button when complete.
SETUP COMPLETE 46. No action.
47. Press the smaller √ (check) button inside the SETUP COMPLETE box.
48. Press the Down button.
□ FILTER ATTRIBUTES
49. Press the Filter Attributes button.
The auto filtration mode uses two measures before prompting to filter.
One checks for cook cycles which is adjusted in the FILTER AFTER
setting and the other checks for time which is adjusted in the following
section FILTER TIME setting. The prompt for filtration is initiated by
whichever occurs first; either the number of cycles elapsed or time
elapsed.
□ FILTER AFTER
50. Press the Filter After button.
The FILTER AFTER option is used to set the number of cooking cycles
which occur before the filtration prompt is displayed.
51. Press the √ (check) button to continue or press the number button and
enter the number of cooks and press the √ (check) button. (By default,
the full vat is set to 12 cooks and the split vat is set to 6 cooks.)
52. Press the √ (check) button.
SETUP COMPLETE 53. No action.
54. Press the smaller √ (check) button inside the SETUP COMPLETE box.
□ FILTER TIME
55. Press the Filter Time button.
The Filter Time option is used to set the elapsed time before a filtration
prompt. This option is useful in lower volume stores, where filtration is
desired more often than the amount the cook cycles would generate.
56. Press the √ (check) button to continue or press the number button and
enter the number of hours in between filter prompts. (ex. after every
two hours, enter as 2) and press the √ (check) button. (By default, the
time is set to 0 hours.)
57. Press the √ (check) button.
SETUP COMPLETE 58. No action.
59. Press the smaller √ (check) button inside the SETUP COMPLETE box.
□ FILTER LOCKOUT
60. Press the Filter Lockout button.
The Filter Lockout option is used to set the times in which the filter
prompt is disabled (ex. noon rush).
61. Select ON to enable FILTER LOCKOUT. Select OFF to disable FILTER
LOCKOUT.