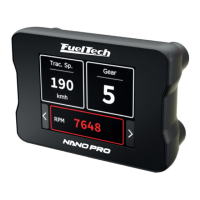
NANO PRO
14
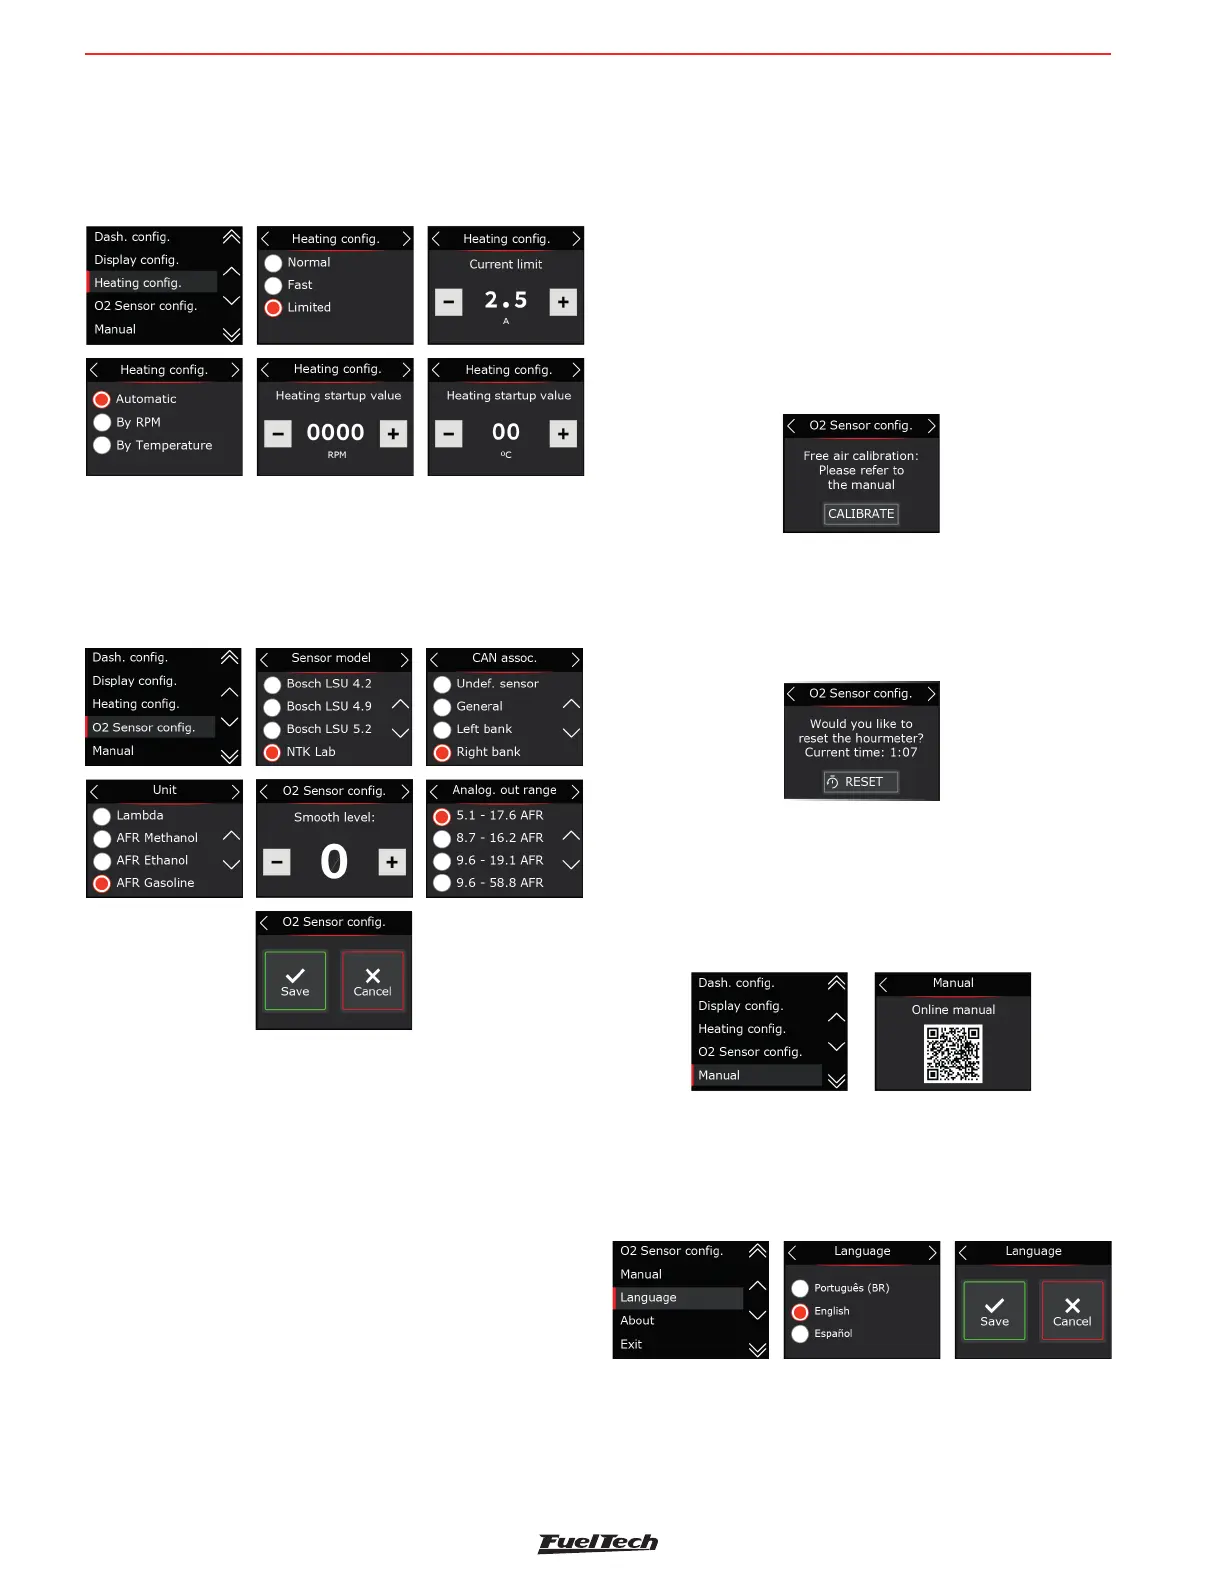
Limited: Limits heating current to 2, 2.5, and 3 Amps
It is possible to choose one of the three parameters to start
the heating in automatic mode (whenever it is turned on), by
temperature or RPM.
8.4 O2 sensor con guration
Select the model of the O2 sensor installed in the car. On the
next screen con gure the installation position.
The next step is to de ne the unit, fuel type and also the working
scale (analog output).
Procedure for replacing the Lambda O2-sensor
Perform the procedures described below to change the probe:
a - Disconnect the old O2 sensor and remove it.
b - Change the con guration for the new O2 sensor on the
Nano PRO.
c - Turn off the module.
d - Connect the new O2 sensor.
e - Turn on the Nano PRO.
Free-air calibration - NTK Sensor
The NTK O2 sensor needs an open air calibration, so after
con guring in the software it is necessary to connect the sensor
to the Nano PRO and carry out the calibration.
To perform this procedure, rst connect the O2 sensor to the
Nano PRO and leave it out of the exhaust. Turn the ignition on,
and let the NTK O2 sensor heat up for 5 minutes, then access
the sensor setup menu, select NTK, and click on the “calibrate”
button.
The calibration process is executed 5 times to guarantee the
expected result, after the test a message with the result will
appear on the screen. If an error message is displayed, it is
necessary to repeat the calibration procedure.
Possible errors after calibration - NTK Sensor
Current highest 4.3 -> faulty sensor
Current below 3.2 -> sensor is not Free-air
Hour-meter - NTK Sensor
This function allows checking the usage time of the probe
installed in the equipment. There is a RESET button to reset
the usage time count.
8.5 Manual
Through the interface there is a QR Code to download the
manual in its complete version with all the necessary information
for the operation of the Nano PRO.
8.6 Language
Fueltech Nano PRO has the possibility of changing language
for the interface.