Google Cloud Print
577
Appendix
15
You will need this registration paper in the following steps.
Note • Message [Registering] will change to [Registered] when the registration is finished in step 6.
• Finish step 6 within 14 minutes after [Registering] is displayed.
4
Enter the web address on the registration paper to the address box of the browser, and
press the <Enter> key.
5
Enter the Google account and passcode of the user using this feature, and log in.
6
Click [Finish printer registration].
7
Registering to Google Cloud Print is finished.
Click [Manage your printers].
8
Confirm that your machine is in the list.
When the registration is done, you can print from your machine by logging in to the owner's
account.
Note • If the registration failed, go back to step 2 and click [Register This Device to Google Cloud Print]
again to re-print the registration paper.
• Sharing settings are needed to use the machine with non-owner accounts. For more information on
sharing settings, refer to "Sharing a Device between Multiple Users" (P.578).
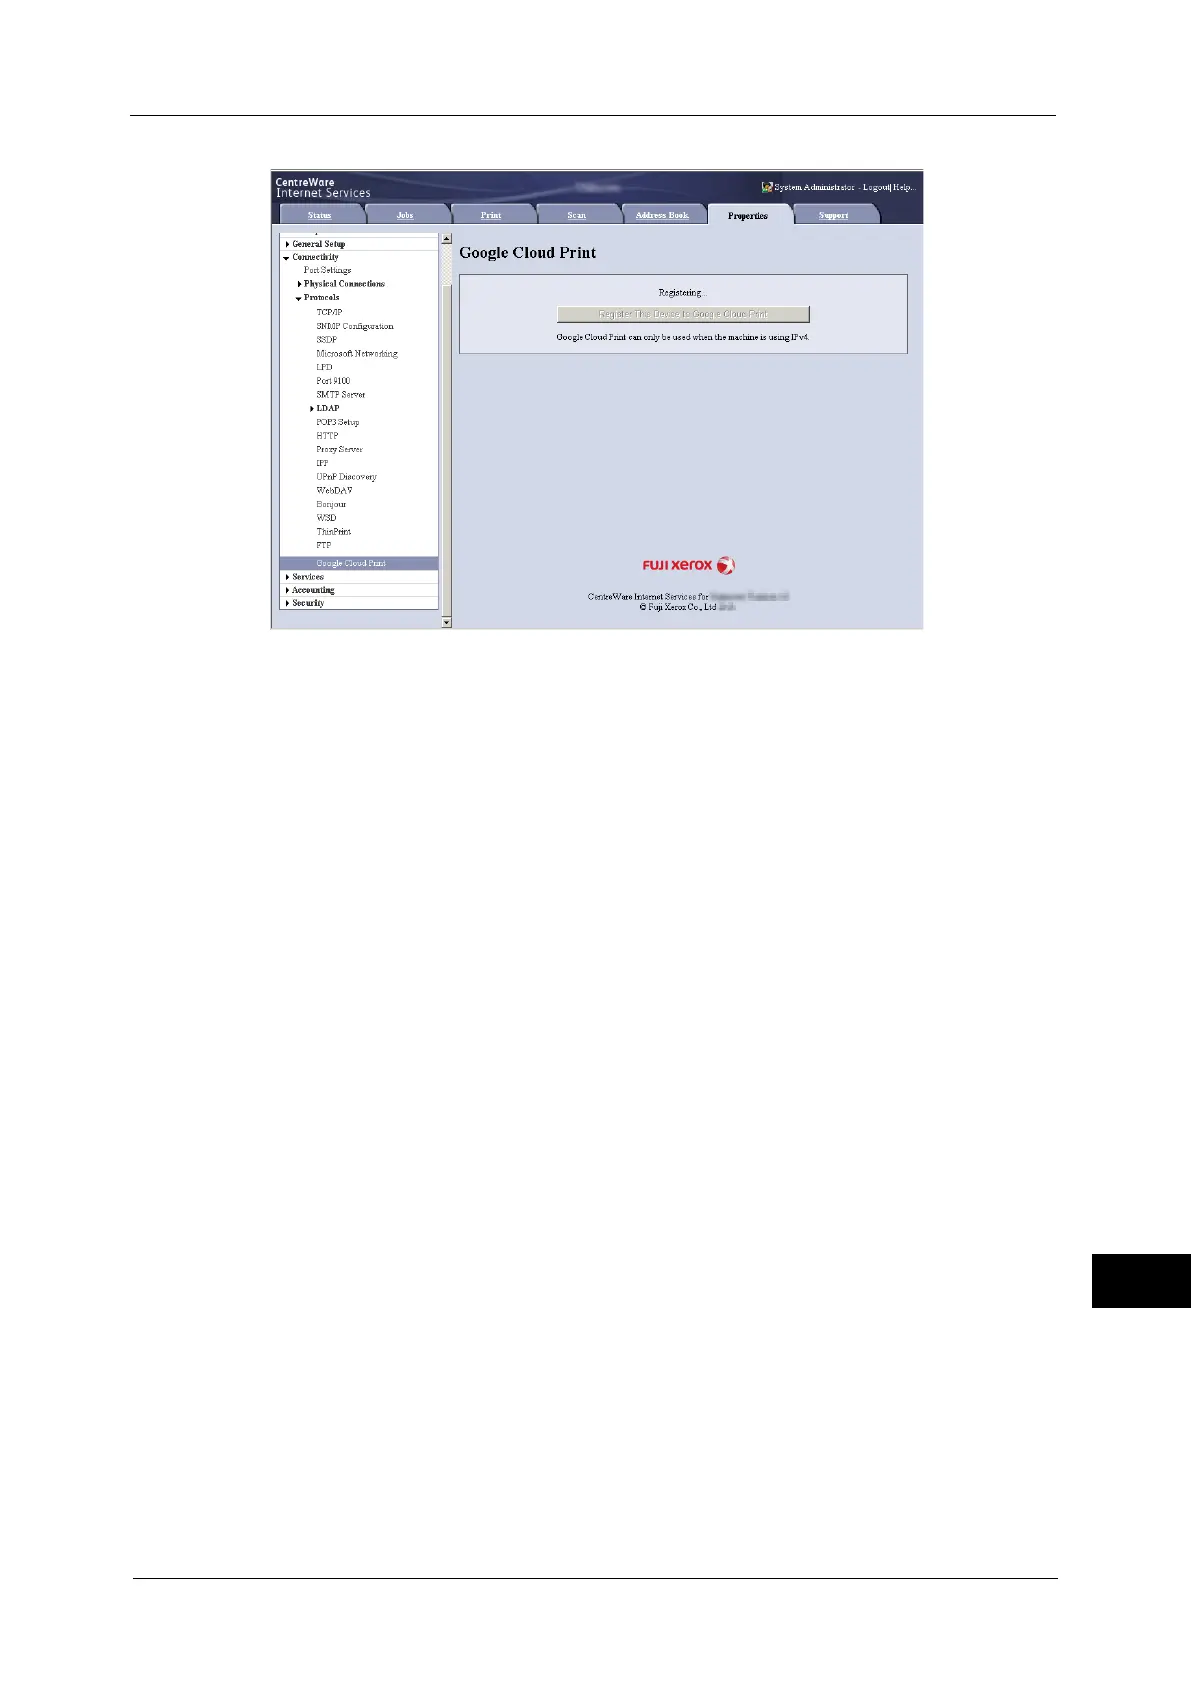
Checking the Device Registration Status
You can check if your machine is registered to Google Cloud Print, with CentreWare Internet
Services.
1
Start a web browser from a network connected computer.
2
Enter the machine's IP address into the address box on the browser, and then press the
<Enter> key. Connection to CentreWare Internet Services is established.
Note • During connection/operation, pop-up screen for user ID/passcode entry may appear. In this case,
enter a system administrator's user ID/passcode and click [OK].
3
Click [Properties] tab > [Connectivity] > [Protocols] > [Google Cloud Print].

 Loading...


